Einleitung
Werkzeuge
Ersatzteile
-
-
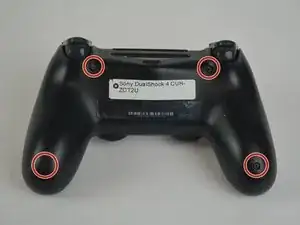
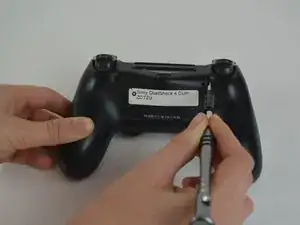
Drehe die vier 6,5 mm Kreuzschlitzschrauben heraus.
-
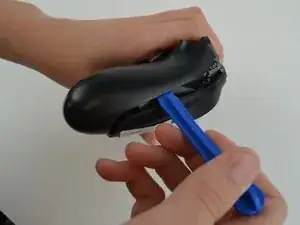
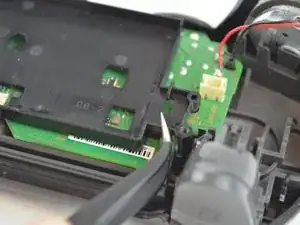
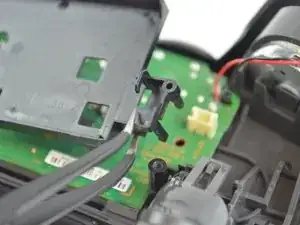
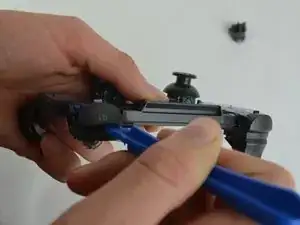
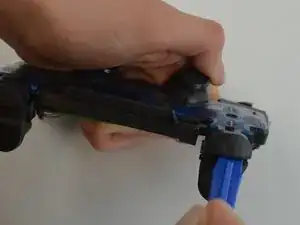
Heble die beiden Kunststoffschalen mit einem Öffnungswerkzeug auseinander.
-
-
-
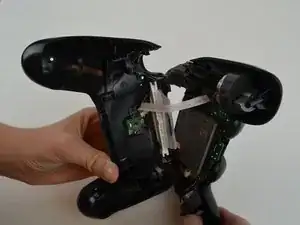
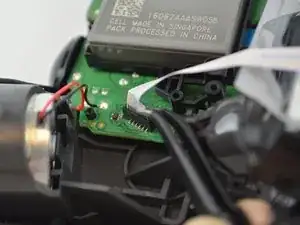
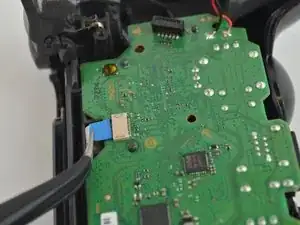
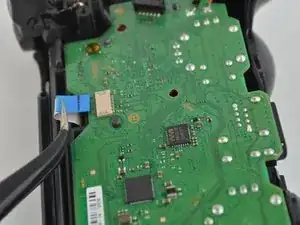
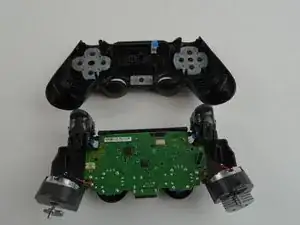
Ziehe das Flachbandkabel mit einer Pinzette aus seinem Anschluss auf der Hauptplatine heraus, dann lassen sich die beiden Gehäusehälften trennen.
-
-
-
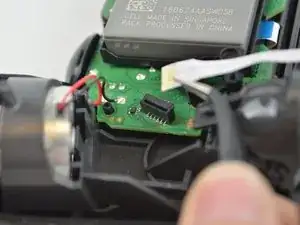
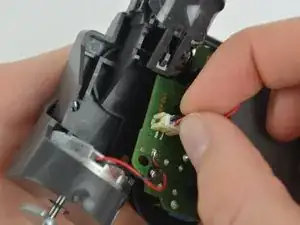
Ziehe den weißen Stecker mit dem schwarzen und dem rotem Kabel aus dem Power Port auf der Hauptplatine.
-
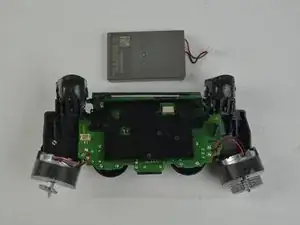
Entferne den alten Akku aus dem Controller.
-
-
-
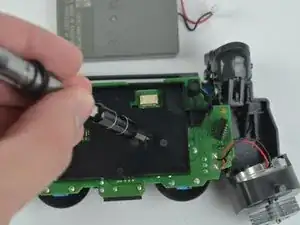
Löse die 6,43 mm Schraube, die die Hauptplatine mit den Inneren des Controllers verbindet, mithilfe eines Kreuzschlitzschraubendrehers.
-
-
-
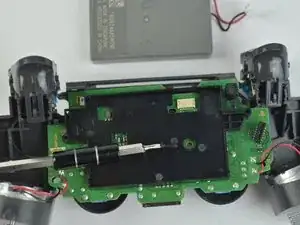
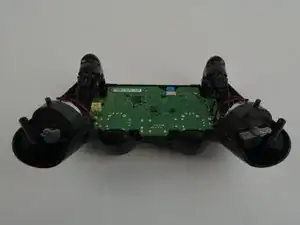
Ziehe auch das zweite Flachbandkabel heraus und trenne die inneren Bauteile oben von der Gehäuseschale ab.
-
-
-
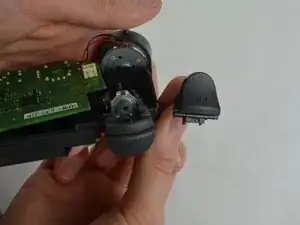
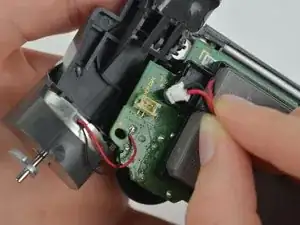
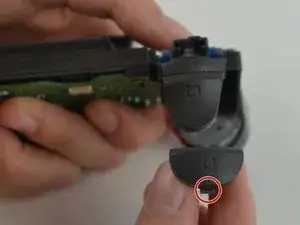
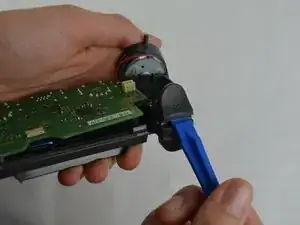
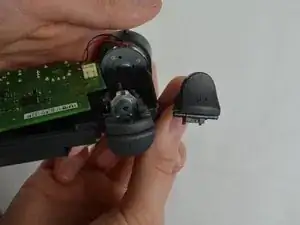
Heble die Taste mit einem Plastiköffnungswerkzeug vom Controller ab. Schiebe das Werkzeug zwischen die Tasten. Es gibt dort eine Lasche, wo du das Werkzeug einsetzen und die Taste entfernen kannst.
-
-
-
Schiebe das Werkzeug in den Spalt, der entsteht, wenn die Taste nach unten gedrückt wird. Achte darauf, dass das Werkzeug genau in der Mitte des Spalts sitzt, bevor du die Taste loshebelst.
-
Um dein Gerät wieder zusammenbauen, folge den Schritten in umgekehrter Reihenfolge.
4 Kommentare
Is it possible to replace the zct2u triggers with custom 1st gen triggers? It seems like the only major difference is the extra piece on the latest models to prevent losing the trigger.
Does this stops the issue I have that is when I press L2, my character sometimes goes forward, like the L2 would be creating contact with the left directional going forward option.
My controller lost the R1, so I need to buy one to replace it. After pulling apart my controller, I noticed the back of the L1 button looks different (the plastic connection pieces are completely different) than the photos in your directions. Are there different types of shoulder buttons available? Or is it that my controller is a different generation? If so, do you supply the pieces for this controller type?
Corbin -

When re-asembling, be careful to check that all buttons/triggers are moving correctly. They can get misaligned when prying the two shell halves apart.
Tale Spinner -
This part is missing vital information on how to correctly pry the case open. In the 3rd picture you can see there is actually damaged/broken clip already. In order to open the case without damage to the plastic clips inside the controller holding the plastics together you need to insert thin piece of metal between the trigger buttons on each side and push the clip outwards before trying to separate the parts, and if done correctly there is no force needed to pry open the controller. There is actually no necessary need for the clips, but if you want to keep your controller in mint condition without voiding the warranty, take care not to break these clips.
Ville Närhi -
Your advice for opening shell was so bad and harmful.
It's not correct
Kiarash Moallemi -
And two more tiny clips to the left and right of the headphone & EXT port. They’re VERY delicate, reckless prying WILL break at least ONE of these.
Strings Cat -
I've written a guide for how to find and unlatch the clips
Wichtiger Schritt zum Öffnen des DualShock 4 CUH-ZCT2
Richard -