Einleitung
Diese Anleitung zeigt dir, wie du die Haupteinheit vom Vorder- und Rückteil des Gehäuses ausbauen kannst.
Werkzeuge
Ersatzteile
-
-
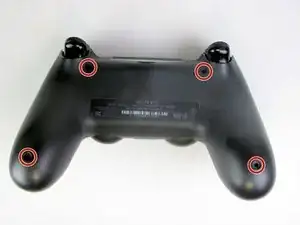
Entferne die vier 6,0 mm PH00 Schrauben, die die hintere Abdeckung am Controller befestigen.
-
-
-
Beginne am linken Handgriff:
-
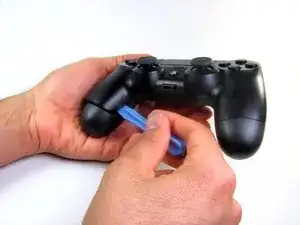
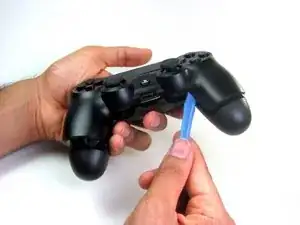
Quetsche den linken Handgriff um einen Spalt zu erzeugen.
-
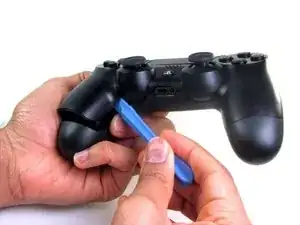
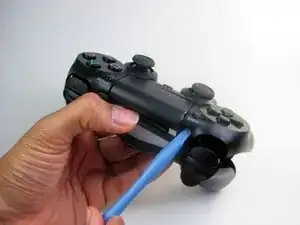
Zwänge ein Öffnungswerkzeug in die Öffnung und schiebe es in Richtung Joystick.
-
Drücke das Werkzeug nach unten bis der Deckel abspringt.
-
Wiederhole das Ganze für den rechten Handgriff.
-
-
-
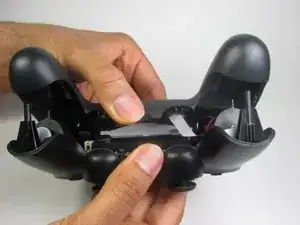
Zwänge das Öffnungswerkzeug in den Spalt zwischen den Gehäusehälften und drücke ihn nach unten um das Gehäuse in der Nähe folgender Knöpfe zu öffnen:
-
Teilen Knopf
-
Optionen Knopf
-
Nimm die Plastikdeckel auseinander, achte darauf, dass immer noch Flachbandkabel daran hängen.
-
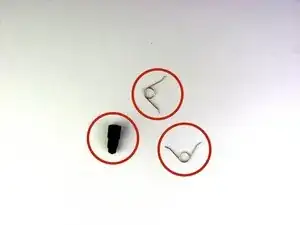
Zwei Federn an den Auslösern.
-
ein graue Verlängerung für den Reset Knopf.
-
-
-
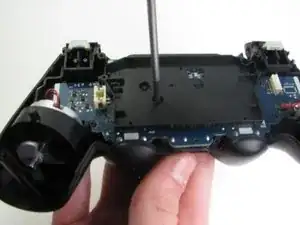
Entferne die einzelne 6,0 mm Kreuzschlitzschraube die sich unter dem Batteriehalter befindet mit einem Schraubendreher #00.
-
-
-
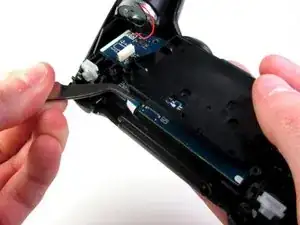
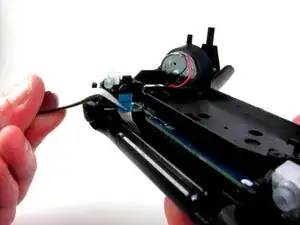
Löse das Flachbandkabel vomTouchpad zur Hauptplatine mit einer stumpfen Pinzette. Das Kabel ist an der Platine mit einem Verbinder angeschlossen, den man zum Lösen bzw. Befestigen klappen muss. Beim Wiederzusammenbau musst du den Plastikeinsatz vorsichtig von der Platine abziehen und der Klappverschluss muss offen sein.
-
-
-
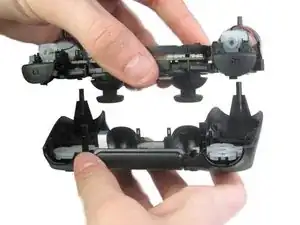
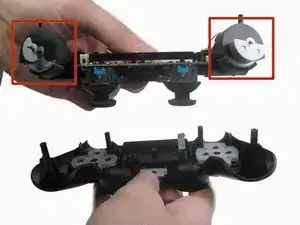
Hebe vorsichtig die Haupteinheit vom vorderen Gehäuseteil weg.
-
Die Vibrationsmotoren sind nur lose am Gehäuse befestigt. Du erleichterst das Trennen, wenn du an den beiden Enden unterstützst.
-
-
-
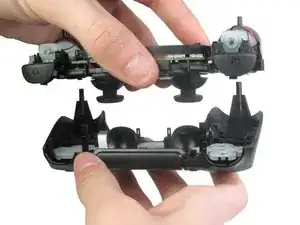
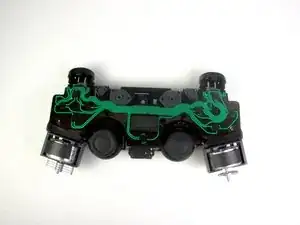
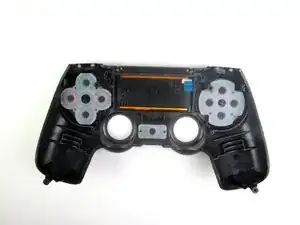
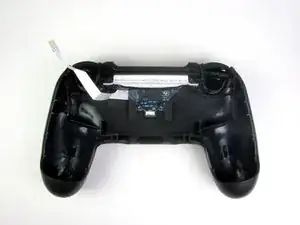
Wenn du den Controller ganz zerlegt hast siehst du folgende drei Teile vor dir:
-
Die Haupteinheit
-
Vorderes Gehäuseteil
-
Hinteres Gehäuseteil
-
Um dein Gerät wieder zusammen zu setzen folge den Schritten in umgekehrter Reihenfolge.
20 Kommentare
So my controller decided to stop charging (still stayed on until the battery completely dained) a couple weeks ago so I bought a new charging port and ribbon and replaced it put it all back together just for it to work the same not charging but on so I figured maybe it was the battery all along but this time I took my other new controller apart so I could test the battery by connecting it to the new controller to see if it will take charge which they would take charge on the new controller but when I took the new ones and put it in the old on it still wouldn't take charge I have no Idea what else to do everything else works it just won't charge even the light is still on but if I keep it connected to a USB cable it will stay on since the battery was dead but the battery status remains the same.
Same here except mine won't even work while plugged in. It just turns on and dies
there is a new and different version out (looks the same) different internals - anyone got one to show us? (Model = CUH-ZCT1E?)
Russ -
How do you put back the touchpad? That $@$* Is a &&^&^$^ paradox.
The top of the touchpad that has the groove has to be inserted at the part where the bottom of the touchpad is normally. Then you you move it up and you can wiggle it through the arc. After that it fits snugly like it supposed to.
Rick -
i too had this problem so i watched a video https://www.google.com/search?client=ope...
This saved my life on trynna put it together

Yo usé un Phillips #000, ya que el #00 quedaba grande y podía dañar el tornillo.
Adolfo Gomez Toledo -
A plain #0 works way better for me
Jennica Tapia -
I agree with Jennica, it's a #0 screw
Peeter -