Einleitung
If your Dyson Multi Floor Upright is having problems with mobility and constantly causing issues moving from place to place while in use, it is probably time to replace the wheels on your vacuum.
Werkzeuge
-
-
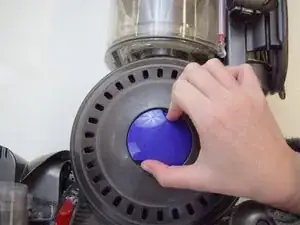
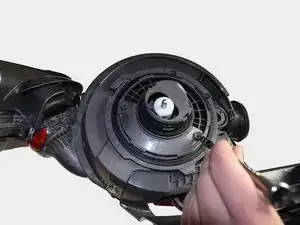
Twist the purple center circle counter clockwise until loose. This will leave the entire grey covering loosened.
-
-
-
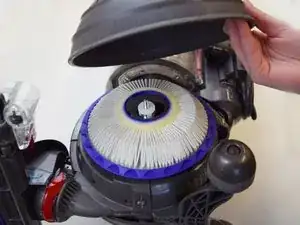
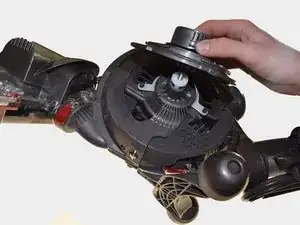
Place both hands on the filter itself and twist counterclockwise until loosened.
-
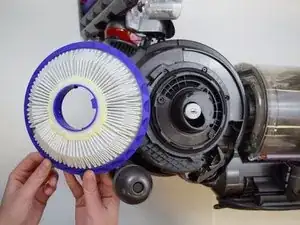
Once loosened, pull up on the entire side filter and it will easily come apart from the main vacuum stand for replacement.
-
-
-
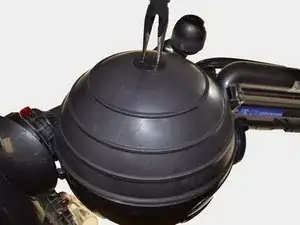
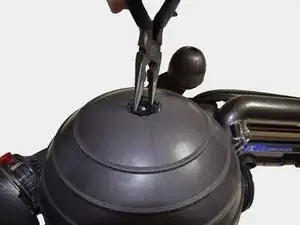
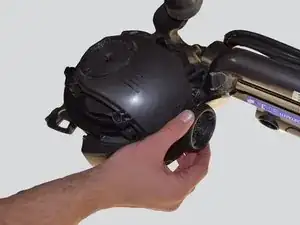
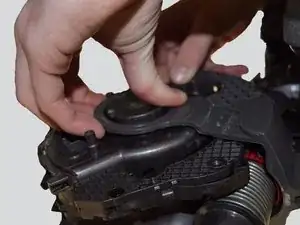
Place a pair of small needle-nose pliers in the small gray center of the side hemisphere. Twist counterclockwise and pull the small center piece out.
-
Reinsert the small needle nose pliers into the center piece that is now exposed. Twist counterclockwise until you can pull the entire hemisphere off.
-
-
-
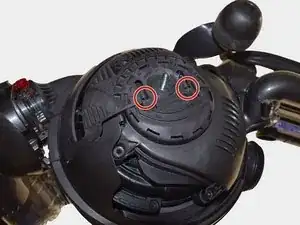
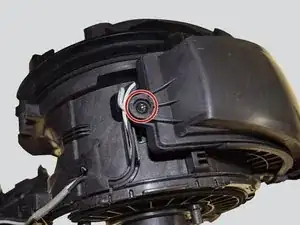
Remove the two 15 mm T-10 black screws on the side of the wheel.
-
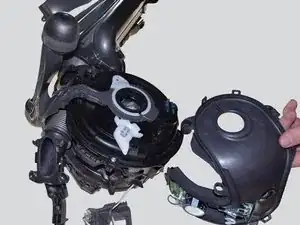
After the 15 mm T-10 black screws are removed, you will be able to remove the half circle that covers the wheel.
-
-
-
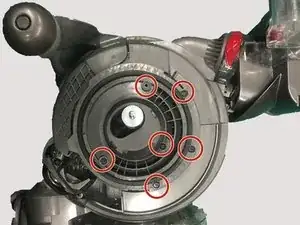
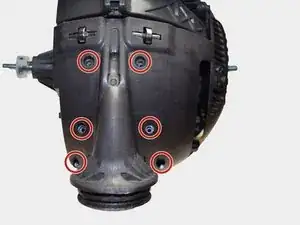
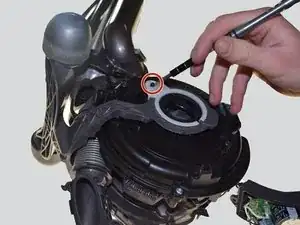
Remove the six 15 mm T-10 black screws on the left side of the vacuum.
-
Once this is done, remove the interior cover.
-
-
-
Remove the four 10 mm T-10 silver screws on the bottom of the ball of the vacuum and the two lower 15mm T-15 silver screws.
-
Firmly grab the white, three-pronged piece on the left side and pull it off.
-
Push off the right side of the piece by placing your thumbs where the first two 15 mm T-10 black screws originally were.
-
Remove the bottom piece.
-
-
-
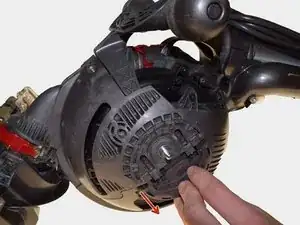
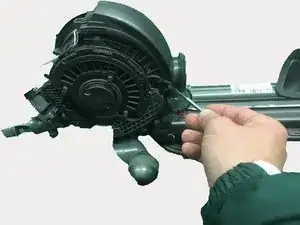
Use the flat headed metal tool to press the tab and release the last part of the outer shell
-
This part of the shell will now release and slide off easily
-
-
-
Remove the 15 mm T-10 black screw that is located where the wires enter into the vacuum using a Phillips 0 screwdriver.
-
Press into the notches on either side of the vacuum by using your thumbs. Do this for both sides of the vacuum.
-
Pull off the protective covering of the circuit board in order to reveal the circuit board.
-
-
-
Pull off the piece that includes the circuit board on it.
-
Unscrew the final 10 mm T-10 black screw on the white circle using a Phillips 0 screwdriver.
-
Pull off that side gently using your fingers, then pull off the opposite side as well.
-


To reassemble your device, follow these instructions in reverse order.