Einleitung
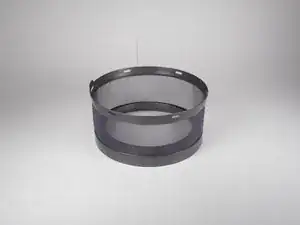
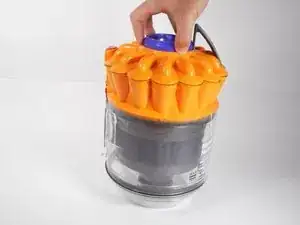
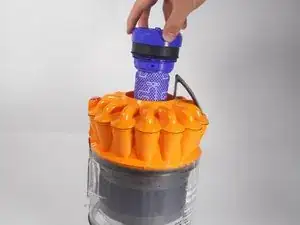
This guide will outline how to remove the cyclone filter for either cleaning or replacement. The guide requires no advanced skills and is relatively easy.
Werkzeuge
-
-
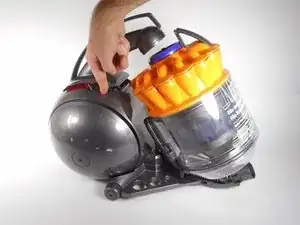
Push down on the gray button located next to the power button to release the bin from the ball housing.
-
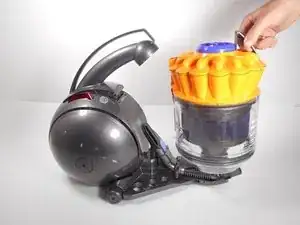
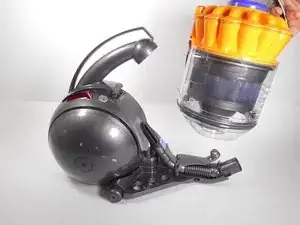
Pull the bin away, then up from the ball housing to remove it.
-
-
-
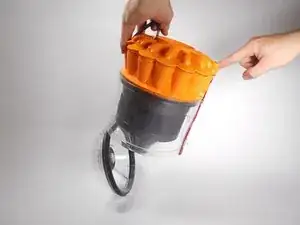
Push down on the red button, located on top of the bin, to release the bottom section of the bin.
-
-
-
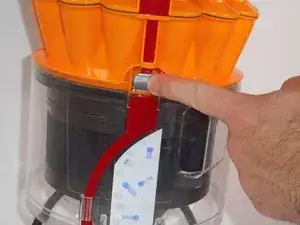
Push the grey button located in between the parts of the red lever to release the clear, bottom section of the bin.
-
-
-
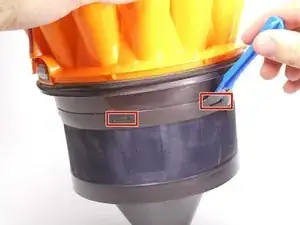
You should notice several notches around the rim of the filter. Slide the plastic opening tool around the rim to release the notches.
-
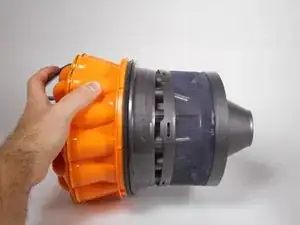
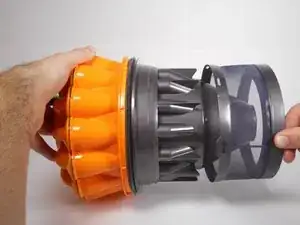
After releasing all of the notches, pull the filter away from the orange cyclone assembly to remove it from the bin.
-
To reassemble your device, follow these instructions in reverse order.
