Einleitung
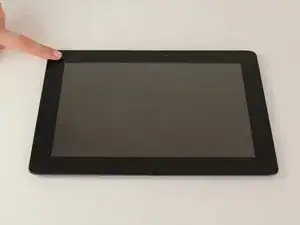
Before you begin following this guide, make sure you have a clean and flat work space in front of you. Orient the device so that the screen is face up and the "Asus" logo is in the top left corner, as seen in the Device Page cover photo.
Werkzeuge
-
-
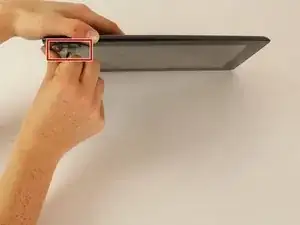
Power down your device.
-
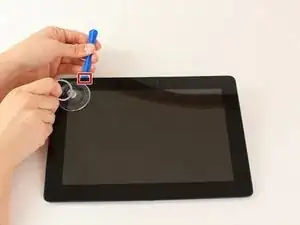
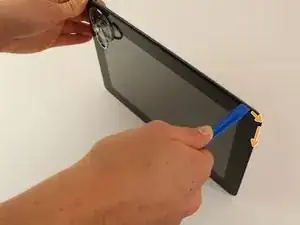
Place the small suction cup on a corner of the screen and lightly pull up to expose a seam between the screen and case.
-
-
-
Insert the plastic opening tool into the seam near the corner of the device.
-
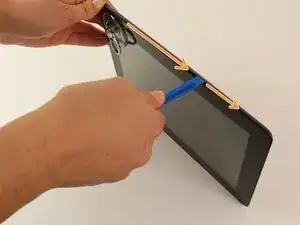
Slowly slide the tool around the perimeter of the device, gradually prying up the screen.
-
-
-
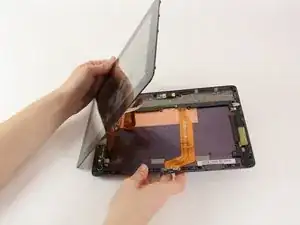
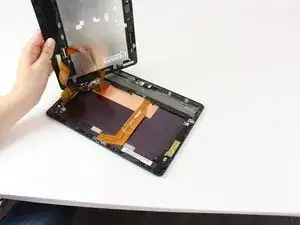
When the screen is free of all spring clips and adhesive, slowly open the device like a clam shell with the hinge being the left hand side of the device.
-
Safely place the device back on the table by laying the screen face down.
-
-
-
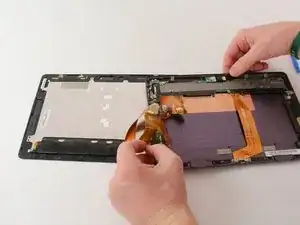
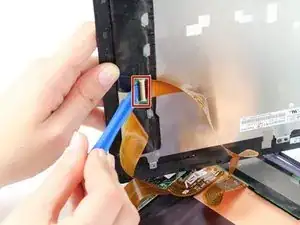
Disconnect the ribbon cable by placing a plastic opening tool under the black plastic tab that is on the opposite side of the port as the ribbon cable.
-
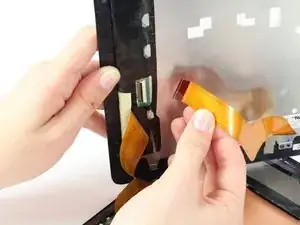
Pry upward until the black tab moves 90 degrees, and gently pull the ribbon cable out of the port.
-
-
-
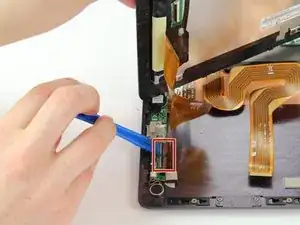
Place a plastic opening tool under the white plastic tab on one of the ribbon cable ports.
-
Pry upward until the black tab moves 90 degrees, and gently pull the ribbon cable out of the port.
-
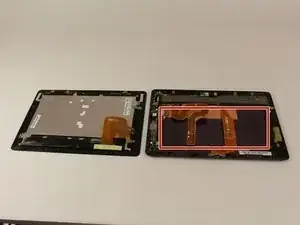
Repeat the previous process to remove the other ribbon cable.
-
-
-
Remove the battery (secured by six screws and a white wire connector) by following the removal portion of this battery replacement guide.
-
To reassemble your device, follow these instructions in reverse order.
