Einleitung

  1. uxQRh4LkNlGqnJdb
    uxQRh4LkNlGqnJdb
    RFFc6BrQA4RJvwTH
    • Because of the protruding joystick on the top of the controller, make sure to work on a soft surface or prop the controller up to avoid stress on the joystick.

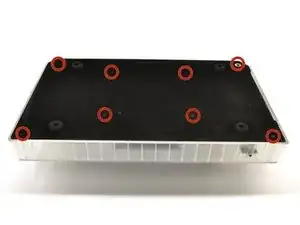
    • Place the controller face down (buttons and joystick down).

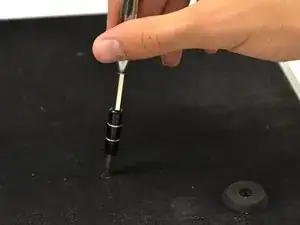
    • Use a Phillips Head #1 screwdriver to remove the eight 9.65mm screws located on the felt and metal backplate.

    • Do not confuse the four screws in the rubber feet with the eight screws in the felt. The screws in the feet do not need to be removed.

  2. INfnclvTFqGKVkLt
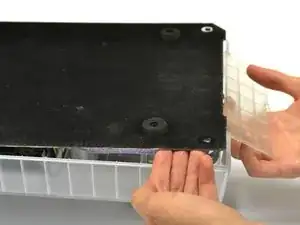
    • Open the door for the cord storage compartment on the right side of the device.

    • Reach under the panel and push upwards on the back panel. Lift it up and remove it from the device.

  3. HInPTVXOEArwukFe
    HInPTVXOEArwukFe
    KulFYLBxjitbhTS2
    EDBeeeqNwbSMdWDS
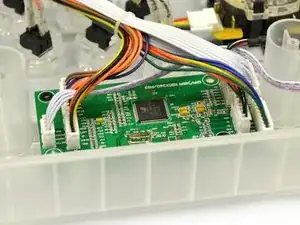
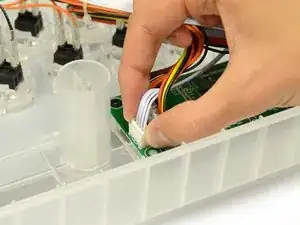
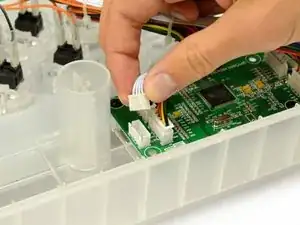
    • Make sure not to flex the logic board when removing ribbon cables.

    • Individually remove the seven cable connectors plugged into the logic board by grasping each white plug and gently pulling upwards.

  4. PNHBtRRrJuIrgwW2
    • Use a Phillips Head #1 screwdriver to remove the two 7.15mm washer head screws from logic board.

  5. QRsTLLVNnOjrNNY3
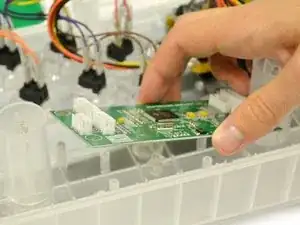
    • Gently lift off logic board up to remove from the device.

Abschluss

To reassemble your device, follow these instructions in reverse order.
Chandler Stalford

Mitglied seit: 05/02/15

101 Reputation

0 Kommentare