Einleitung

  1. aLe2olOSSSu2Hdsy
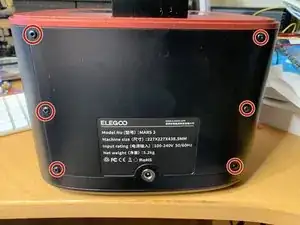
    • Remove 6 screws.

    • 12.5mm self tapping screws with 2.0mm hex socket head

  2. jDdoXcKYwLlakYGC
    jDdoXcKYwLlakYGC
    MPY2cTqUAm3UDWax
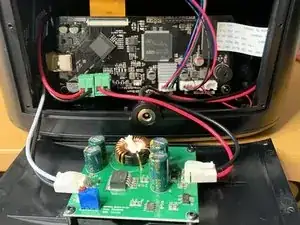
    • Use a small flat-headed screwdriver, spudger, or similar to pry open the lid enough to be able to get a grip of it and pull straight back and then fold down.

    • The back of the lid has a PCB with cables connecting it to the motherboard inside the unit. While not particularly fragile, do take care so you do not damage the connectors.

  3. 1TbNYt2MFY5a1u4Y
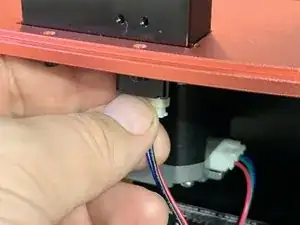
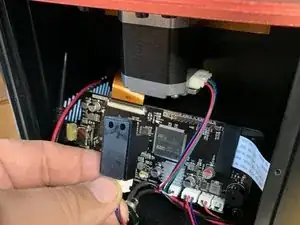
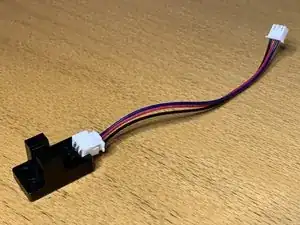
    • In my case the replacement limit switch was delivered already connected to a cable. If you are only replacing the actual switch you can skip this step and instead unplug the opposing end on the switch itself later..

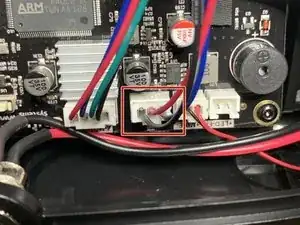
    • Remove the limit switch cable connector in the bottom right corner by pulling it straight out.

    • Be sure to pull the connector, and not the cables!

  4. wTPwpXg6QKeCnCia
    wTPwpXg6QKeCnCia
    5JwEvsPNxTkMFOEk
    PROEbVUN44cwWG4B
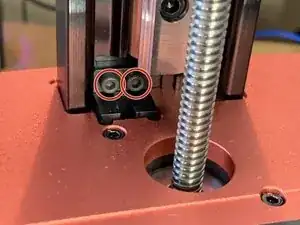
    • Remove the two screws securing the limit switch.

    • M4x7.5mm socket screw with 2.5mm hex socket head

    • Hold the limit switch in the lower end and pull it downwards.

    Where can I order this switch I can't find it online.

    Jesse Heffner -

Abschluss

To reassemble your device, follow these instructions in reverse order.
Konrad Skeri Ekblad

Mitglied seit: 10/12/17

490 Reputation

0 Kommentare