Einleitung
This simple five-step guide will show you how to replace your Element GC-1020's display.
Werkzeuge
-
-
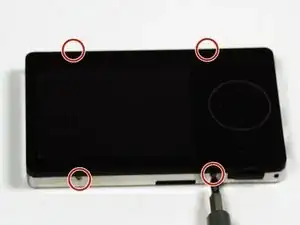
Unscrew the four screws (size: 3.175mm) on the left and right side of the Element Electronics GC-1020 device using the PH#0 screwdriver.
-
-
-
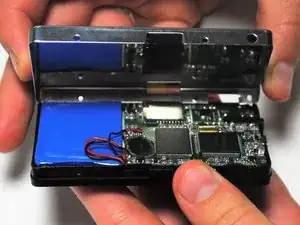
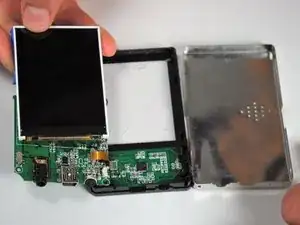
Carefully pull the back of the device (the silver portion) apart from the rest of the device.
-
-
-
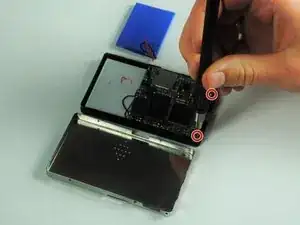
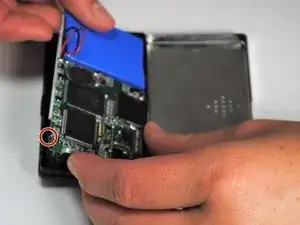
Unscrew the visible Philips head screws (size: 3.968 mm) on the motherboard located on the top of left and right sides. Use a PH #0 sized screw driver head for removal.
-
-
-
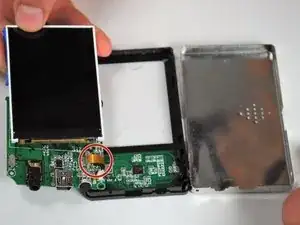
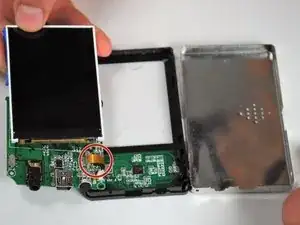
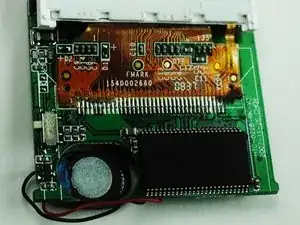
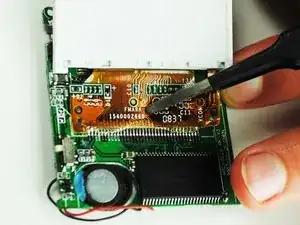
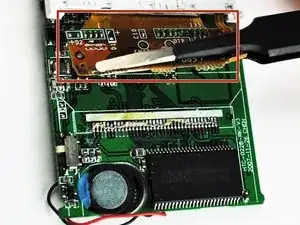
The display is attached to a dark yellow, flimsy, plastic material. This material is then attached to the motherboard. Tear off the plastic, successfully detaching the motherboard and display from each other.
-
-
-
Once the display is by itself, separate from the rest of the device, you are ready to put in your new display.
-
To reassemble your device, follow these instructions in reverse order.
Ein Kommentar
but can i ask do you know how to reboot the software ?
i mean we try to put in our music or video or image inside. can it be done
