Einleitung

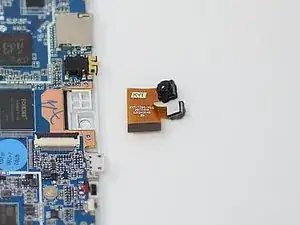
If your photos are hazy, pixelated, distorted or spotty, then this guide will show how to fix this problem by replacing the front-facing and the rear-facing camera.

  1. GJvEeAorZ1ISJukB
    GJvEeAorZ1ISJukB
    bQACUuQbHd2qf2eC
    YoZSDk3Q1KJHbIU5
    • Turn off the device before starting

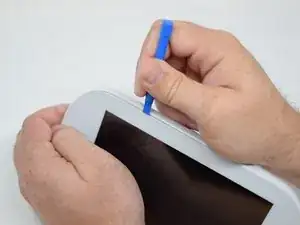
    • To prevent damage, open the device on the side without the buttons.

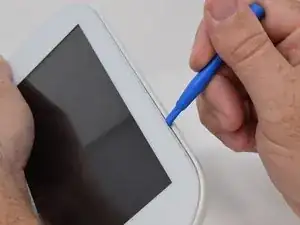
    • Insert the hooked end of the plastic opening tool in the gap between the screen and the back panel on the edge of the device.

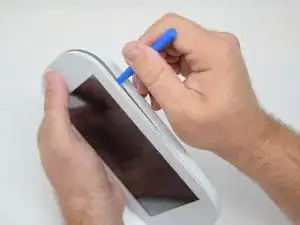
    • Slide the plastic opening tool down the long side of the device.

    • Insert tool again and slide it down the long slide of the case a second time.

  2. fgWWDdAyUVhID14M
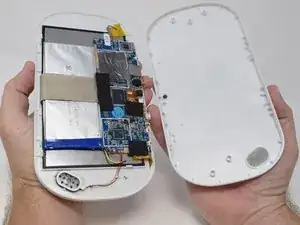
    • Pull the back panel away from the screen.

  3. v1GL4ABmbYkFmwtR
    v1GL4ABmbYkFmwtR
    ZGu1V2oqujQNs6Ns
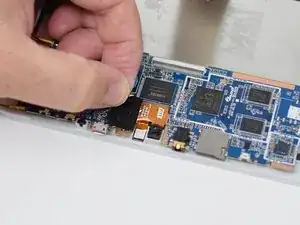
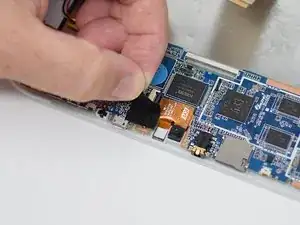
    • Remove the black tape to reveal the wire ribbon connector.

  4. vfmhREIr4BEdSPby
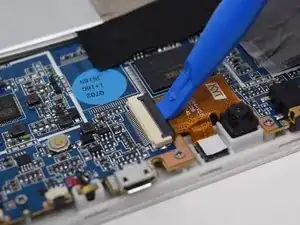
    • Use the plastic opening tool to flip up the black retaining tab.

  5. xdL1TaKHGpkw1ugV
    xdL1TaKHGpkw1ugV
    1fuWXMLN5pCqfOQf
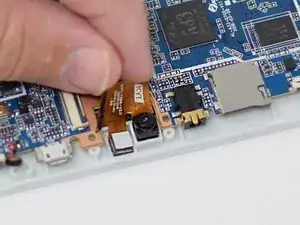
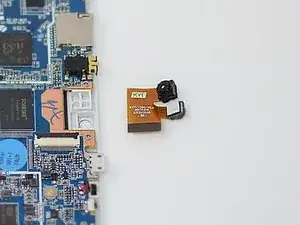
    • Pull out the wire ribbon connected to the camera.

    • The camera is held in place by glue, so extra force may be required.

    • Remove the camera from the device.

    • Close the black ribbon retaining tabs once ribbons are inserted during reassembly.

Abschluss

To reassemble your device, follow these instructions in reverse order.
Amanda Davis

Mitglied seit: 12/07/18

581 Reputation

0 Kommentare