Einleitung
Following our troubleshooting page, you have diagnosed the problem to be a defective speaker.
Werkzeuge
Ersatzteile
-
-
First, be sure to power off the device.
-
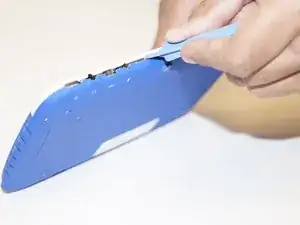
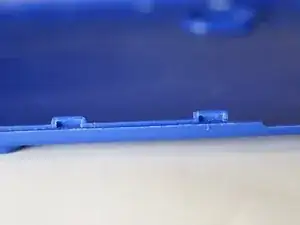
Carefully pry open the device. Note the plastic tabs in the image that hold the device together.
-
-
-
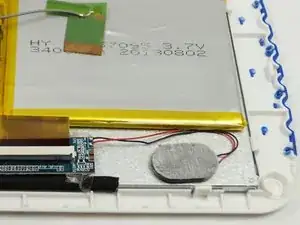
Locate the speaker in the bottom right hand side of the device. Note the red and black wires attaching the speaker to the motherboard.
-
-
-
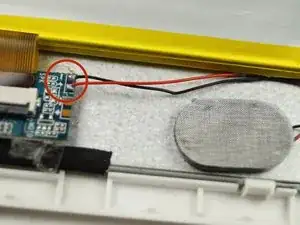
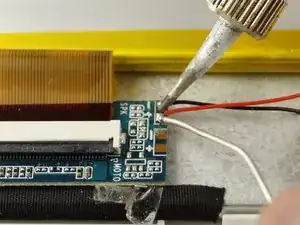
Carefully remove the soldered wires from the motherboard. Note the positive and negative symbol where the red and black wires are soldered to on the motherboard.
-
-
-
Carefully, solder the new speaker wires to the motherboard in the same fashion as the old speaker. The red wire to the '+' symbol and the black wire to the '-' symbol.
-
-
-
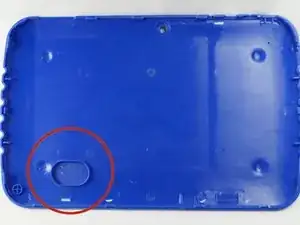
Once the solder points have cooled, position the speaker into the speaker housing on the back bezel as shown in the image.
-
To reassemble your device, follow these instructions in reverse order.
