Einleitung
Werkzeuge
-
-
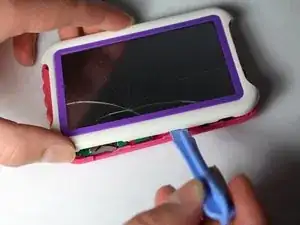
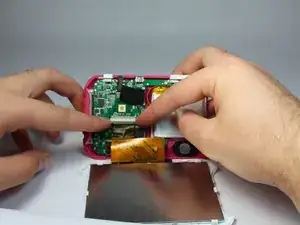
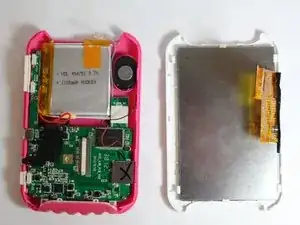
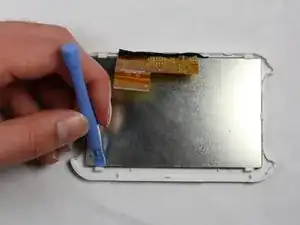
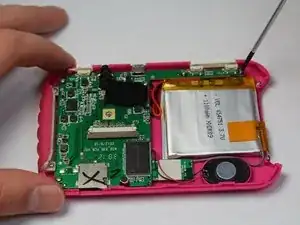
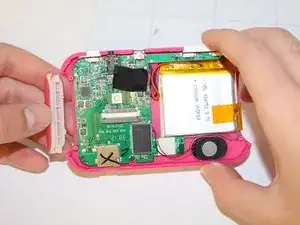
Disconnect the LCD cable from the motherboard by pressing together the two sides of the clamp to separate the device into two.
-
-
-
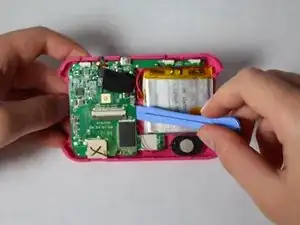
If you need to remove the back part of the casing, after disconnecting the LCD display from the motherboard, remove the screws holding down the motherboard. Remove the plastic power and volume buttons. remove the two side grips of the device.
-
-
-
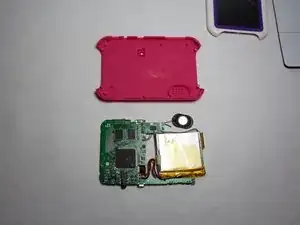
Remove the motherboard, speaker, and battery as a whole, which leaves just the back casing of the device.
-
Abschluss
To reassemble your device, follow these instructions in reverse order.

