Einleitung
The cooling fan is a vital part to any machinery. A faulty cooling fan could cascade into many more, much harder to fix problems for your device. So when trouble brews, a good place to start looking is your cooling fan.
-
-
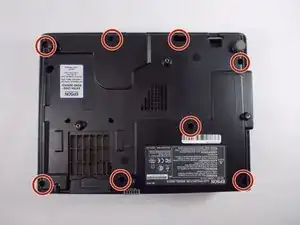
Place the projector so that the bottom is facing upwards
-
Remove eight screws from the bottom of the device.
-
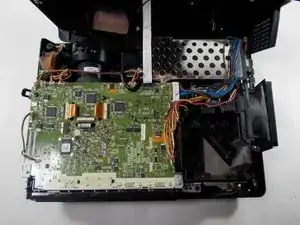
Open the cover.
-
-
-
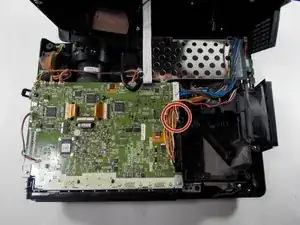
Carefully remove the 2 separate wire connections from the fan to the corner of the motherboard. These are right next to each other.
-
Make sure to remember or document which wires connect to which port.
-
-
-
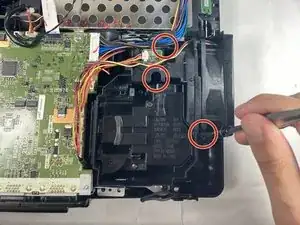
Remove the fan assembly from the projector.
-
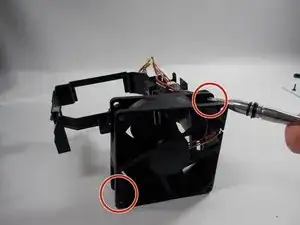
Remove the two screws in diagonal corners of the fan.
-
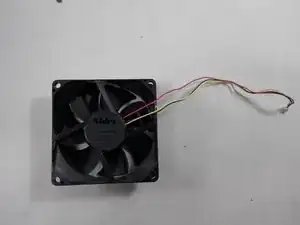
Remove the fan from its housing.
-
Abschluss
To reassemble your device, follow these instructions in reverse order.