Einleitung
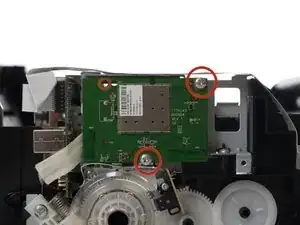
The motherboard connects and supplies power to every part of the printer. If your printer is unresponsive, then a connection may be faulty and you will need to remove the motherboard to assess what is wrong.
Werkzeuge
-
-
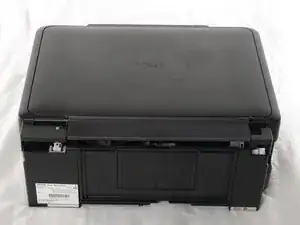
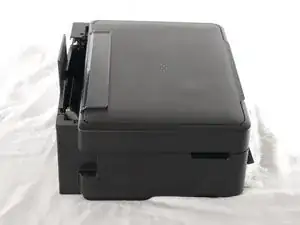
Align your printer so that the front buttons face to the right.
-
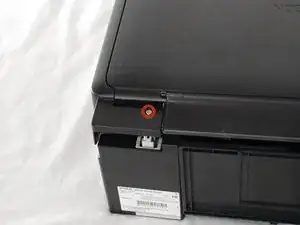
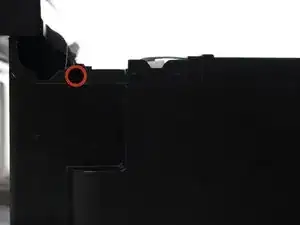
Remove the 3mm Phillips #2 screw in the hole in the top left corner. This screw attaches the side panel to the printer.
-
-
-
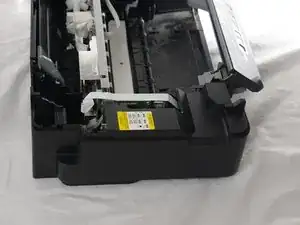
Flip and remove the top of the printer up so that you can see the inside.
-
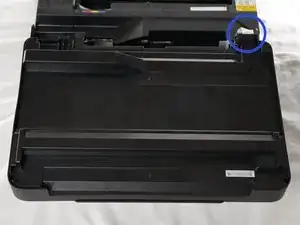
There is a white strip in the top right corner of the printer called the ribbon cable.
-
-
-
Align the printer so the front button panel faces to the right.
-
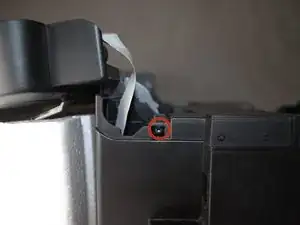
Remove the 3mm Phillips #2 screw on the side of the printer in the top left corner.
-
-
-
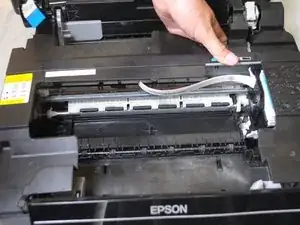
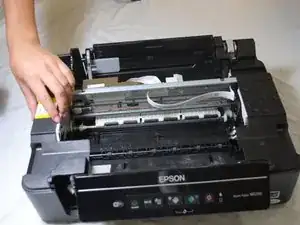
Take the right side of the bar of plastic that runs across the top of the inside of the printer and push it towards the left side of the printer.
-
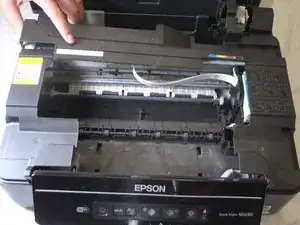
Take the left side of the bar and push it to the left and then to the right.
-
-
-
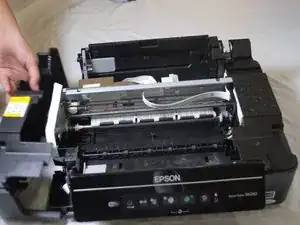
Using your hands, detach the side panel from the printer.
-
You may need to use the plastic opening tools to pry apart the locking mechanisms.
-
To reassemble your device, follow these instructions in reverse order.
