Einleitung
If your dryer is turning on and not heating you likely have a broken heater element. This guide will show you how to remove, diagnose and replace your element. This guide is for most basic front loading Whirlpool brand or off-brand dryers.
- COMMON SENSE (THIS IS ~240V!)
Ersatzteile
-
-
Don't be an idiot. This is 240 volts (twice a normal outlet) Unplug your dryer before you even think about starting.
-
-
-
Disconnect your vent hose. This is pretty standard some have band clamps and some have squeeze clamps.
-
-
-
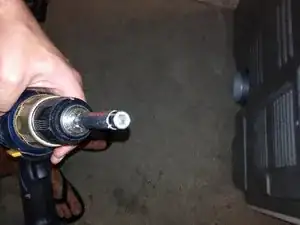
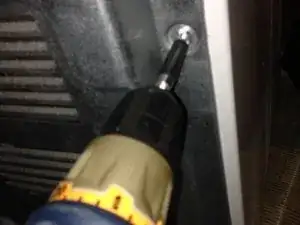
Pull the dryer back from the wall. Most Whirlpool made dryers have 9 (1/4") screws holding the back cover on. Don't forget to remove the cover plate for the cord. Save the screws in a safe place. I used my drills bit holder it's exactly 1/4" and worked perfectly.
-
-
-
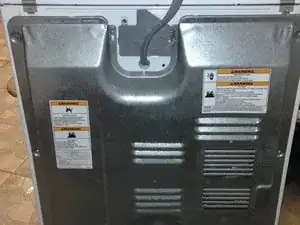
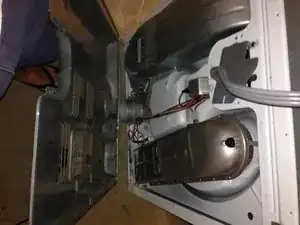
After removing all screws gently remove the rear cover and cord cover, place them against a wall. Be careful the edges of these can be sharp!
-
-
-
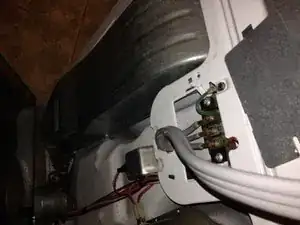
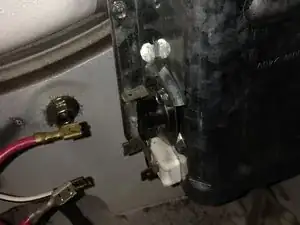
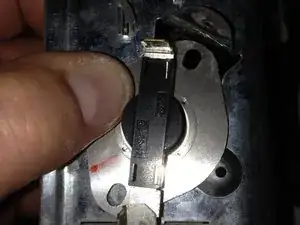
The dryer element is located in the bottom right corner of the case. Make note of the connection locations, I recommend taking a picture with your phone.
-
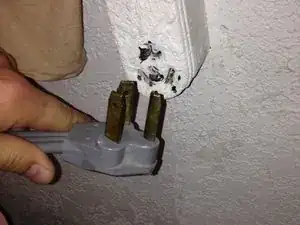
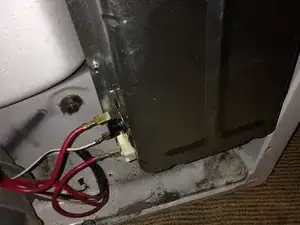
Remove the connectors to the element.
-
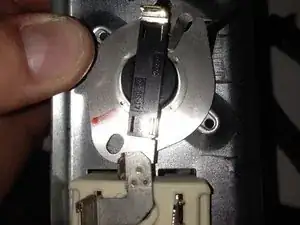
There are two more screws holding the element housing to the dryer, remove these and the element will come free by sliding down or pulling back.
-
-
-
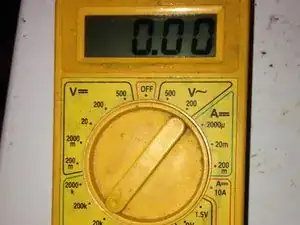
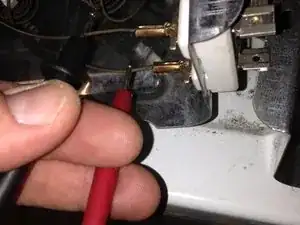
Set your multimeter to 20K Ohms.
-
Connect the leads of the multimeter to your element, if your element is functional you will receive a 0.00 reading, if it is faulty the resistance will vary or your multimeter will show 1. You can also visually inspect the element coil. Usually if the element has failed there will be a break somewhere in it.
-
-
-
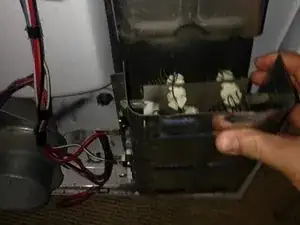
If you've verified the old element has failed, set them up sideways next to each other as shown. You will see your new element is missing a piece. Most new elements do NOT come with the high limit thermostat, this will need to be swapped over.
-
With your 6mm socket remove the bolt holding the high limit thermostat and *gently* pry back the top tab. Again *gently* pull the "L" shaped connector off the element terminal.
-
Your new element may or may not come with a screw hole for the thermostat. If not pry the tab back and slide it into the hole in the element where the old screw hole was and slide the "L" connector back onto the new terminal.
-
-
-
Slide the new element housing back in place, reinstall the two screws holding it on and reconnect the terminals.
-
Installation of the remaining components is reverse of removal. This is pretty straight forward.
-
Re-install the cover, reconnect the vent hose, reconnect the plug and test.
-
That's it! You DID IT! Test the dryer, open the door and hold the contact for the door, make sure the element is heating up (you will see an orange glow).
-

To reassemble your device, follow these instructions in reverse order.