Einleitung
This guide will illustrate how to replace the Eureka SuctionSeal 2.0 Pet Brush Roll. Refer to this guide if your vacuum has low suction or you are having difficulty pushing the vacuum.
Werkzeuge
-
-
Place the device upright with the brush roller closest to you.
-
Pull up on the latch at the top of the dust cup.
-
Tilt the top of the dust cup forward and pull towards yourself, removing the container from the device.
-
-
-
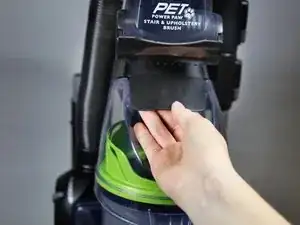
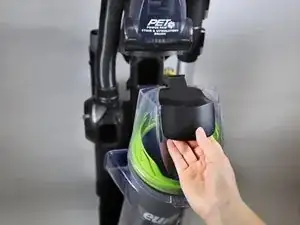
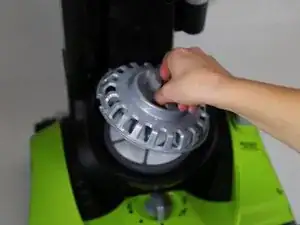
Locate the gray exhaust filter cover at the top of the vacuum's base.
-
Grip the two tabs in the middle of the filter cover and rotate counter-clockwise.
-
Lift the cover away from the vacuum.
-
-
-
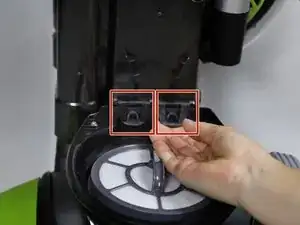
Pull up and unhook the two front tower latches using two fingers. These are located at the base of the tower.
-
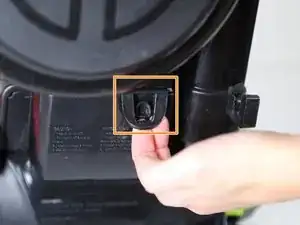
Pull up and unhook the latch on the back of the tower.
-
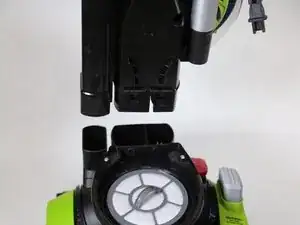
Firmly lift the vacuum tower up and out of its stand.
-
-
-
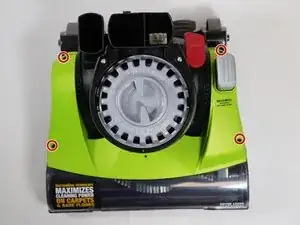
Remove the four 20mm screws on the top of the vacuum head's cover using a JIS 1 screwdriver.
-
-
-
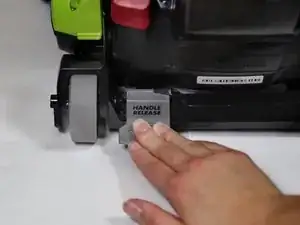
Turn the vacuum head so that the back is facing you.
-
Press the handle release pedal.
-
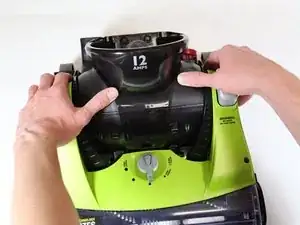
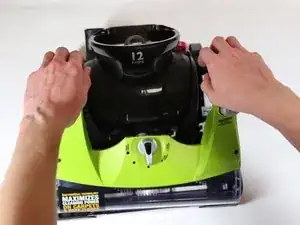
Rotate the top of the motor cover down while pressing on the pedal release.
-
-
-
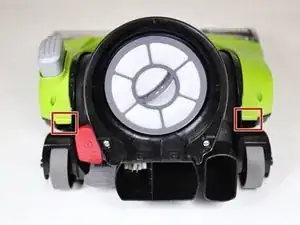
Locate the two tabs on the back of the cover.
-
Pull up on the tabs and lift the cover away from the device.
-
-
-
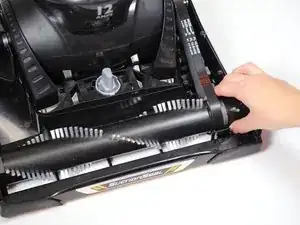
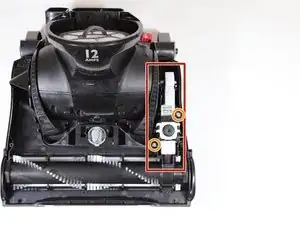
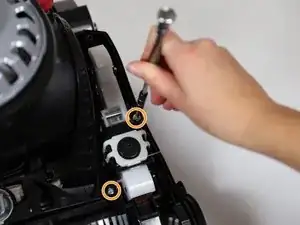
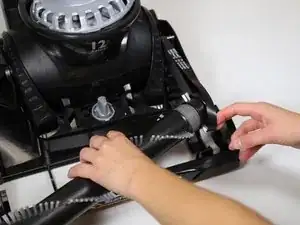
Locate the belt latch assembly. It will be on your right when the brush roll is facing you.
-
Remove the two 20mm screws using a JIS 1 screwdriver.
-
-
-
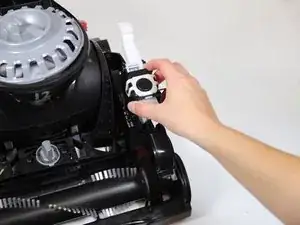
Grab the brush roll on both ends.
-
Lift up on the right side of the brush roll.
-
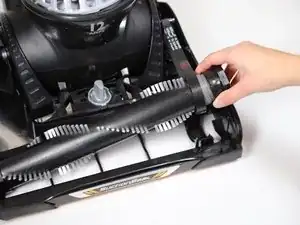
Lift up on the left side of the brush roll, completely removing it from its frame.
-
Separate the brush roll from the belt and remove the brush roll from the vacuum.
-


To reassemble your device, follow these instructions in reverse order.