Einleitung
Repair is complicated because no spare parts could be found.
Werkzeuge
-
-
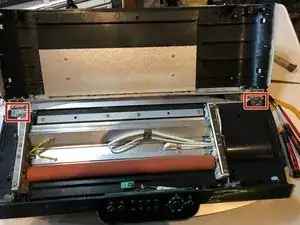
Opening the cover : push buttons on the left and right side. The right side has a coil to prevent opening under power and can get stuck.
-
-
-
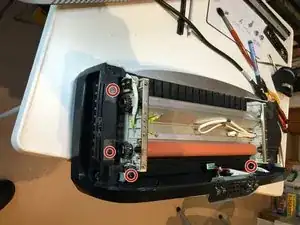
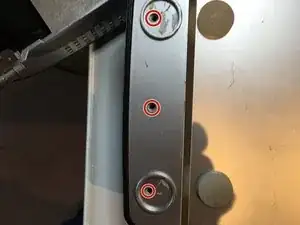
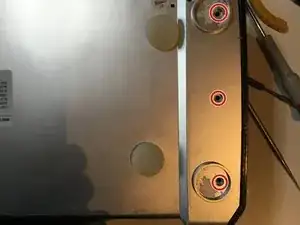
Turn laminator upside down and remove 6 bottom screws
-
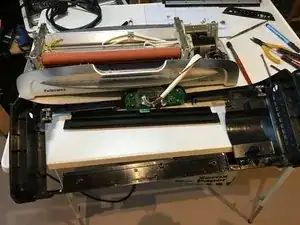
When all screws are removed the inside cover can be lifted up
-
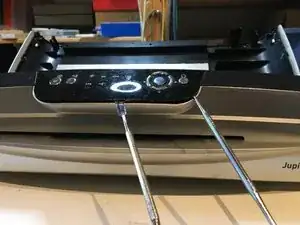
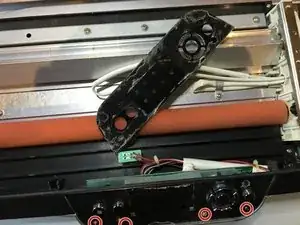
Remove the panels with led in front of the orange roll (sorry no picture).
-
-
-
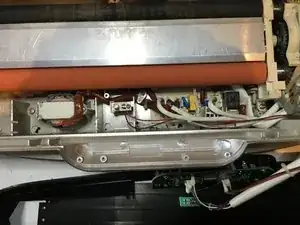
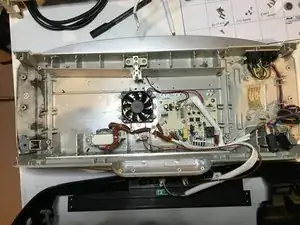
You now have access to the inside
-
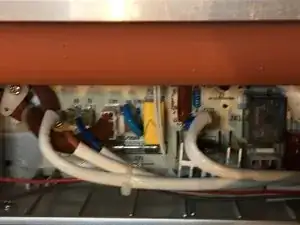
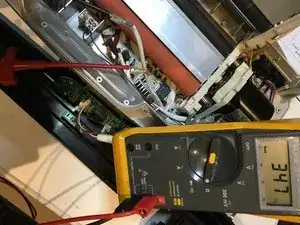
To measure the heating resistors detach the brown an blue wires leading to the roller assembly. Not the ones coming from the power cable and microswitches.
-
Ohmmeter result:
-
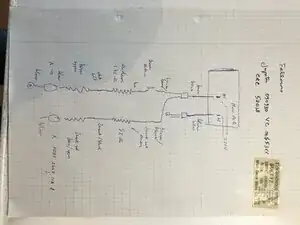
80 ohm : everything OK
-
340-350 ohm : main heating circuit (above and under black rollers) broken
-
100 Ohm : preheating (horizontally between orange and black rollers) broken
-
-
-
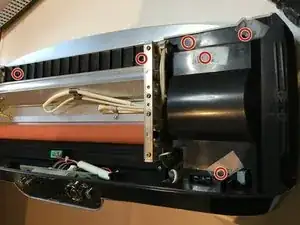
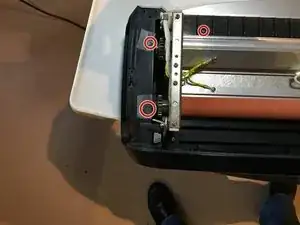
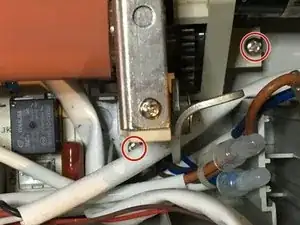
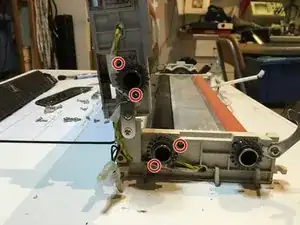
There are six screws fixing the motor and heating assembly to the bottom. (only two show in picture). Remove them and lift the assembly free
-
-
-
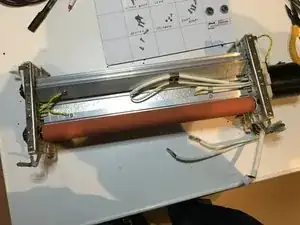
Heating elements are fixed on the left and right with two screws
-
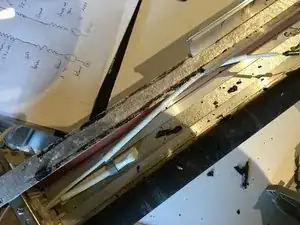
And the resistor can be slided out.
-
This diagram helps detecting the faulty resistor.
-
-
-
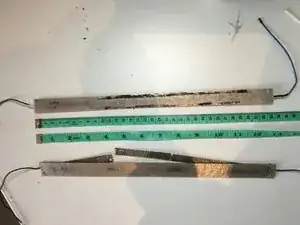
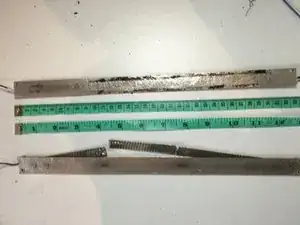
I was unable to find spare resistors. But since I had two identical laminators, both with a broken resistor above the upper black roll, repair was possible.
-
Many thanks if somebody can point to a provider for these spare parts
-
To reassemble your device, follow these instructions in reverse order.

