Einleitung
Preamp tubes play an important role in increasing sound volume. These devices are responsible for creating a slight increase in a sound wave to prepare it for further amplification from the power vacuum tubes. Because these two types of tubes work so closely together, it is important to check the preamp tubes along with the power tubes when the amplifier seems faulty.
Werkzeuge
Ersatzteile
-
-
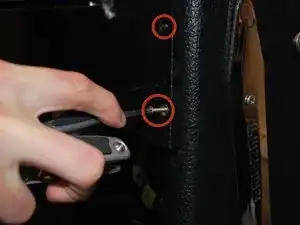
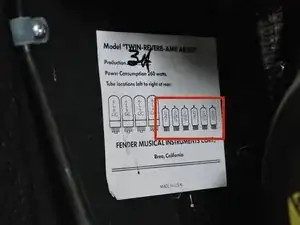
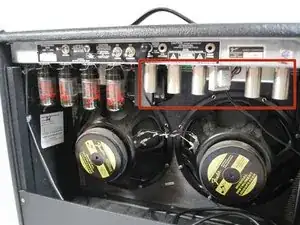
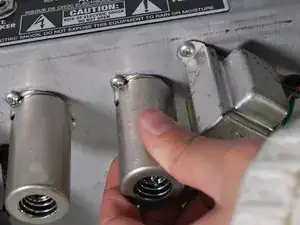
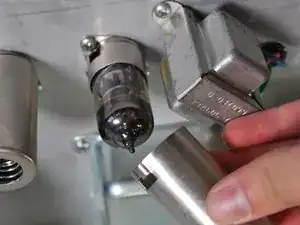
Take off the back panel by unscrewing the four Phillips head screws on the back of the amplifier. You will find the six preamp tubes are the smaller ones on the right. (The picture only shows five of the six.)
-
-
-
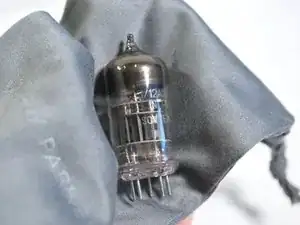
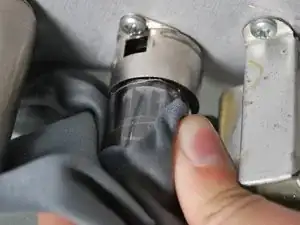
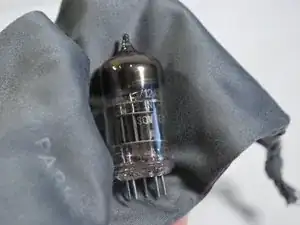
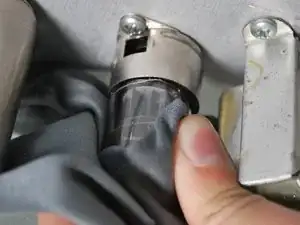
Using the cloth, remove one tube by firmly grasping and gently pulling downwards.
-
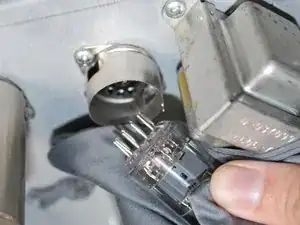
Pulling directly downwards prevents damage to the hookup prongs at the bottom of the tube.
-
-
-
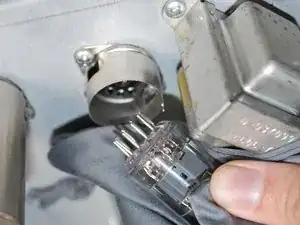
Check the tube for any cracks in the glass. Also check to make sure the filaments are not burnt out.
-
If the tube is still functioning or to insert the replacement or, proceed to step five.
-
-
-
Take the new replacement tube and insert it into the appropriate slot, making sure that the prongs at the end line up with the correct holes.
-
You should hear a click when the tube is secured in place.
-
Repeat these steps with the other three tubes if necessary.
-
To reassemble your device, follow these instructions in reverse order.
