Einleitung

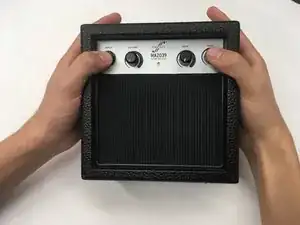
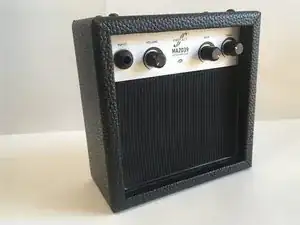
Learn how to disassemble your First Act MA2039 and remove dust to prevent the device from overheating.

Before starting it's important to use a compressed can of air as opposed to other alternatives such as shop vacuums or by simply blowing away the dust with your mouth.

  1. RhmCba1QLXL3pXPi
    • Before starting it's important to use a compressed can of air as opposed to other alternatives such as shop vacuums or by simply blowing away the dust with your mouth.

    • Using your mouth to blow away the dust does not have a strong enough pressure as a can of compressed air does. Also your mouth can end up blowing water particles from your saliva, corrupting and destroying electrical components.

    • While shop vacuums can supply the same amount of pressure as a can of compressed air, the shop vacuum will more likely end up spraying much larger particles and pieces of debris into the amplifier.

  2. tFPPO2JEPuLYYPxy
    tFPPO2JEPuLYYPxy
    XD2yb3RLHZhTMvCN
    h1nwGQahnRTLMrCA
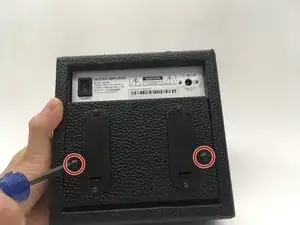
    • Unscrew the two 25 mm screws out of the back panel. The two 25 mm screws are located on the left and right side of the battery cartridges with a Phillips #0 screwdriver.

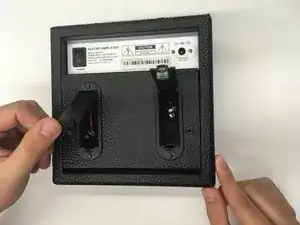
    • Lift both cartridge lids so that they stand upright.

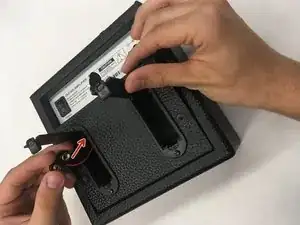
    • Locate the two battery terminals. As you begin to slowly remove the amplifier's back panel, feed the two battery terminals back to the amplifier so that they are no longer inside the battery cartridges.

  3. LubxEEonEJ2CBEFJ
    LubxEEonEJ2CBEFJ
    rMVHgpMbM2O5bMEE
    5Wr2U5qaSDKWHir3
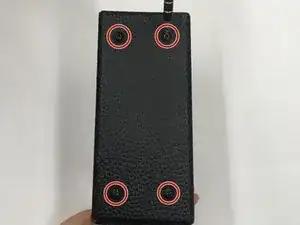
    • Next, set the MA2039 amplifier upright and begin unscrewing the four 25 mm screws with a #00 screwdriver.

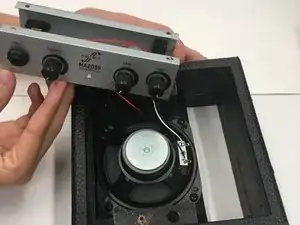
    • Place your thumbs on the the input jack and the tone dial. While securing the back of the silver compartment with the rest of your hands, firmly push the silver panel out of place towards the backside of the amplifier.

  4. mhoH5PNKN3NoymAe
    mhoH5PNKN3NoymAe
    32Lxm11DhpKSJcOA
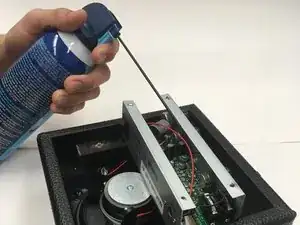
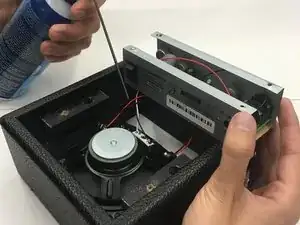
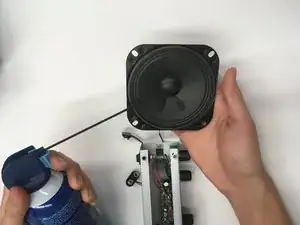
    • Thoroughly spray all parts of the amplifier.

    • Keep the nozzle of the compressed air at least 1 inch away from the part you are spraying.

    • WARNING: Do not inhale compressed air. While the name may lead people to believe it is just air the composition is heavier than air. Inhalation displaces the carbon dioxide in your system and can cause hypoxia and other negative side effects.

    • Extended use of canned compressed air can cause the can to be cold to the touch. Contact with the can could result in moderate frostbite. To prevent this from happening wear any type of gloves made of cloth or leather material and try to keep can upright at all times.

  5. MQ6vKrIPS5BtPTTv
    MQ6vKrIPS5BtPTTv
    WnOFTRbJtCqWteRM
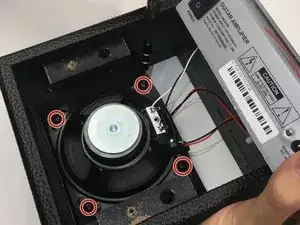
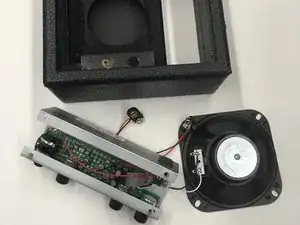
    • After dusting remove the subwoofer.

    • Begin by unscrewing the four 12 mm screws that are holding the subwoofer firm with a Phillips #00 screwdriver.

    • The subwoofer and silver compartment, while attached, will now be separable from the amplifier.

  6. gCZkFYIcRUEDKQqf
    gCZkFYIcRUEDKQqf
    jmC1oZV4cSNUZetY
    Fq14RITRylPsuuQ4
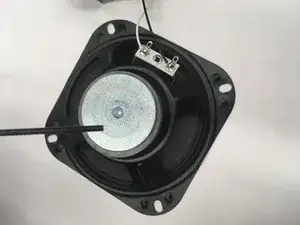
    • Spray the front and back of the subwoofer until clean of dust.

    • Spray the front and back of the black mesh located on the amplifier.

    • Enjoy crisp, clean sound for everyone to hear!

Abschluss

To reassemble your device, follow these instructions in reverse order.
Nicholas Norlin-Pritchard

Mitglied seit: 05/04/18

256 Reputation

0 Kommentare