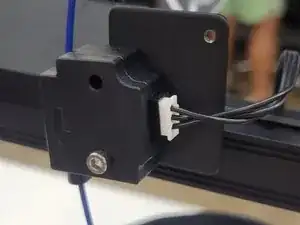
Einleitung
Werkzeuge
Ersatzteile
-
-
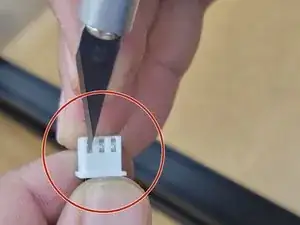
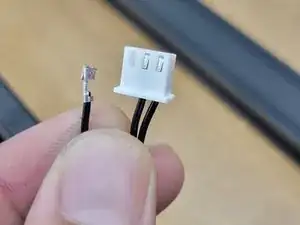
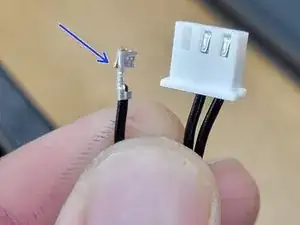
Depin outside pins on the original sensor. Use the sharp point of an exacto tool or similar.
-
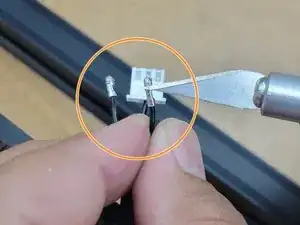
Gently, bend the detent back out at a slight angle so it catches when re-inserted.
-
-
-
Detent shown at a slight angle so it catches when re-inserted.
-
Wires should be twisted with outer 2 wires swapped.
-
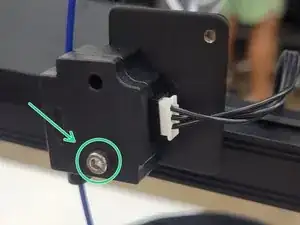
Use included m3x16 SHCS to attach new sensor.
-
-
-
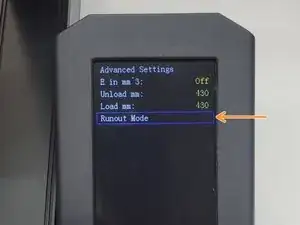
Navigate from the display to Configuration>Advanced>Filament>Runout Mode
-
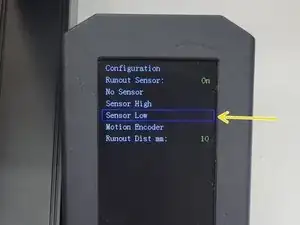
While hovering over Sensor Low, press the knob.
-
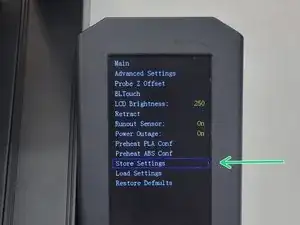
Navigate to Configuration>Store Settings and press the knob. You'll hear a confirmation beep.
-
