Einleitung
Werkzeuge
-
-
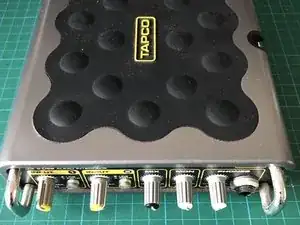
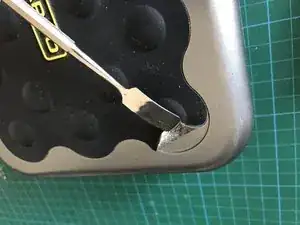
Pry the rubber off the top of the device
-
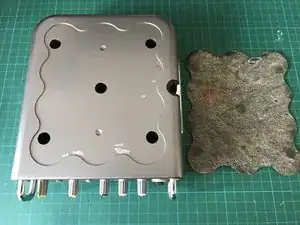
All the rubber
-
Use your fingernails, then pull with your bare hands. Do no use a heat gun or prying tool as they will damage the adhesive.
-
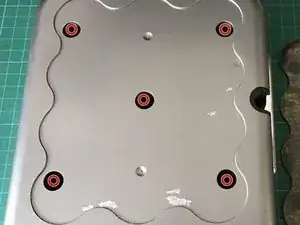
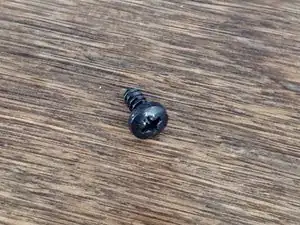
5 screw holes will appear. Leave them alone for now.
-
-
-
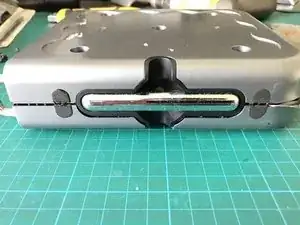
Look at the side of the device with the metal stand
-
Take a heat gun to the two small foam pads
-
You only need to pry off the halves on the top plastic shell
-
Put scraps of glossy paper on the foam pads to prevent them from sticking on again
-
Alternatively, if you do not mind sacrificing aesthetics, you may slice the foam pads down the middle as in the picture.
-
-
-
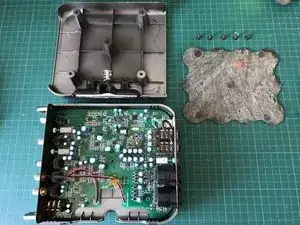
You could now lift out the whole innards
-
They are not attached to the bottom shell
-
No, the mess of glue is how it left the factory
-
-
-
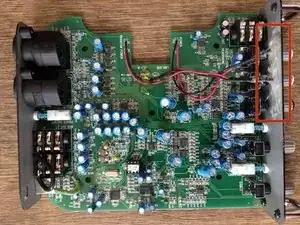
Look for a small metal rectangle with a hole
-
It's supposed to give a Kensington lock a better hold than the thin backplate
-
It's insufficiently glued on
-
To reassemble your device, follow these instructions in reverse order.

