Einleitung
2018 Update: Volkswagen of America has issued a recall for this problem. If you're having this issue, considering calling your local VW dealer as this repair should be covered as part of the recall. Link to recall
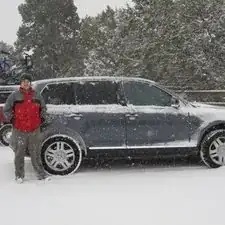
My 2005 Touareg has been putting off a smell of gas that's becoming more and more noticable. When my Touareg is parked in the garage overnight, it was making the whole garage smell of gas fumes. Even when entering the car in an open parking lot, I could smell gas around the driver's side rear door.
I did some homework and found several people talking about gas smells coming from their Touaregs.
Check out this thread, and post #27 in particular over at VW Vortex: Gas Leak on Touareg
Here's some important notes:
- You are going to work with gasoline in this procedure. Please use necessary safety precautions.
- I'd recommend starting with less than half a tank of gas.
Werkzeuge
Ersatzteile
-
-
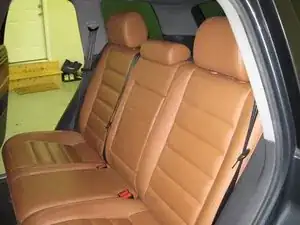
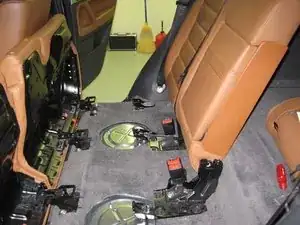
Start by removing the rear seat backs. Here's some detailed steps.
-
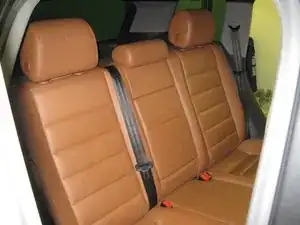
Flip the bottom of the seats forward. Remove the headrests, and lay the seat-backs down flat.
-
-
-
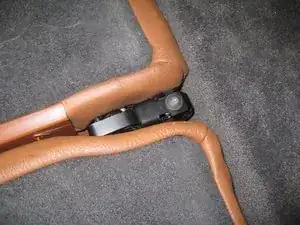
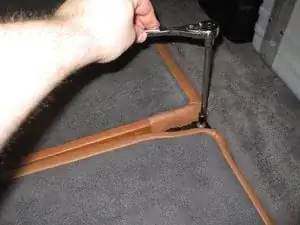
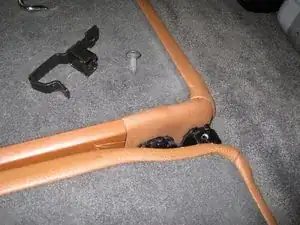
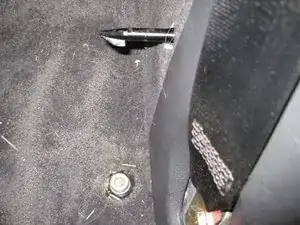
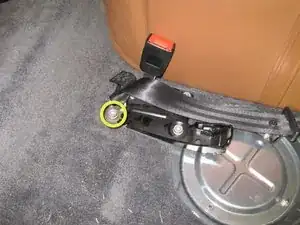
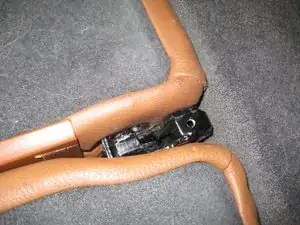
Using a T30 Torx driver, remove the bolt that secures the clip in place.
-
Remove the clip. Do this by rotating the clip toward the front of the car - don't worry if you can't get it completely out. You can remove the clip after the left seatback is removed. Just be sure you can get the left seatback loose.
-
-
-
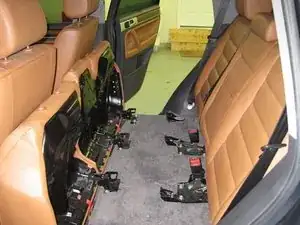
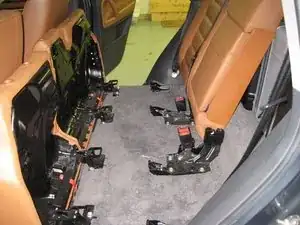
Remove the left seatback.
-
To accomplish this, the seatback needs to be free of the mounting bracket toward the inside of the car (see previous step).
-
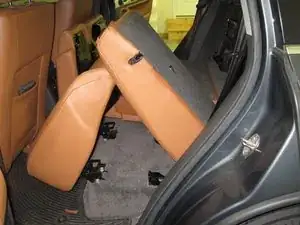
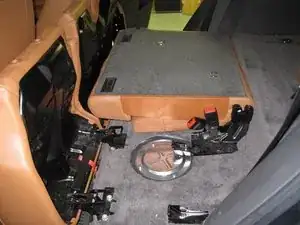
The seat needs to lean forward then pushed toward the center of the car to release it from the side of the vehicle.
-
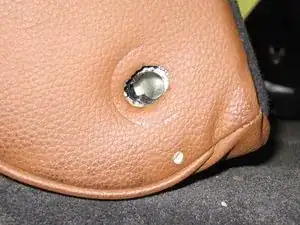
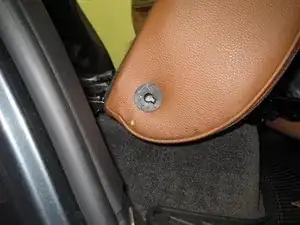
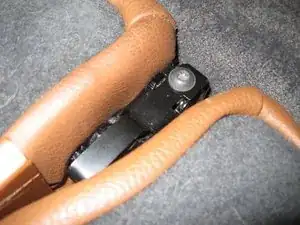
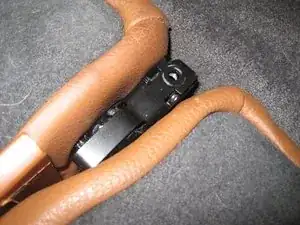
See the pics to get an idea of the angle needed and what the mounting pin looks like on the side of the vehicle.
-
A couple important notes about my pictures:
-
The picture of the seatback leaning forward shows the seat bottom being used as a support - this was for the photo only to give you an idea of the angle. When removing the seatback, the seat bottom needs to be all the way forward.
-
The picture of the seat (removed from the vehicle) lets you see inside the hole that engages the mounting pin. There's a piece of plastic trim missing from this photo. My trim broke during a prior removal attempt...
-
-
-
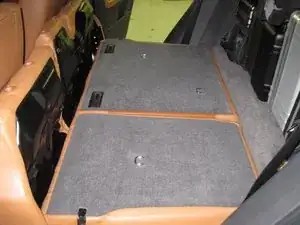
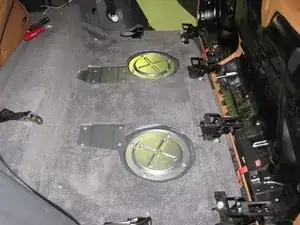
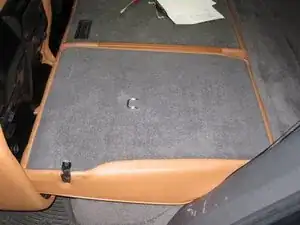
Prepare to cut the carpet to access the fuel tank ports.
-
Raise the left seatback and lock it in place.
-
-
-
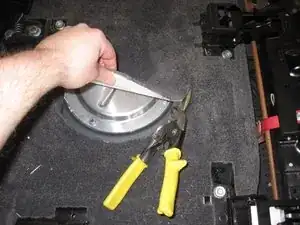
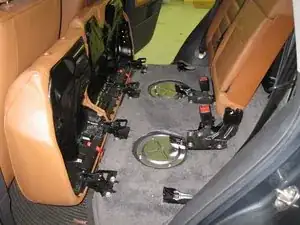
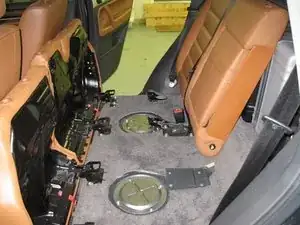
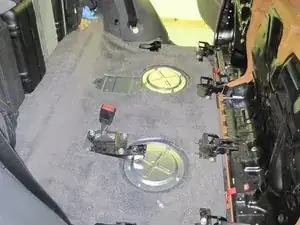
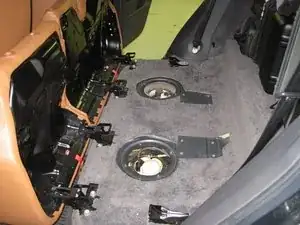
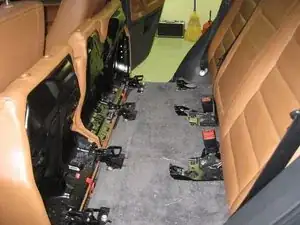
Cut open the carpet to access the fuel tank ports. Notice that the interior carpet is perforated giving you a guide of where to cut.
-
Do this on both sides of the vehicle.
-
-
-
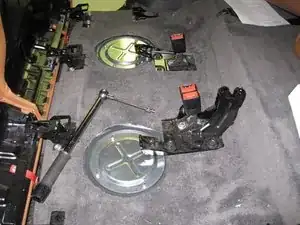
Remove the seatback bracket.
-
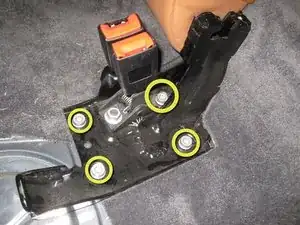
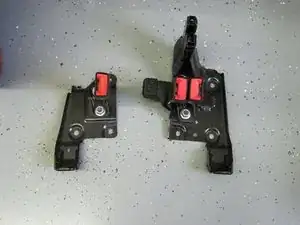
Use a 10mm triple square driver to remove the 4 bolts on the seatback bracket.
-
You will have to move the right seatback around a bit to free it up from the bracket.
-
When free, remove the bracket from the vehicle.
-
-
-
Remove the right seatback.
-
This is similar to the left seatback.
-
Lean the seat forward 30° or so. While leaning forward, push the seat toward the center of the vehicle to release the seat from the pin on the side of the vehicle.
-
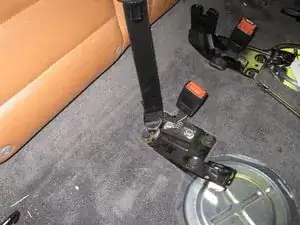
The center seatbelt is attached to the floor. You need to remove the 10mm triple square bolt before the seat can be removed from the vehicle.
-
Once the seatback is free, remove it from the vehicle.
-
-
-
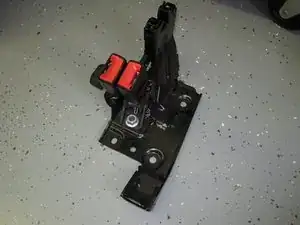
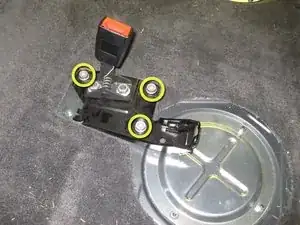
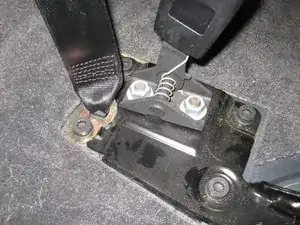
Remove the seatbelt bracket for the right side.
-
To do this, remove the three 10mm triple square bolts attaching the bracket to the floor.
-
-
-
Here's some notes about the triple square tool and bolts.
-
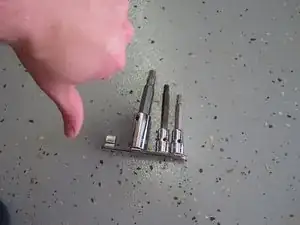
I've tried a number of triple square drivers over the years, mostly with poor results. Good ones are expensive!
-
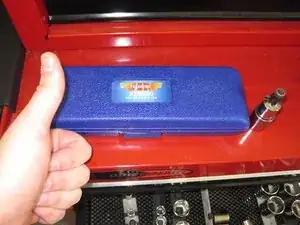
Here's a rather inexpensive triple square driver set (around $30): VIMXZN100 from Amazon
-
I had a set from SK Tools that was very poor - the drivers were very loose when you put them in the bolt head you were trying to remove. They'd slip and strip the head of the bolt. Not recommended!
-
Please note that these triple square bolts are extremely tight and difficult to remove. It's not that their just tight, they have lock-tight or something on them that make them hard to remove all together. They don't just "break loose".
-
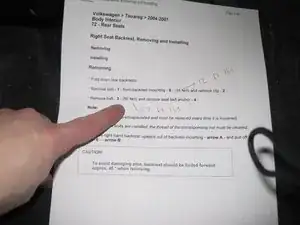
The official VW repair manual states these bolts are to be replaced and not re-used. VW part number for these: N 910 260 03. Available from World Impex.
-
-
-
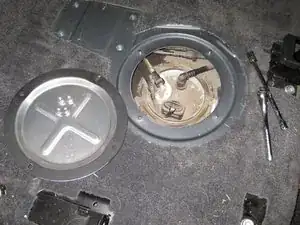
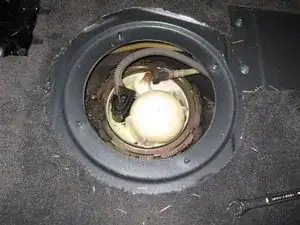
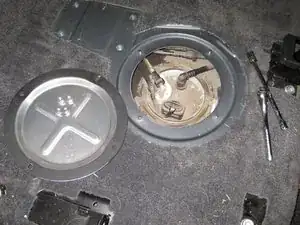
Using a 10mm socket, remove the 4 bolts that cover the gas tank access cover.
-
Remove the covers - on mine, the smell of gas was very much present now!
-
Do this on both sides of the vehicle.
-
-
-
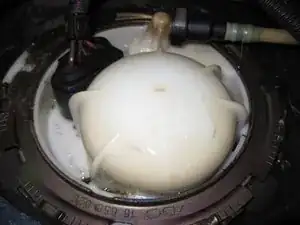
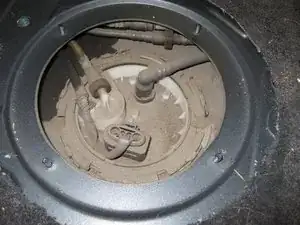
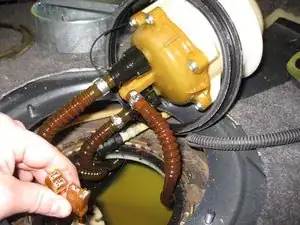
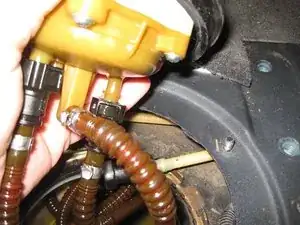
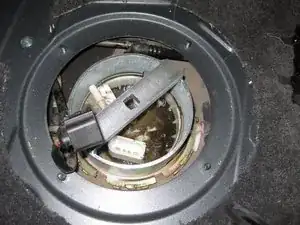
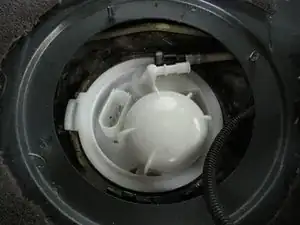
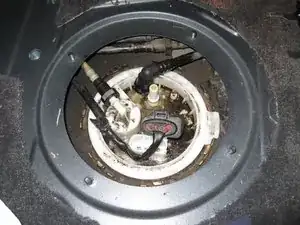
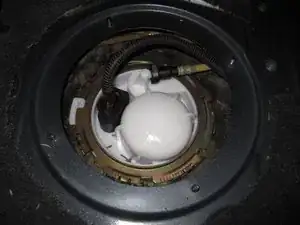
Look here! There's gas floating around on top of the driver's side. It also looks "clean" and shiny (compared to the passenger side).
-
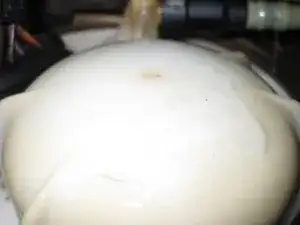
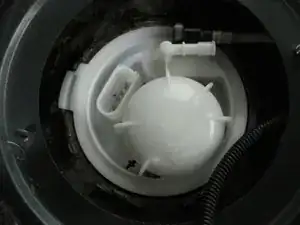
Upon closer inspection (and a tip from Crazyhippy) the leak is at the top of the dome. Zooming in shows about a 1/8" crack seen in the pictures as a discoloration at the top of the dome.
-
When the fuel pump is on, the gas is flowing. Even after the pump stops, the gas keeps coming out (as I imagine the system is still under pressure).
-
VW part number for this assembly is 7L0 919 679. World Impex has a VDO equivalent (the original is made by VDO as well) for under $100. See here.
-
-
-
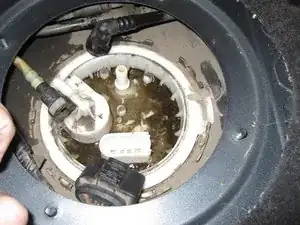
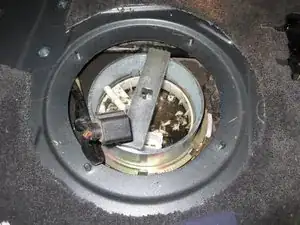
On the passenger side, the gas tank looks dirty and un-touched. I don't think there's a gas leak here.
-
You can see that some gas is present outside of the access port - I suspect this is from the leak on the driver side being splashed around.
-
-
-
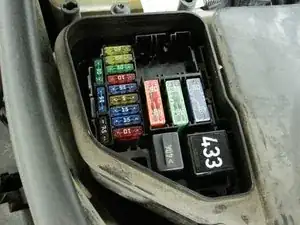
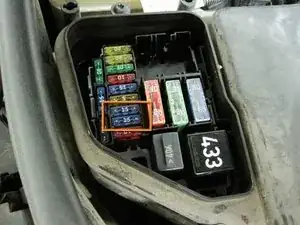
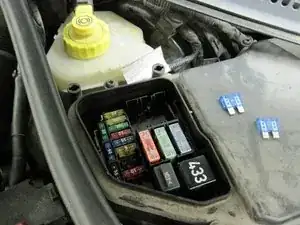
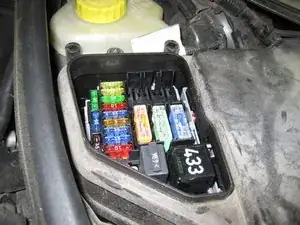
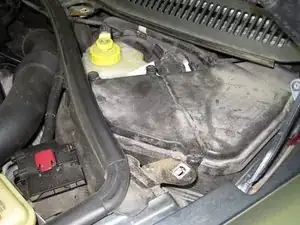
Remove the fuses for the fuel pumps. These are fuse number 13 and 14 (according to the VW service manual). These are found under the hood.
-
Pop the hood
-
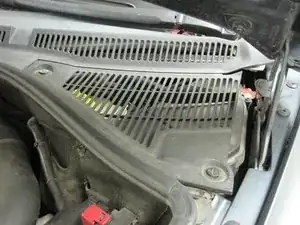
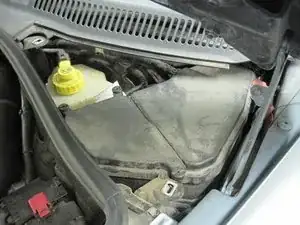
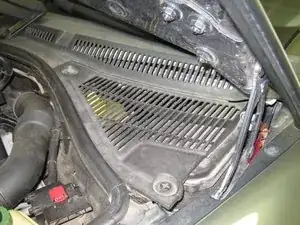
Remove the two access panels on the driver's side near the firewall.
-
Use a large flat blade screwdriver to open each. The screws turn 90° to disengage.
-
These fuses are highlighted and removed in the next step.
-
-
-
Fuses 13 and 14 are highlighted. Note that these are marked as 15 amp fuses.
-
Pull them out and set them aside.
-
-
-
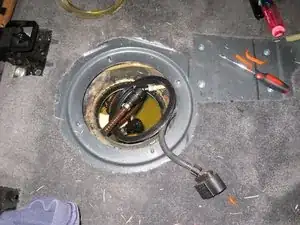
Go back to the fuel tank access ports.
-
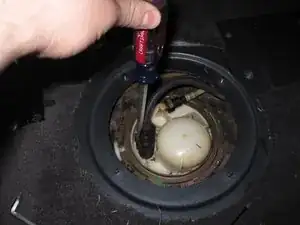
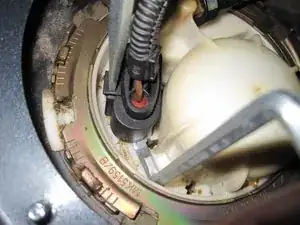
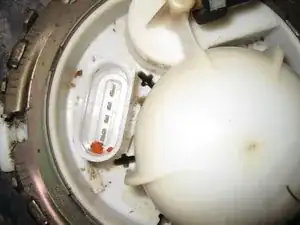
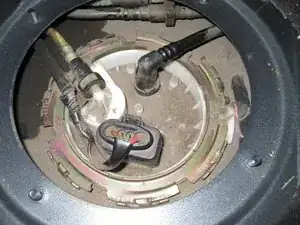
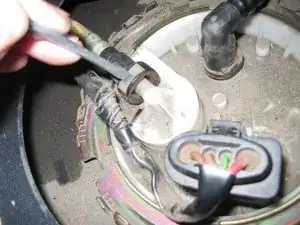
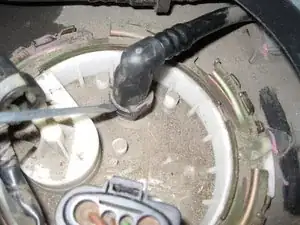
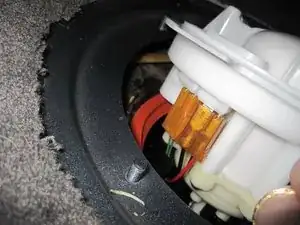
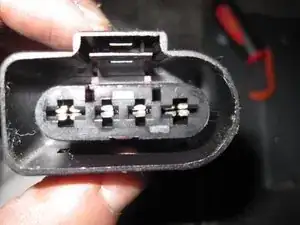
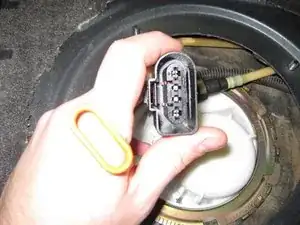
Remove the electrical connector for the fuel pump.
-
Use a large flat blade screw driver to insert into the tab. Gently push the top of the screw driver toward the wires.
-
Pull up on the connector. If yours is difficult to remove, you can get some extra leverage from a 90° screwdriver as shown.
-
Be sure to release the latch (using the large flat blade screwdriver) before prying up with the 90° screwdriver.
-
-
-
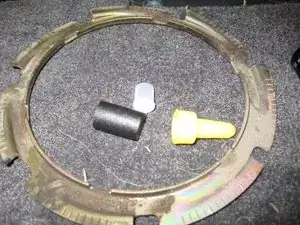
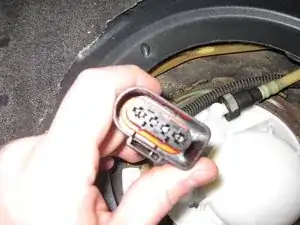
On my vehicle, the amount of gas that was leaking caused the gasket in the electrical connector to breakdown.
-
As you can see here, the gasket came out and was in pieces.
-
We'll fix this later.
-
-
-
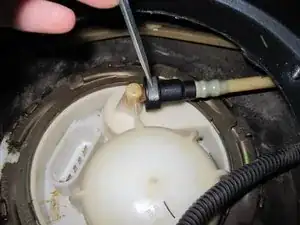
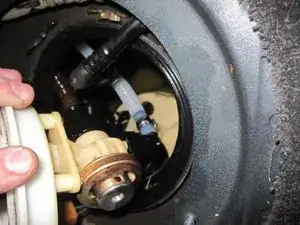
Remove the vent hose from the fuel filter assembly.
-
Do this by pressing down on the small tab on top of the connector.
-
This tab stands out as a white part on the otherwise black connector.
-
While the tab is pressed down, slide the connector off the filter assembly and push it aside.
-
-
-
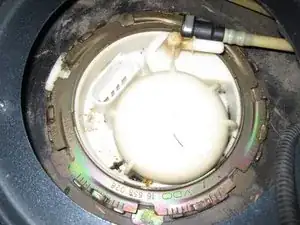
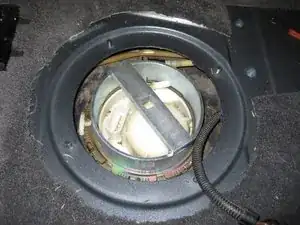
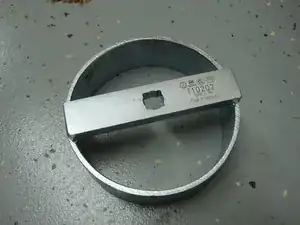
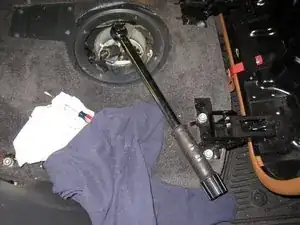
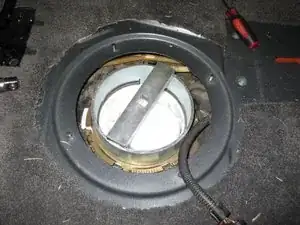
Place VW Tool T10202 on the ring that secures the fuel filter assembly in place.
-
Use T10202 to remove the ring.
-
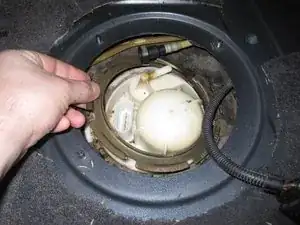
Pull the ring off and set it aside.
-
Tool T10202 is a specialty tool that can be ordered from a few VW tool places for $25-$50.
-
This tool made things incredibly easy to remove (and later reinstall) the ring. The alternative is to beat around in here with a screwdriver and hammer. I can't imagine doing that.
-
This tool was worth every penny for this job!
-
-
-
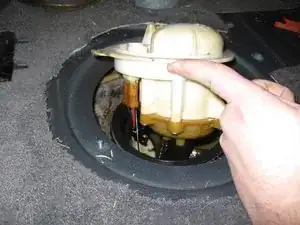
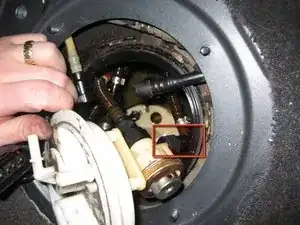
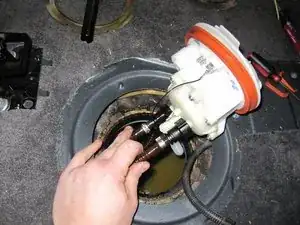
Pull the fuel filter assembly out of the gas tank.
-
There are many connections on the assembly that will restrict you from pulling it out.
-
The first thing you'll run into are the electrical connections.
-
Pull these off and set them aside. They are going to fall into the tank. You may be able to rest them on something - or you may have to fish them out of the tank later if you lose track of them.
-
Notice how these connectors are installed so you can reinstall them later. One is polarized (meaning it can only attach in one direction) - the other is not. I suspect that the non-polarized connector can go on either way without harm - but I wouldn't chance it.
-
Pay attention to the direction it is when you take it off so you can reinstall it the same way later.
-
-
-
Remove the fuel lines from the fuel filter assembly.
-
There are three lines - you are only removing two of them.
-
Remove the two lines that have plastic connectors on the ends.
-
Release the connections by pressing in on the plastic tabs similar to the vent hose connection we did in a previous step.
-
The large fuel line has two tabs (one on each side) - I was able to squeeze this with my fingers to remove.
-
The small fuel line has one tab - I used a screw driver to push that tab in.
-
After you push the tab(s) in, pull the fuel line off.
-
The third hose on the fuel filter assembly is fastened by a metal clip - do not remove this one. We'll remove the other end of this hose in the next step.
-
-
-
Now move to the passenger side.
-
Remove the fuel pump electrical connector just like you did on the other side.
-
Remove the vent hose the same as you did on the other side (the white line).
-
Remove the black fuel line by pressing in on the tab as shown. When the tab is depressed, gently pull up on the fuel line.
-
I had a little gas come out of the fuel line - so have a rag handy to clean it up.
-
-
-
Pull this fuel assembly up and out of the fuel tank.
-
You need to remove the fuel line indicated in the picture. This is the line that connects to the fuel filter assembly on the other end (and the other end is permanently attached to the fuel filter assembly).
-
Like all the other connections, this connector is removed by depressing the tab and pulling the fuel line off.
-
-
-
Now go back to the driver's side.
-
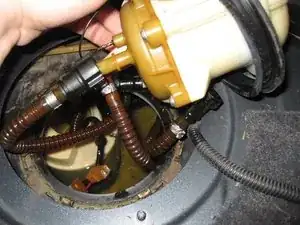
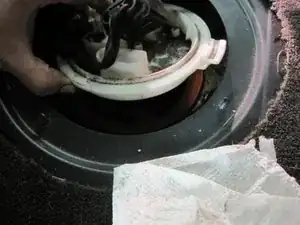
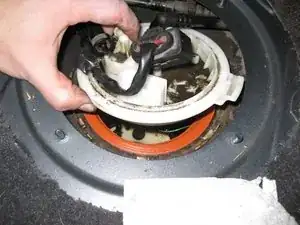
You can pull the fuel filter assembly out of the vehicle.
-
-
-
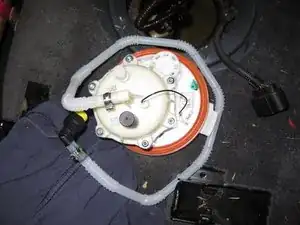
Prepare the new fuel filter assembly for installation.
-
Temporarily place a new fuel tank gasket on the fuel filter assembly (the gasket is orange)
-
Remove the protective caps from the new fuel filter assembly. They are found on every fuel line connection.
-
-
-
Now you need to fish the long fuel line through the gas tank to the passenger side port.
-
Start by inserting the new fuel filter assembly and fuel line into the driver's side.
-
Go to the passenger side and find the new fuel line and pull it far enough to reach the assembly on that side.
-
Attach the new fuel line to the existing passenger side assembly.
-
Push the new fuel line on until you hear or feel a click.
-
When successfully mated, you shouldn't be able to pull the fuel line off (unless you press on the tabs).
-
Temporarily set things down on the passenger side and go back to the driver's side.
-
-
-
Back on the driver's side...
-
Connect the two fuel lines inside the fuel tank to the fuel filter assembly.
-
These lines are different sizes so you can't mix them up.
-
Again, press these lines on until you hear or feel a click. You shouldn't be able to remove the hose by pulling on it (unless you press the release tab).
-
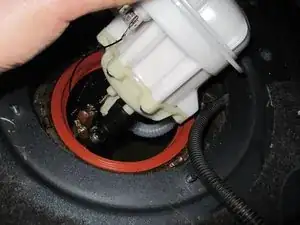
Place the new gasket in place on the fuel tank as shown. Clean the mating edge of the fuel tank first so you get a good seal.
-
Continue connecting the electrical connections to the fuel filter assembly. These connections should be the same as when you removed the original fuel filter assembly.
-
-
-
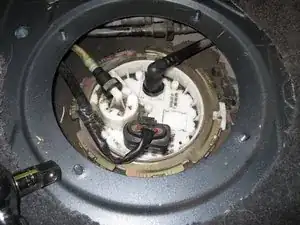
Press the fuel filter assembly into the gas tank.
-
It shouldn't take much force - you're just overcoming the friction of the gasket.
-
The fuel filter assembly has a tab to align it with the gas tank.
-
Remove the protective cover from the vent hose connection, but don't connect the vent hose yet.
-
-
-
Move back to the passenger side.
-
Remove the gas tank old gasket. I was able to slide this over the assembly without needing to remove it.
-
Likewise, install a new gasket (shown in orange here). Again, I could slip this over the existing assembly without much effort.
-
Clean the mating surface of the gasket before installation to ensure a good seal.
-
Push the assembly back into place. The assembly has a tab to align it to the proper direction.
-
Do not make any connections yet.
-
-
-
Place the retaining ring onto the assembly.
-
Use tool T10202 to tighten the ring.
-
Tighten to 110 NM (80 ft lbs)
-
Reconnect the fuel pump electrical connection. Ensure it clicks and locks in place.
-
Reconnect the vent line. Ensure you can't pull it off without using the release tab.
-
Reconnect the fuel line. Ensure you can't pull it off without using the release tab.
-
-
-
Go back to the driver's side.
-
Install the retaining ring.
-
Use tool T10202 to tighten to 110 NM (80 ft lbs).
-
Reconnect the fuel pump electrical connector (remember, mine is missing the gasket - I'll come back later and fix that).
-
Reconnect the vent line. Ensure you can't pull it off without using the release tab.
-
-
-
Reinstall fuses 13 and 14.
-
Reinstall the covers and close the hood.
-
Start the car and let it run for a few minutes and see if you observe any gas leaks.
-
If everything looks good - it's time for reassembly.
-
-
-
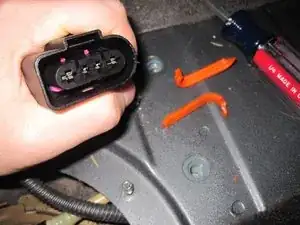
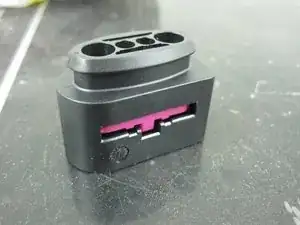
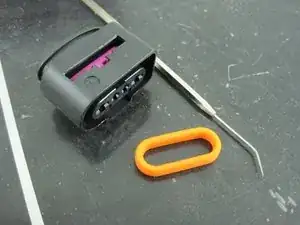
Here's a new gas tank connector with the gasket inside.
-
Push the purple locking mechanism in.
-
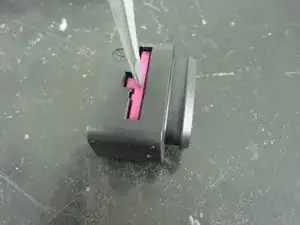
Gently remove the orange gasket from the connector body.
-
I used a small pick to get underneath the gasket and slowly worked it out of the connector body.
-
This connector is VW part number 1J0 919 231. I bought mine from World Impex for about 6 bucks.
-
-
-
Disconnect the connector on the fuel filter assembly.
-
Gently push the new gasket all the way inside the connector.
-
Reattach the connector to the fuel filter assembly. You should hear a click when the lock mechanism engages.
-
-
-
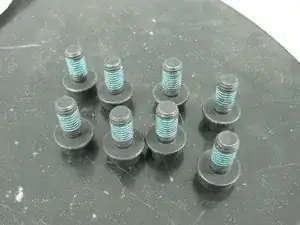
Get your new bolts ready for installation.
-
VW recommends that these bolts are replaced once removed.
-
VW part number is N 910 260 03. You need 8 of them. I bought mine from World Impex for around $1.70 each.
-
-
-
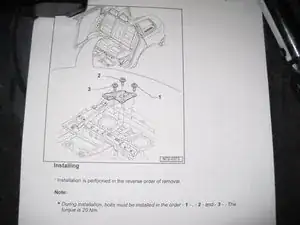
Install the passenger side seat belt mount.
-
VW states that the order of installation of these bolts is important. See the picture of the service manual for the order.
-
Torque these bolts to 20 Nm.
-
Notice there's only 3 bolts on this side.
-
-
-
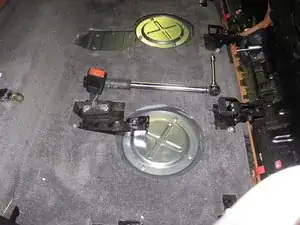
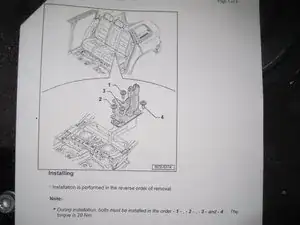
The process is similar for the driver's side.
-
Again, VW recommends the order of bolt installation. See the service manual picture.
-
Torque these 4 bolts to 20 Nm.
-
-
-
Go back to the passenger side.
-
Set the passenger side of the rear seat near it's final position (I set mine up on the ledge of the "trunk").
-
Install the seatbelt bolt.
-
VW states to torque this bolt to 50 Nm. Yes that's right, 50 Nm for this bolt. The other bolts from the previous steps had a different torque spec.
-
-
-
Install the passenger side seat back in place.
-
This is similar to the removal step - you need to angle the seat back at about a 45° angle to get it to fit on the pin in the side of the vehicle.
-
Be sure to get the seat belt fastener on the right side of the seat (I had to remove my seat to fix this because I didn't check the first time I set the seat in place!)
-
Lay the passenger seat flat.
-
Install the driver's side seat back in a similar manner (angle at 45° to install on the pin).
-
-
-
Lift the seat backs up.
-
Install the head rests
-
Install the carpet over the fuel tank port covers (I just set mine on top of the ports - no glue or anything).
-
Put the seats back in place
-
You're done!
-
This guide showed you how to fix a common problem in the 2005 Touareg. This guide may also be useful to folks needing to access the fuel pumps or want to replace their fuel filter.
32 Kommentare
Great guide! Very well done photos.
Thanks, Kyle!
Justin -
I wanted to take a moment to thank you for this fantastic write-up! Helped me to diagnose the issue with my moms T-Reg without even lifting the rear seat up and then helped me to do the filter replacement in around 2.5 hours including pulling the seat backs out and re-installing.
It is great that you took the time while repairing yours to help us repair ours! The tool information was very helpful also.
Thanks for the feedback, David! Glad you found it useful.
Justin -
Awesome guide, I'm about to undertake this project once I get the part. Went to base hobby shop to inspect undercarriage and decided to take the back seats out, and there it was...a cracked dome! I can't believe this vehicle has as many faults as it has cool features. Again Much Thanks and trust me, my laptop will be nearby when I tackle this in the very near future. DB, 05TREG 119k Oct2014
David -
