Einleitung
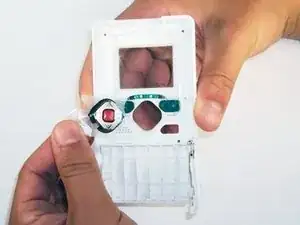
This guide will show you how remove the directional buttons. You can then clean them if they are sticky or replace them if they are broken.
Werkzeuge
-
-
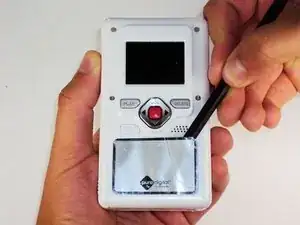
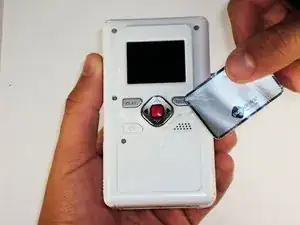
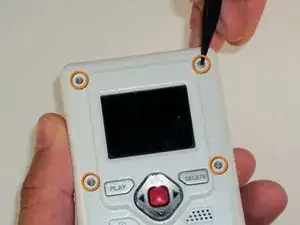
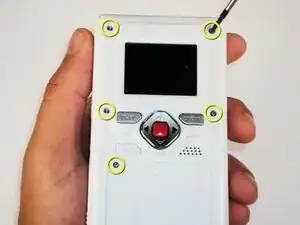
Remove the 4 gray screw caps with the spudger. These cover the screw heads and protect from dirt or grime.
-
-
-
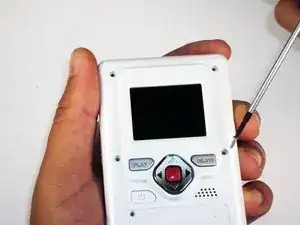
Remove the 5 10mm screws with the #00 Phillips screwdriver. These connect the back of the outer shell to the front of the outer shell.
-
-
-
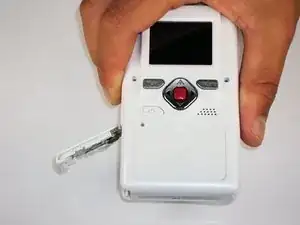
Open battery door. This can be done by gently depressing and sliding the battery down downward.
-
-
-
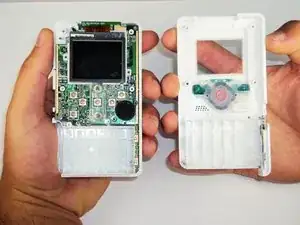
Use the spudger to separate outer shells.
-
The spudger must be inserted between the shell halves to pry the edges apart.
-
Slowly work around the outside to separate the halves.
-
-
-
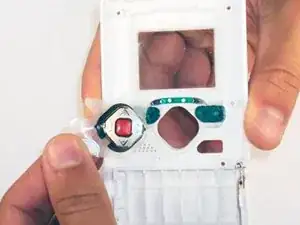
Remove the silicone directional pad insert from the front outer shell.
-
Clean the buttons with soapy water before reassembling the device.
-
To reassemble your device, follow these instructions in reverse order.
