Einleitung

This guide will walk you through on how to remove the power button and replace it. You will need the iFixit Opening Tool and the Phillips #1 Screwdriver. It should take no more than 15 minutes, if it takes more than that then you may have done something wrong.

  1. 1vAyVU2O4Hye4WDS
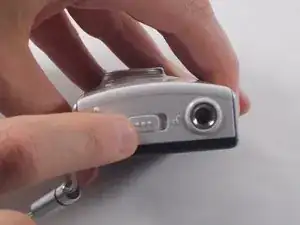
    • Unlock the battery cover by sliding the switch to the unlock position.

  2. Re4voDaWHgZHBkNi
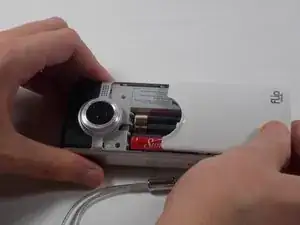
    • Remove the battery cover by sliding it down the camera.

  3. FJYLfZMHMUuKTJLm
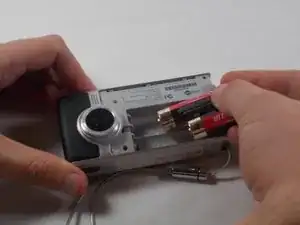
    • Remove the batteries

  4. VSWvGQTSbUN2easm
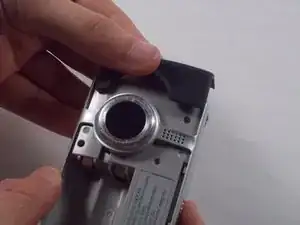
    • Slide the black upper casing off from the device.

  5. yorOBYMNrFElLsqg
    yorOBYMNrFElLsqg
    3v4TIfIqnOofYjnj
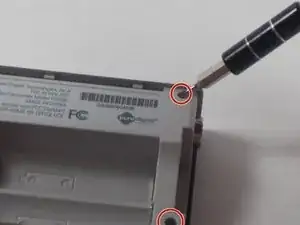
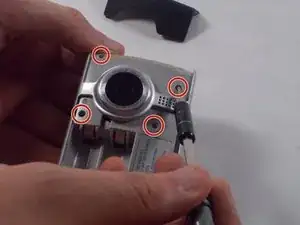
    • Remove the six 1mm screws from the back and upper casing with the Phillips Head screwdriver.

  6. fdI5aQm5psFHQhiE
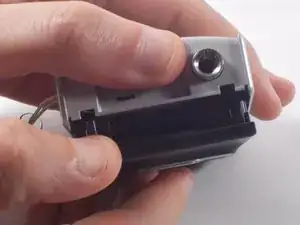
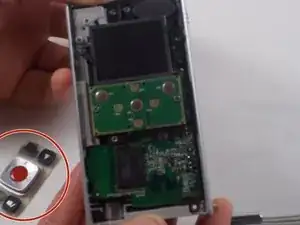
    • Remove the top casing from the bottom to reveal the inner circuit board.

  7. CuypQWt66StITBX3
    CuypQWt66StITBX3
    Ql3oBka2WAZ5b31i
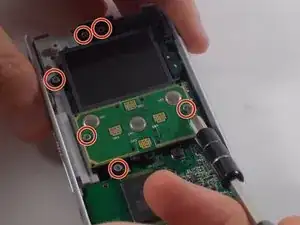
    • When removing the back panel, the rubber buttons will become loose and likely fall off the board. This is normal and can easily placed back on the board once finished.

    • Remove the six 1mm screws with the 1 Phillips head screwdriver.

  8. gtwPGiPQ1yRkaaoK
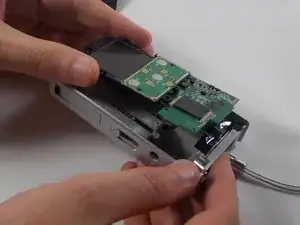
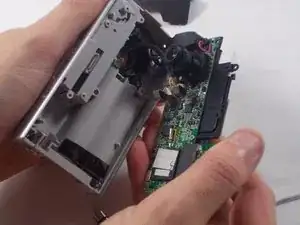
    • Gently separate the circuit board from the casing.

  9. 3A1oGfJUlQBIWULG
    3A1oGfJUlQBIWULG
    ZbjwFmjZJgvOeHc5
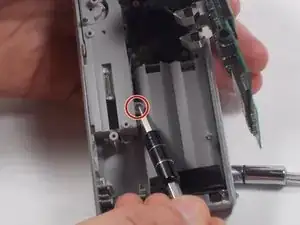
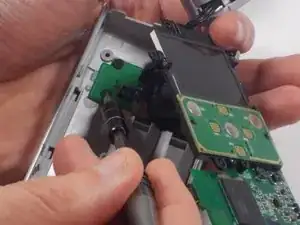
    • Unscrew the single 1mm screw from USB housing unit.

  10. qBMqWYStDlS3YSvd
    qBMqWYStDlS3YSvd
    3cQ6AG1Ke5kRUqxZ
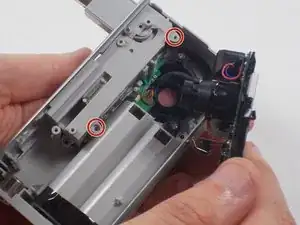
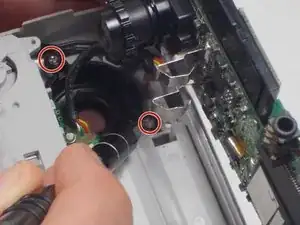
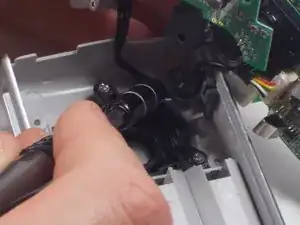
    • Unscrew the 2 1mm screws and gently separate camera wires from plastic casing.

  11. XyvHXOJerERcIAol
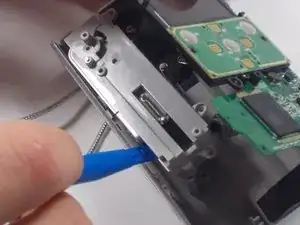
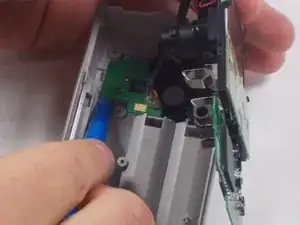
    • Gently pry out the USB housing unit with the Ifxit Opening Tool.

  12. RcqDKjJitgxvHAmi
    RcqDKjJitgxvHAmi
    UF3mvCtS3wTFO1d1
    OCi1HPQfHQOeWebW
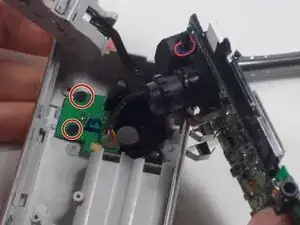
    • Remove the two 1mm screws and separate the circuit board and camera from the plastic casing.

  13. WDtk6ZWeVGiKjH6l
    • Unscrew the camera housing unit from the plastic case.

Abschluss

To reassemble your device, follow these instructions in reverse order.
Nathaniel Ruf

Mitglied seit: 18/10/16

514 Reputation

0 Kommentare