Einleitung
First we will walk you through removing the bottom panel that will allow you to view the drip tray. Then, we will replace the drip tray itself.
Werkzeuge
-
-
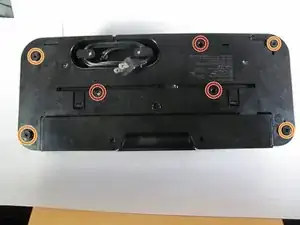
Use the PH2 screwdriver to remove the three 14mm Phillips Head screws.
-
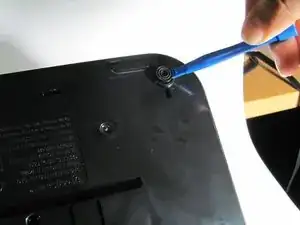
Use a plastic opening tool to remove the rubber toppers, covering four more 14mm Phillips Head screws, and remove those screws with the same screwdriver.
-
-
-
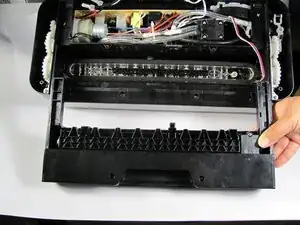
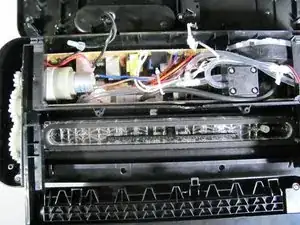
The drip tray should come right off. You may clean this afterwards and/or replace it, whichever is needed most.
-
To reassemble your device, follow these instructions in reverse order.
6 Kommentare
I don’t need to replace the tray. I’m just trying to open it so I can clean it out. How can I open it? I pulled on the 2 tabs on the bottom and tried opening it but the tray will not open.
Jerry -
You shouldn’t be pulling on any tabs. With the machine right side up there is a recess in the middle at the bottom that you can hook your fingers in. Then you can pull it out like a drawer.
Same problem here. I followed the above directions and still I can not access the tray for cleaning.
This is the same procedure for the V4825 model in case anyone has that one.


