Einleitung
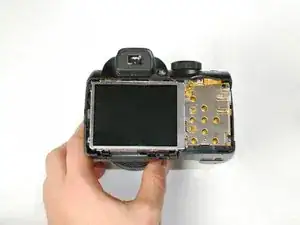
The LCD is one of the most critical parts on the camera. This guide will show you how to remove the back panel of the camera in order to replace a faulty LCD screen.
Werkzeuge
-
-
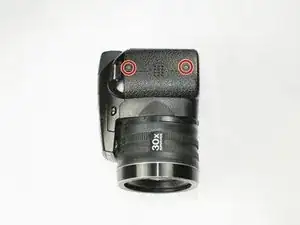
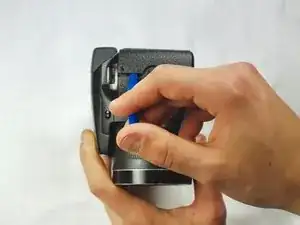
Remove the two 3.5 mm Phillips #1 screws in these positions on the left side of the camera with a screwdriver.
-
-
-
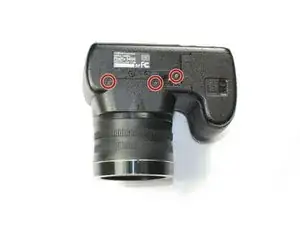
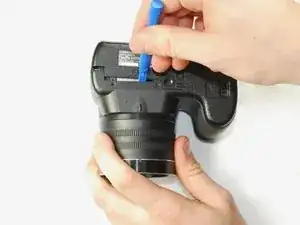
Remove the three 3.5 mm Phillips #1 screws in these locations on the bottom of the camera with a screwdriver.
-
-
-
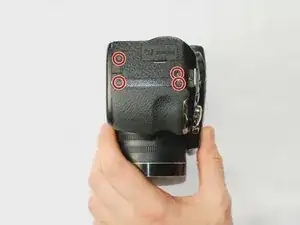
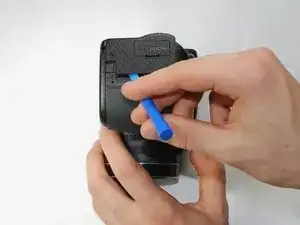
Remove the four 3.5 mm Phillips #1 screws in these positions on the right side of the camera with a screwdriver.
-
-
-
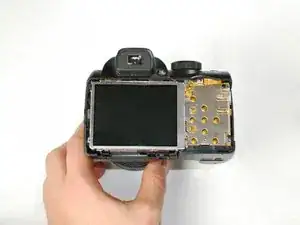
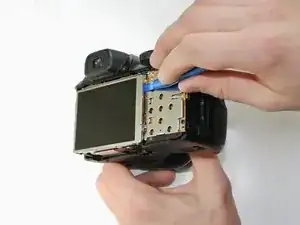
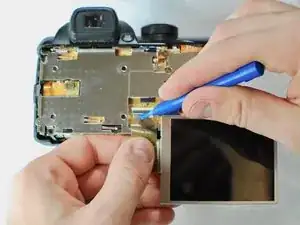
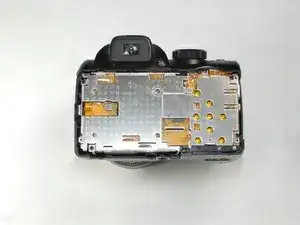
Use a plastic opening tool to separate the back panel from the camera on the left side, then remove the back panel from the camera.
-
Abschluss
To reassemble your device, follow these instructions in reverse order.
