Einleitung
Werkzeuge
-
-
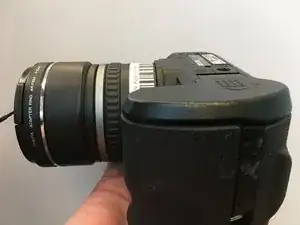
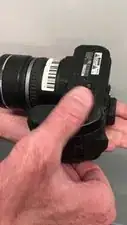
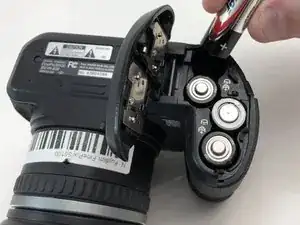
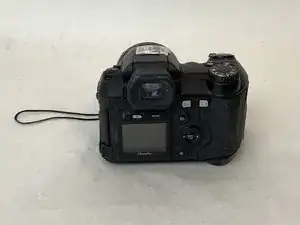
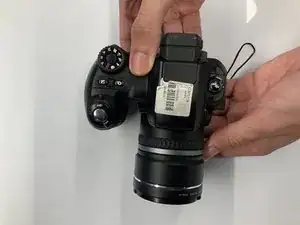
Orient the camera upside down with the lens facing to the left and the battery compartment facing directly toward you.
-
-
-
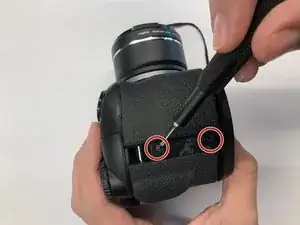
Remove two 0.9mm Phillips #000 screws from the right side of the camera.
-
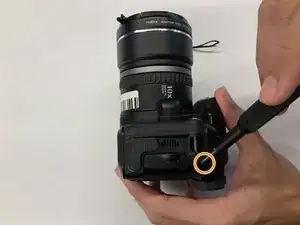
Remove one 0.6mm Phillips #000 screw from the left side of the camera.
-
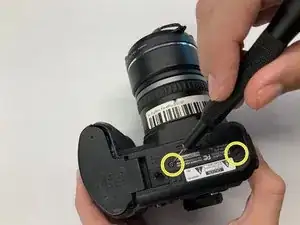
Remove two 0.6mm Phillips #000 screws from the bottom side of the camera.
-
-
-
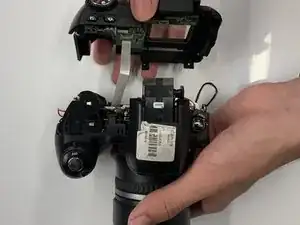
Carefully pull the back cover and separate it from the rest of the camera body.
-
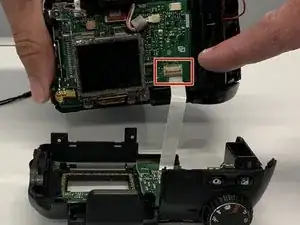
Carefully flip up the top of the tan colored tab to disconnect the ribbon cable and completely remove the back cover.
-
-
-
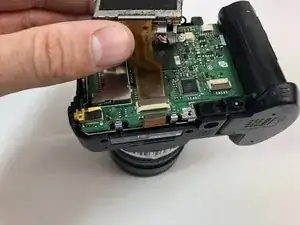
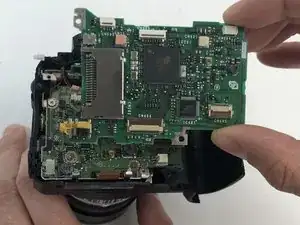
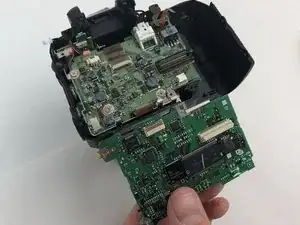
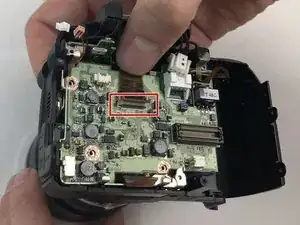
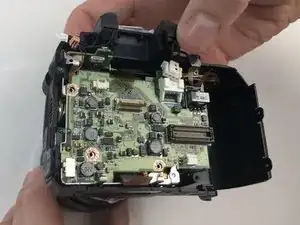
Carefully using your hand, grab the LCD screen and pull upward and away from the motherboard.
-
Carefully using your hand, remove the tan digital tape by disconnecting it from the receiving port.
-
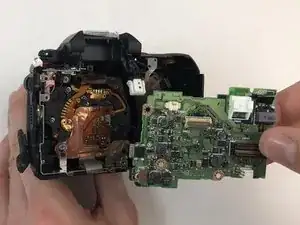
Remove the entire LCD screen from the motherboard.
-
-
-
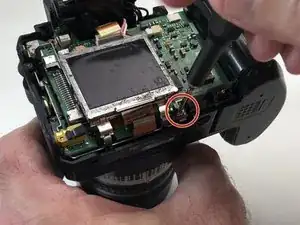
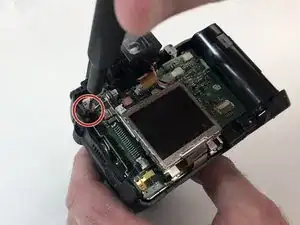
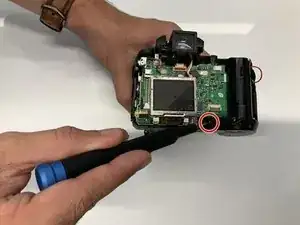
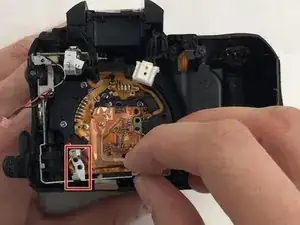
Remove the single 1.3mm Phillips #000 screw.
-
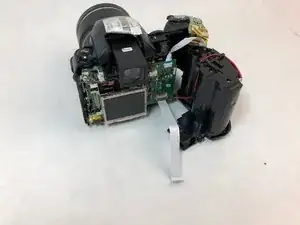
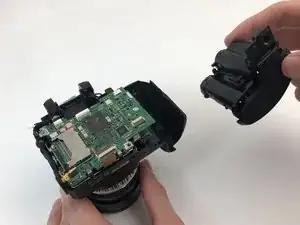
Carefully remove the battery compartment from the rest of the camera.
-
-
-
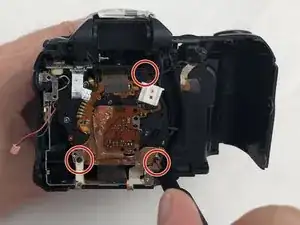
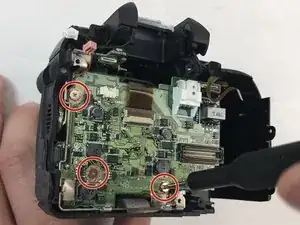
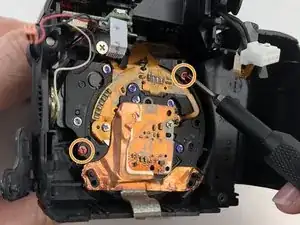
Remove three 1.0mm Phillips #000 black screws from the back of the lens compartment.
-
Remove two 0.4mm Phillips #000 red screws from the back of the lens compartment.
-
To reassemble your device, follow these instructions in reverse order.
