Einleitung
Each time a picture is taken, the speaker emits a clicking sound as confirmation.
Werkzeuge
-
-
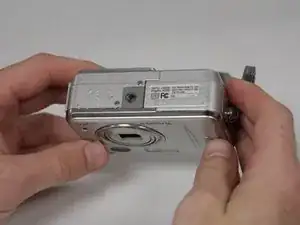
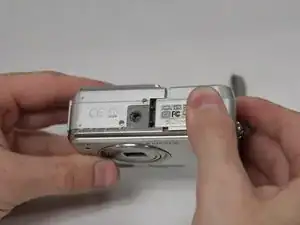
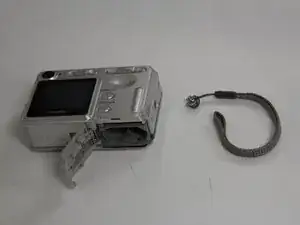
Locate the battery hatch on the bottom side of the camera, opposite the side with the power button.
-
Using your thumb, slide the hatch away from the center of the camera.
-
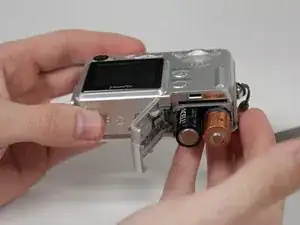
Flip the hatch toward yourself to open it. The batteries are spring-loaded; once the hatch is open, they will protrude far enough to be removed by hand.
-
-
-
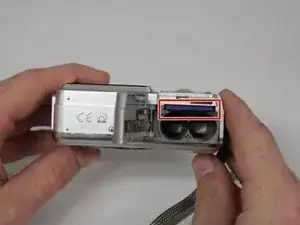
Locate the memory card in the long, thin slot above the battery compartment.
-
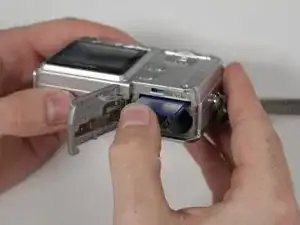
Using your thumb, push the memory card farther into the camera.
-
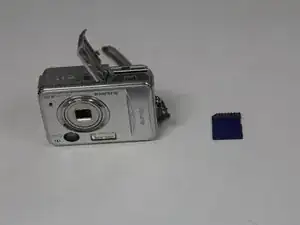
The memory card is spring-loaded and will pop out of the camera far enough to be removed by hand.
-
-
-
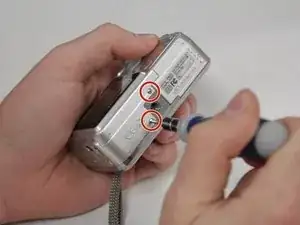
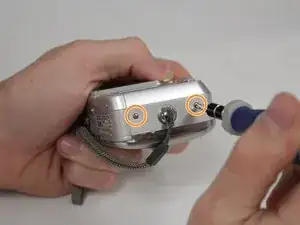
Locate the two 5.0 mm screws on the bottom of the camera and remove them using a tri-point screwdriver with a Y0 bit.
-
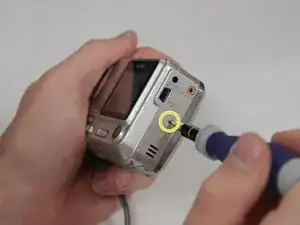
Locate the two 3.0 mm screws on the side of the camera with the wrist strap and remove them using a tri-point screwdriver with a Y0 bit.
-
Locate the single 5.0 mm screw on the opposite side of the camera and remove it using a tri-point screwdriver with a Y0 bit.
-
-
-
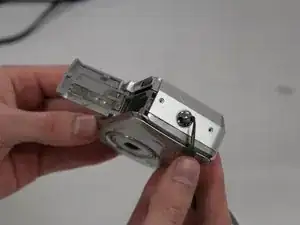
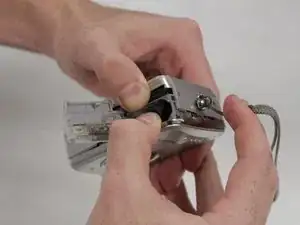
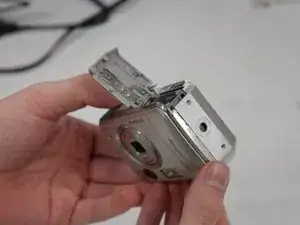
Pry the case apart. Note that the case is very tightly sealed and will be difficult to open. Use a plastic opening tool on the crease between the two halves of the case and put two fingers in the battery compartment to create leverage to pull apart. The battery compartment is attached to the half of the case that contains the lens.
-
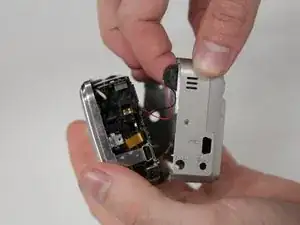
Once the two halves of the case have begun to come apart, pull the wrist strap away from the front of the camera to remove it.
-
-
-
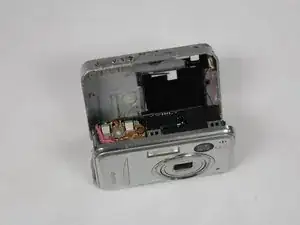
Once the wrist strap has been removed, continue to carefully pull the two halves of the case away from each other.
-
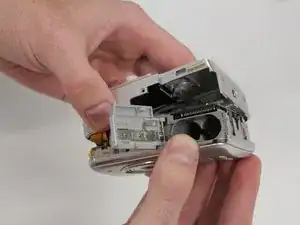
Tilt the back half of the case away from the battery compartment. Proceed slowly to avoid damage to the ribbon cable that is connected to the screen.
-
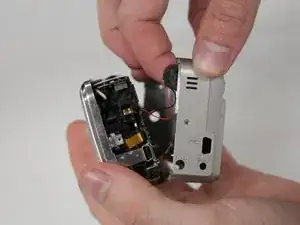
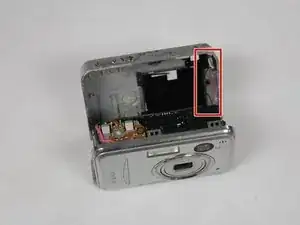
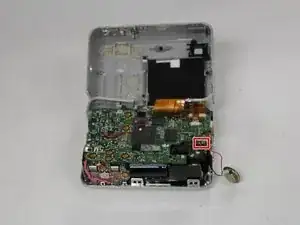
Locate the speaker at the end of the pair of red and black wires holding the halves of the case together. Take care not to pull the wires, else they may detach from the motherboard and damage the camera.
-
-
-
Slide the speaker pad away from the back half of the case and out of its holster.
-
After the speaker pad has been removed, the two halves of the case will be connected solely by a ribbon cable leading to the screen. The speaker wires will remain attached to the motherboard.
-
To completely remove the speaker, use a soldering iron to desolder the red and black wires connecting the speaker to the motherboard. Note the black wire goes to the terminal closest to the outside of the camera.
-
To reassemble your device, follow these instructions in reverse order.
