Einleitung
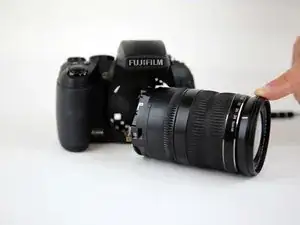
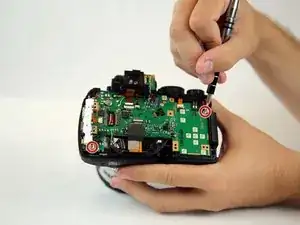
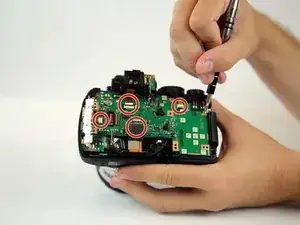
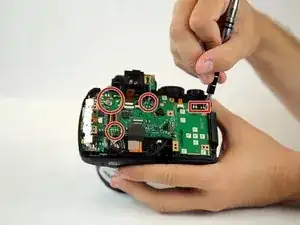
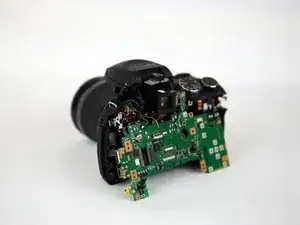
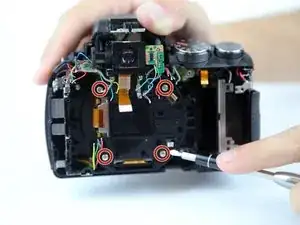
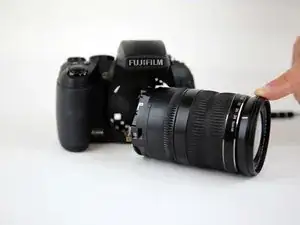
This guides is meant to be used with the intention to replace the lens.
Warning: The lens is very fragile; any scrape or fingerprint could result in a unusable lens. Take great caution in the replacement of the lens.
Werkzeuge
Ersatzteile
-
-
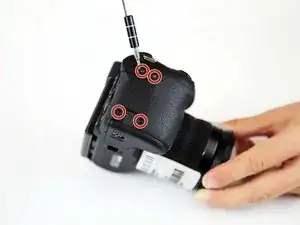
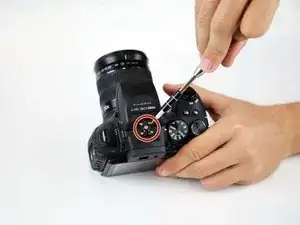
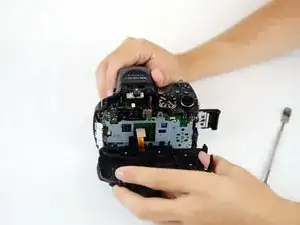
Flip the camera so that it is now upside down.
-
With a screwdriver, unscrew all highlighted screws.
-
-
-
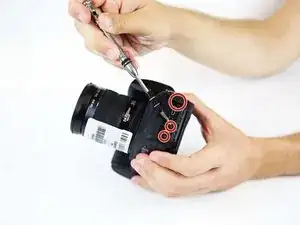
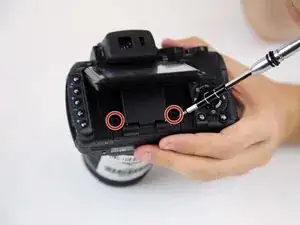
Flip the camera so that it is now on the right side.
-
With a screwdriver, unscrew all highlighted screws.
-
-
-
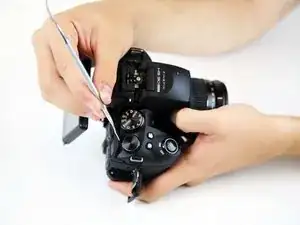
Flip the camera so that it is now on the left side.
-
Move or remove the flap hiding the camera ports.
-
With a screwdriver, unscrew all highlighted screws.
-
-
-
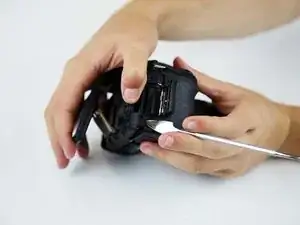
Flip the camera so that it is now on the top side.
-
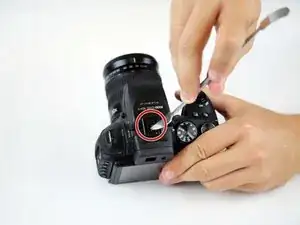
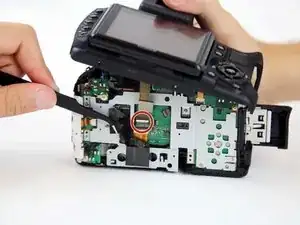
With a spudger, pry off the highlighted metal piece of the camera.
-
-
-
Pull the LCD Screen up and out of the way.
-
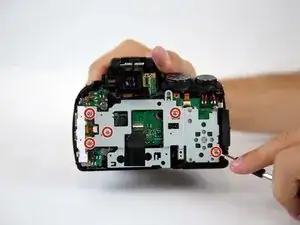
With a screwdriver, unscrew all highlighted screws.
-
-
-
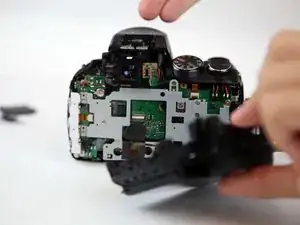
Peel back (or off) the black tape to expose more of the inside of the camera.
-
Flip the white switch of the highlighted chamber up, and that should unlock the ribbon cable from its compartment.
-
To see if this worked, gently pull the ribbon cable out of the compartment. It should come out without force.
-
-
-
Ensure the two ribbon cables highlighted are disconnected from the motherboard. (One is under the black tape.)
-
-
-
Remove the motherboard
-
If your intention is to replace the motherboard, put your new motherboard in and begin re-soldering all cables back to the new motherboard.
-
-
-
Once the motherboard is taken out, with a screwdriver, unscrew all highlighted screws.
-
Take the lens off once it is unscrewed.
-
To reassemble your device, follow these instructions in reverse order.
Ein Kommentar
What is the price for Normal lens for Fujifilm HS30EXR?
