Einleitung
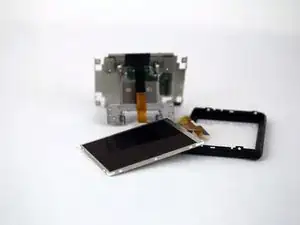
This guides serves to help the user replace the LCD Screen.
Warning: The replacement of the screen requires great care, as any force could damage the frame or any internal cables/wires that may be essential to the camera's function. To avoid damage, treat the frame with care when prying it off, and treat and wires or cables with care as well.
Werkzeuge
Ersatzteile
-
-
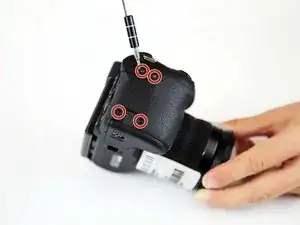
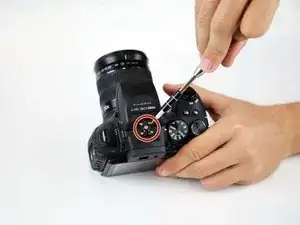
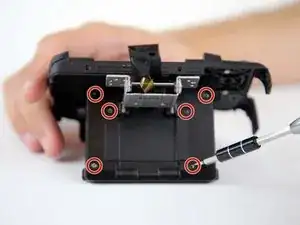
Flip the camera so that it is now upside down.
-
With a screwdriver, unscrew all highlighted screws.
-
-
-
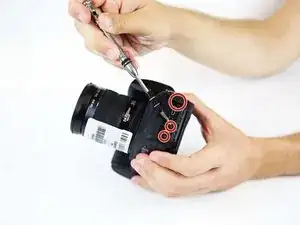
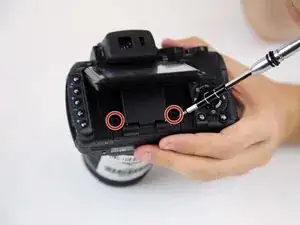
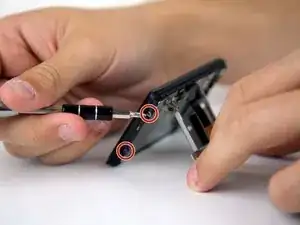
Flip the camera so that it is now on the right side.
-
With a screwdriver, unscrew all highlighted screws.
-
-
-
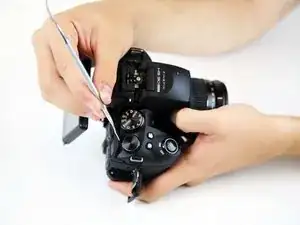
Flip the camera so that it is now on the left side.
-
Move or remove the flap hiding the camera ports.
-
With a screwdriver, unscrew all highlighted screws.
-
-
-
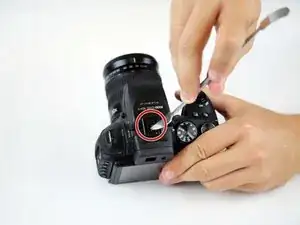
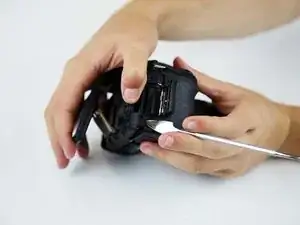
Flip the camera so that it is now on the top side.
-
With a spudger, pry off the highlighted metal piece of the camera.
-
-
-
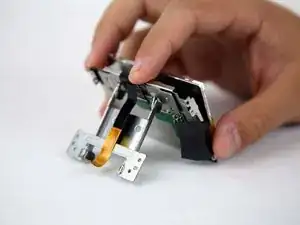
Pull the LCD Screen up and out of the way.
-
With a screwdriver, unscrew all highlighted screws.
-
-
-
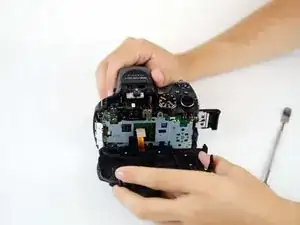
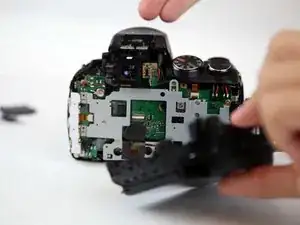
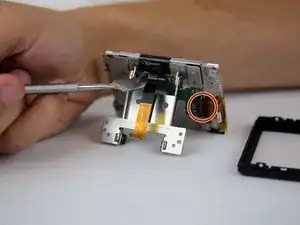
Peel back (or off) the black tape to expose more of the inside of the camera.
-
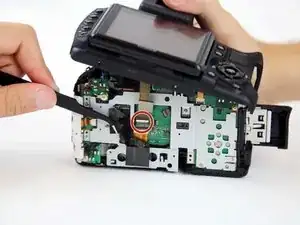
Flip the white switch of the highlighted chamber up, and that should unlock the ribbon cable from its compartment.
-
To see if this worked, gently pull the ribbon cable out of the compartment. It should come out without force.
-
-
-
Flip the frame component so that the inside is now accessible.
-
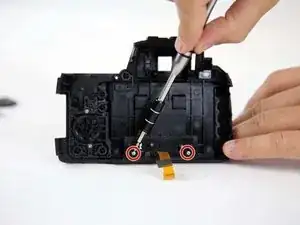
With a screwdriver, unscrew all highlighted screws.
-
-
-
Flip the LCD Screen component so that the bottom half is now accessible.
-
With a screwdriver, unscrew all highlighted screws.
-
-
-
Remove the LCD Screen component from its mount.
-
Turn the LCD Screen component so that the right side is now accessible.
-
With a screwdriver, unscrew all highlighted screws.
-
-
-
The LCD Screen can now be removed from the LCD Screen Mount.
-
Carefully remove the LCD Screen, as it is attached by another ribbon cable.
-
-
-
To remove the LCD Screen, flip the switch on the ribbon cable's container that is closest to the ribbon cable (highlighted by the red circle).
-
Carefully remove the ribbon cable from its compartment, and remove the LCD Screen.
-
To reassemble your device, follow these instructions in reverse order.
