Einleitung

  1. ZYsyXkAY1k1SFZmW
    ZYsyXkAY1k1SFZmW
    PEXMAiNf6mk65NPJ
    5AMPZMrBSkBfisoC
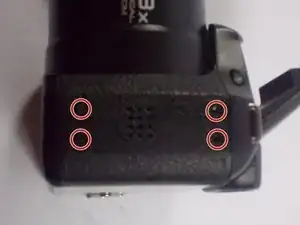
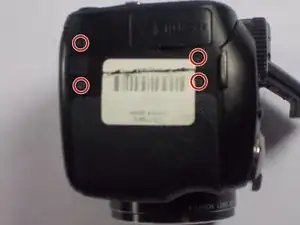
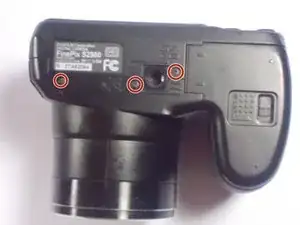
    • Use a PH0 screwdriver to remove four screws on the right side, three screws on the bottom, and four on the left side to take off the rear plate.

  2. MJfZU1CYPRUNLOHR
    MJfZU1CYPRUNLOHR
    O1ELD4IFxiEdxRwh
    GooHdtbbk1LxXw6G
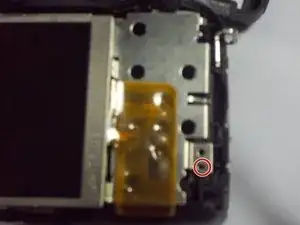
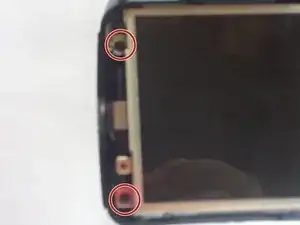
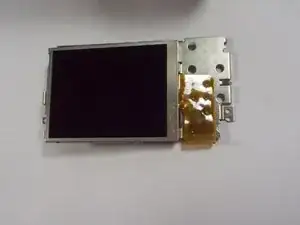
    • Remove the three screws holding the LCD screen in place.

    • Replace with new screen.

  3. qZFF1fc1uUgMNNbW
    qZFF1fc1uUgMNNbW
    e6JpdHSBuWLLFQaI
    jP65WXw3Gx4hl1hE
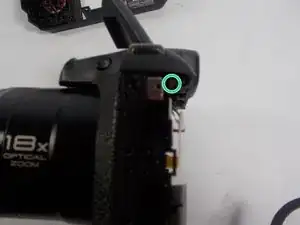
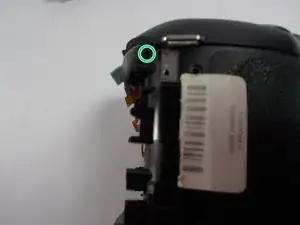
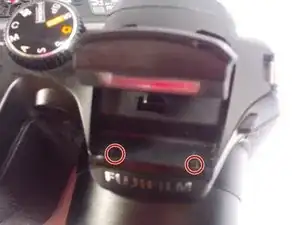
    • Remove the two screws from underneath the flash mechanism.

    • Remove the two screws placed on the right and left sides of the camera.

  4. B1SSS4S656k2O2Oc
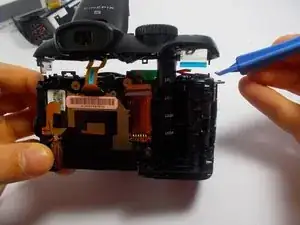
    • Pry the top of the camera off using the given tool

  5. OMxkGGTGI5hFV3Mo
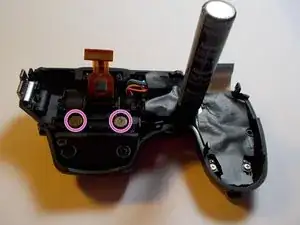
    • Remove two silver plated screw from under the top of the camera, under the flash.

  6. IO4O55AyCslnRRk1
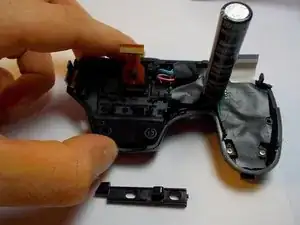
    • Remove the rectangular plastic piece.

    y

    You've omitted the step as to how you remove the PCB behind the screen. It is not shown in any of your photos....

    Mike Tod -

  7. YFZUjlqv4uxfDAlc
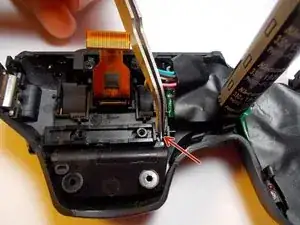
    • Insert new spring.

    • Replace the plastic piece.

Abschluss

To reassemble your device, follow these instructions in reverse order.
Megan Merlo

Mitglied seit: 24/03/15

78 Reputation

0 Kommentare