Einleitung

Outline what you are going to teach someone how to do.

  1. ZYsyXkAY1k1SFZmW
    ZYsyXkAY1k1SFZmW
    PEXMAiNf6mk65NPJ
    5AMPZMrBSkBfisoC
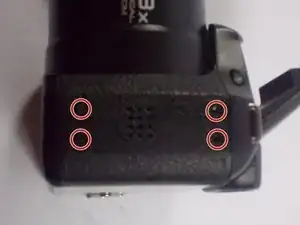
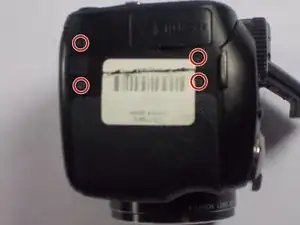
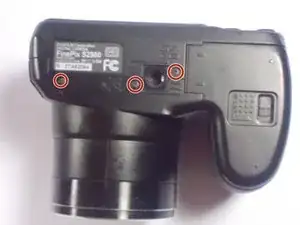
    • Use a PH0 screwdriver to remove four screws on the right side, three screws on the bottom, and four on the left side to take off the rear plate.

  2. MJfZU1CYPRUNLOHR
    MJfZU1CYPRUNLOHR
    O1ELD4IFxiEdxRwh
    GooHdtbbk1LxXw6G
    • Remove the three screws holding the LCD screen in place.

    • Replace with new screen.

  3. qo5HVRGqSMKJP3Hw
    qo5HVRGqSMKJP3Hw
    L2jaQaWqR6WiHAIB
    6dhfTlcIA2MNJZSG
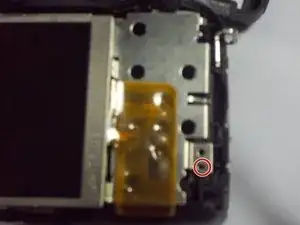
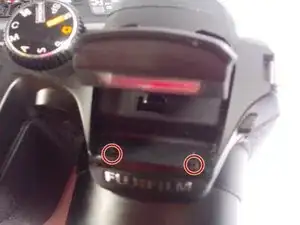
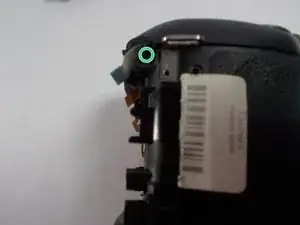
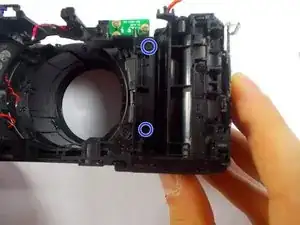
    • Remove the two screws from underneath the flash mechanism.

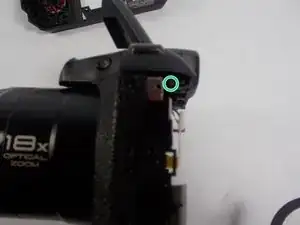
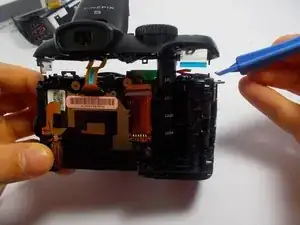
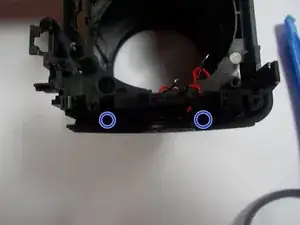
    • Remove the two screws placed on the right and left sides of the camera.

  4. yHUVwIDjbTWVvDj6
    • Use the opening tool to pry the top plate off of the top of the camera.

  5. GoQPFObWZBF4Xtip
    GoQPFObWZBF4Xtip
    OYXEV41E2BNAgvuN
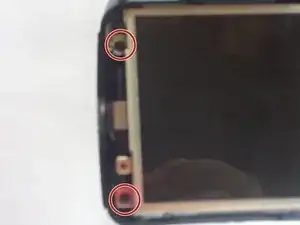
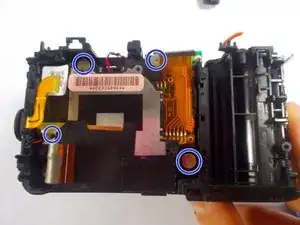
    • Remove the four larger silver plated screws placed on the inside of the lens.

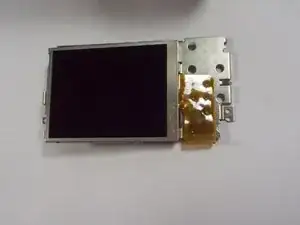
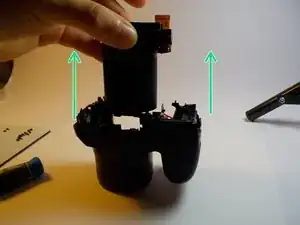
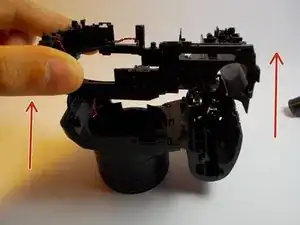
    • Remove the lens by lifting it up from the cavity.

  6. gf6QNxLMwPWtuuZr
    gf6QNxLMwPWtuuZr
    FEoYLiqUBJPVQsLZ
    EmBNLGbaZW1SiGMU
    • Remove the five bracket screws.

  7. I5Eer4VkIQPvOihp
    I5Eer4VkIQPvOihp
    5KwHFnY1R1s1QH43
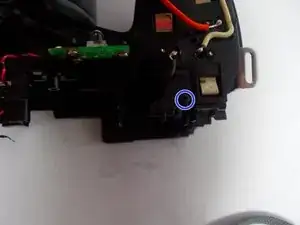
    • Once the screws are out, remove the the bracket

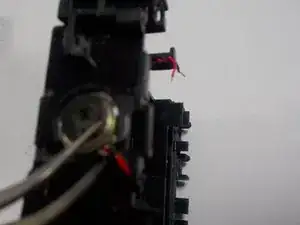
    • Remove speaker with given tweezer tool and replace

Abschluss

To reassemble your device, follow these instructions in reverse order.

diane heidke

Mitglied seit: 24/03/15

24 Reputation

0 Kommentare