Einleitung
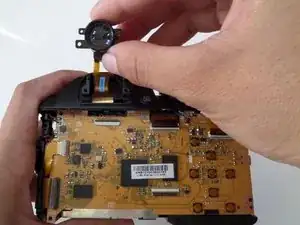
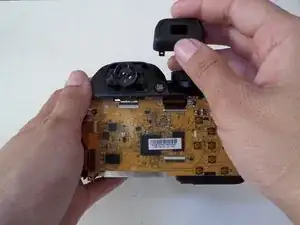
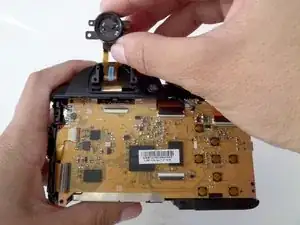
To replace the viewfinder you will need to perform the LCD prerequisite. The viewfinder should be replaced if your camera does not focus or your photos lack composition.
Werkzeuge
-
-
Turn the camera off.
-
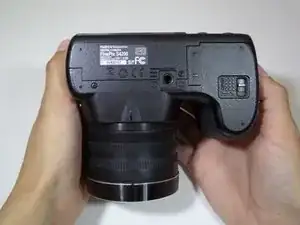
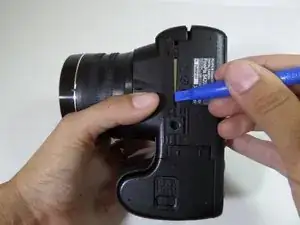
Turn the camera upside down so that the battery compartment is showing.
-
-
-
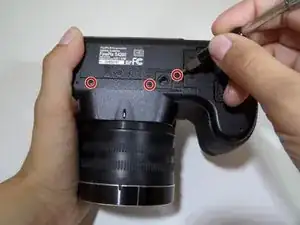
Remove the three 4 mm screws from the bottom of the camera with a Phillips #000 screwdriver.
-
-
-
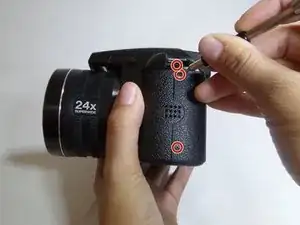
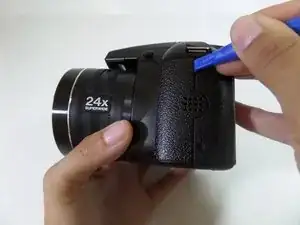
Rotate camera to the side where the speaker ports are located.
-
Remove the three 4 mm screws with a Phillips #000 screwdriver.
-
-
-
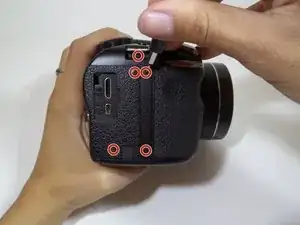
Turn the camera to the opposite side where the HDMI port is located.
-
Remove all five 4 mm screws with a Phillips #000 screwdriver.
-
-
-
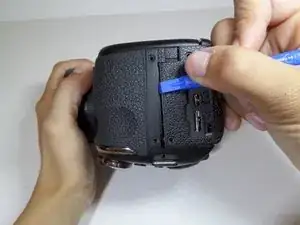
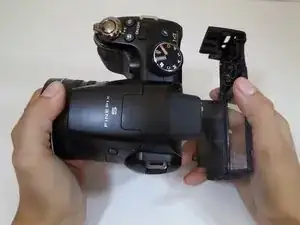
Utilize the plastic opening tool to pry in between the back casing of the camera from the front casing.
-
Continue this motion around the camera to create a wedge between the front and back casing of the camera.
-
-
-
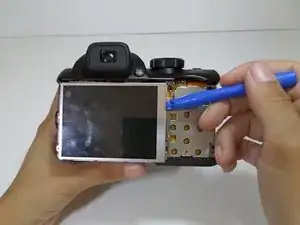
Utilize the plastic opening tool to gently lift the LCD screen away from the metal plate.
-
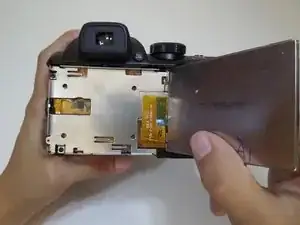
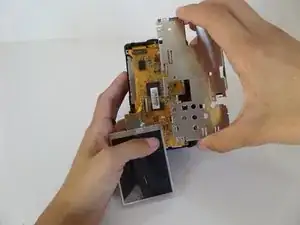
Flip over LCD screen so that the left side of the metal plate is visible.
-
-
-
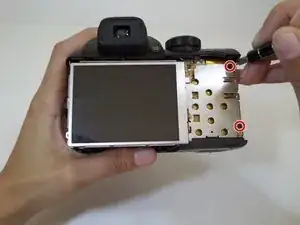
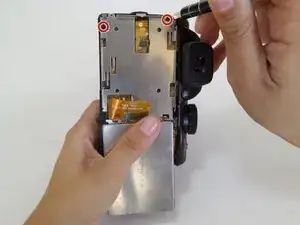
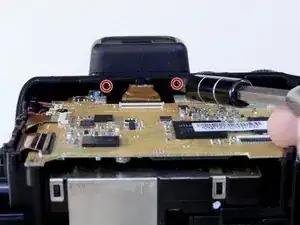
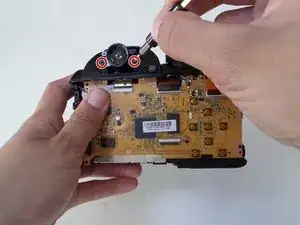
Use a Phillips #000 screwdriver to remove the two 4mm screws that are located on the metal plate under the LCD screen.
-
-
-
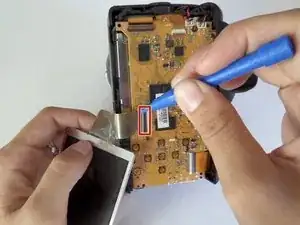
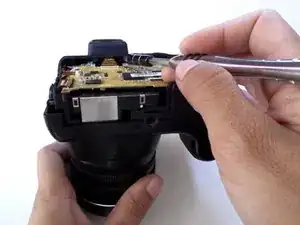
Pull back the small black latch connecting the orange ribbon cable to the motherboard.
-
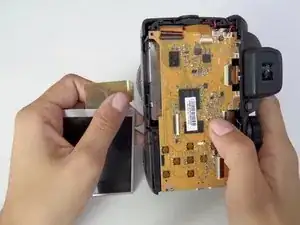
Gently remove the LCD screen from the motherboard.
-
-
-
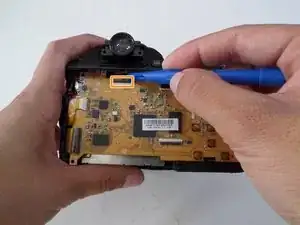
Using the plastic opening tool, pull down the small black latch to remove the orange ribbon from the mother board.
-
To reassemble your device, follow these instructions in reverse order.
