Einleitung

  1. jWpUqOHUfUVxvlFU
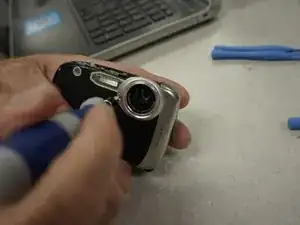
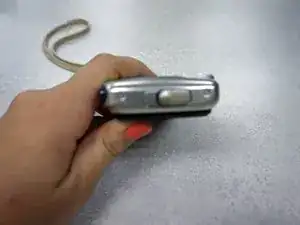
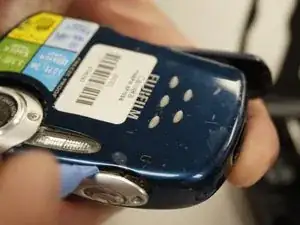
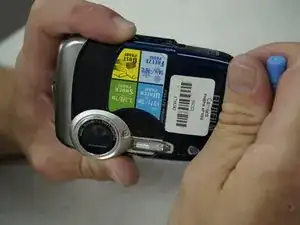
    • Remove the screws from the lens cover

  2. FyuxnXbJihiAefW4
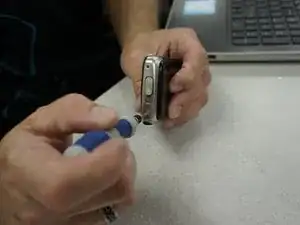
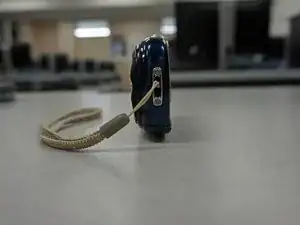
    • Remove the screws from the side metal cover of outer case.

  3. jpVOkcqDE55sWRQq
    jpVOkcqDE55sWRQq
    TMDWIVOrQF55ECsb
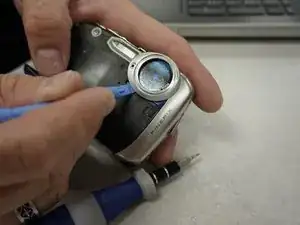
    • Gently remove the Lens from the housing.

  4. jRnFYMYPSpGO4pNO
    jRnFYMYPSpGO4pNO
    BZJoMOWmUcfPAfmQ
    4EqBjYILmqaiNBJS
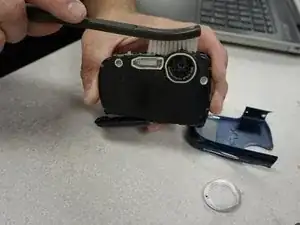
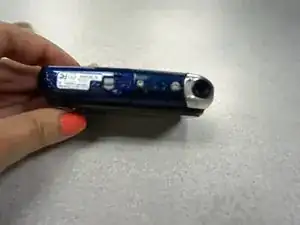
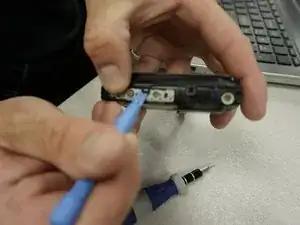
    • Use a screwdriver to remove the four screws from the top and bottom of the camera. Remove the screws securing the lanyard as well.

    • Use a T5 Torx bit to secure the exterior decorative cover of the device.

  5. HOjghPK5Jyjf3YxM
    HOjghPK5Jyjf3YxM
    tjthfguKBJ2pEDYi
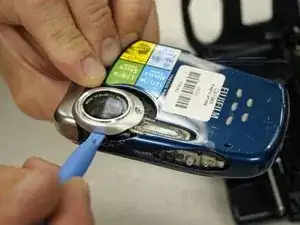
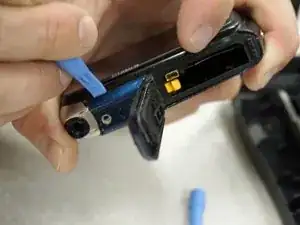
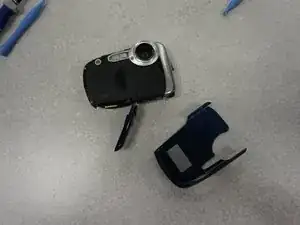
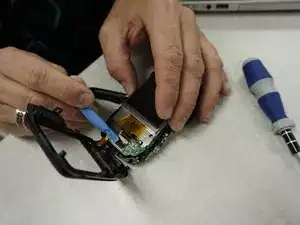
    • Use a plastic opening tool to detach the case.

  6. MlZbuwO4xTFDHN2X
    MlZbuwO4xTFDHN2X
    SCmrsyccZ1DC31CC
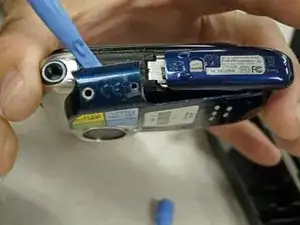
    • Use the plastic opening tool to cautiously pry the casing off of the camera.

  7. 6BDGKgRURKDmOutf
    6BDGKgRURKDmOutf
    vLrh1CKmlanaYCwG
    KsMRNfUxFHC2CmGC
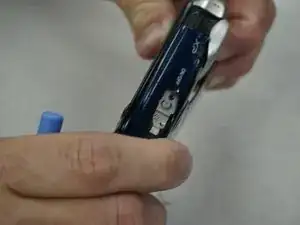
    • Carefully slide the case to the left. Avoid cracking the case on the lens.

  8. HUgLrHKZygeggaXZ
    • Locate the securing tabs of the housing unit.

    • Using the spongerslowly work your way around the outside of the case using the sponging tool to pry open the case.

    • *** Take extreme caution when doing this being careful not to break the securing tabs of the housing.

  9. WG6Ymvg2WFOKKGum
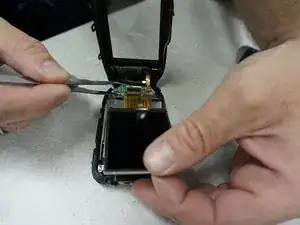
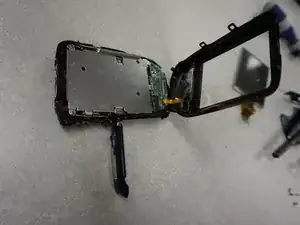
    • Once the case is open locate the Ribbon cable attachment for the LCD screen.

    • Carefully ensure that the LCD screen is free from all attachments and any tape securing the ribbon cable is released.

  10. XYPdNEJFajZ6LEfo
    XYPdNEJFajZ6LEfo
    OGIU1MTSsvIxApL3
    • Gently lift up on the black securing bar of the ribbon cable in order to free it from the units motherboard, thus releasing the LCD from the computer.

Abschluss

To reassemble your device, follow these instructions in reverse order.
Bryan

Mitglied seit: 25/01/15

598 Reputation

0 Kommentare