Einleitung
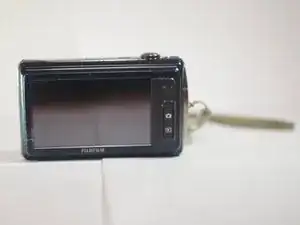
If you are experiencing dead pixels, scratches, a broken screen, or general unresponsiveness of the touch screen it can indicate the need for replacement. Replacing the LCD screen on your Fujifilm FinePix Z90 is the best option when such damage occurs preventing any response from touch screen. This guide is to aid in the replacement of the LCD screen when necessary.
Werkzeuge
-
-
Locate the right side of the camera, where the USB connector is. Remove uncovered Phillips #000 screw.
-
Once the uncovered screw is removed, open the USB connector cover to remove the next Phillips #000 screw.
-
-
-
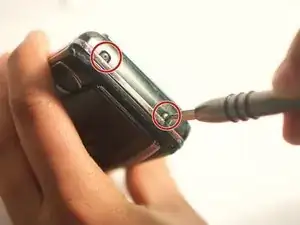
Remove the two uncovered Phillips #000 screws from the left side.
-
Repeat for the screws on the bottom.
-
-
-
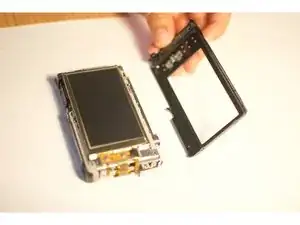
Remove the casing from the back of camera where LCD screen is located.
-
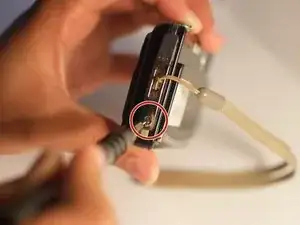
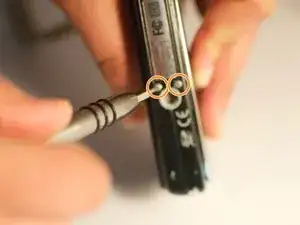
On the right side of the camera locate the wrist strap. Carefully remove the lace that attached wrist strap to camera.
-
Gently remove silver piece that lace was connected to, set aside.
-
-
-
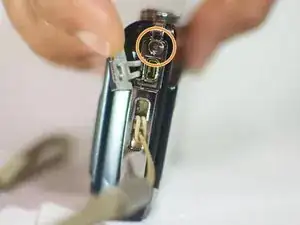
After removing silver piece that attached to lace, locate and remove screw.
-
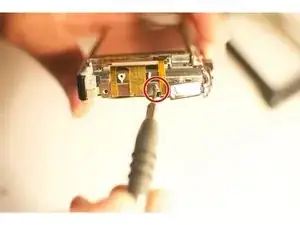
Turning camera back to the LCD screen, remove the three screws just to the right of screen. These are located next to the ribbon cables attaching the LCD to the motherboard.
-
-
-
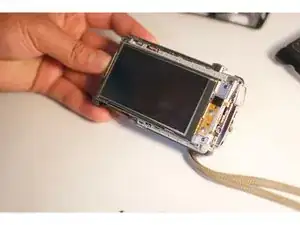
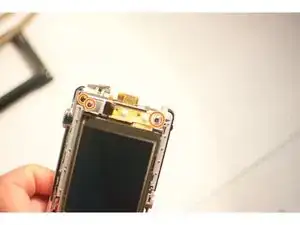
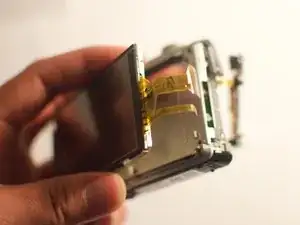
Using a plastic opening tool, pull the LCD screen to the left slightly, lift it and flip it open to the right.
-
-
-
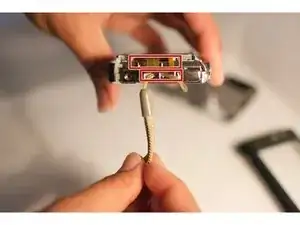
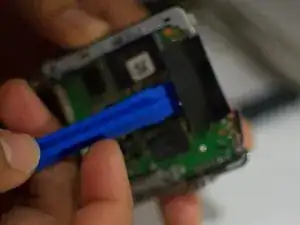
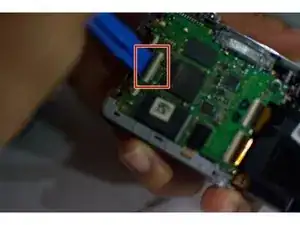
Using a plastic opening tool, flip open the black lever to release the ribbon.
-
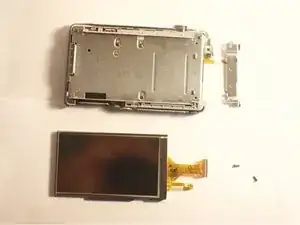
Gently slide the cable out of the lock; the LCD screen is now ready to be removed.
-
Once you have removed the damaged screen, following the instructions in reverse order will instruct you to reassemble your device.