Einleitung
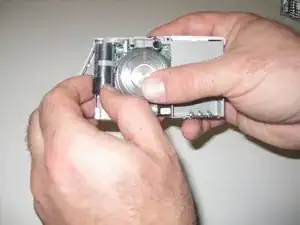
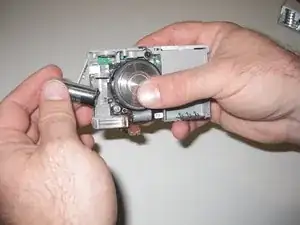
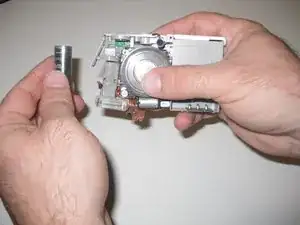
The flash battery provides the power necessary to create the flash. This guide describes how to find and remove this battery in order to install a new one.
Werkzeuge
-
-
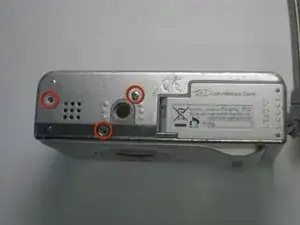
Remove the screws from the bottom of the camera using the tri-wing screwdriver.
-
Three 5.4 mm tri-head screws.
-
-
-
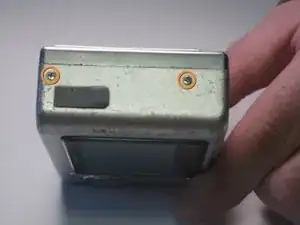
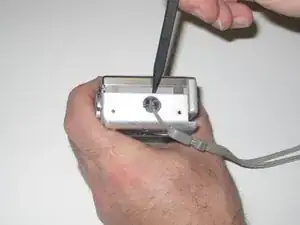
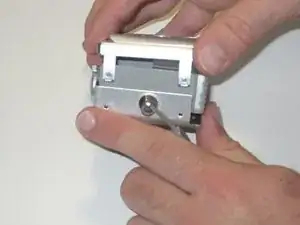
Remove screws from charger side of camera using the Phillips 00 screwdriver.
-
Two 3.3 mm Phillips #00 screws.
-
-
-
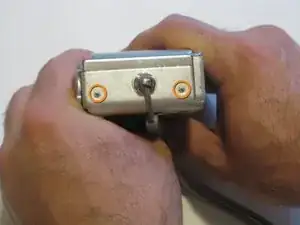
Remove screws from wrist-strap side of camera using the Phillips 00 screwdriver.
-
Two 3.3 mm Phillips #00 screws.
-
-
-
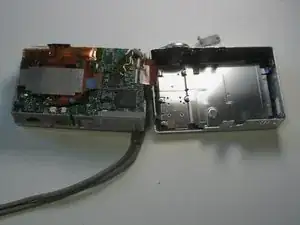
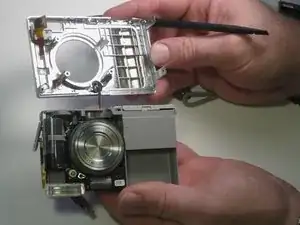
Separate the front and back casing using the spudger.
-
Gently pull apart the two casings.
-
Pull the back casing away from the camera.
-
-
-
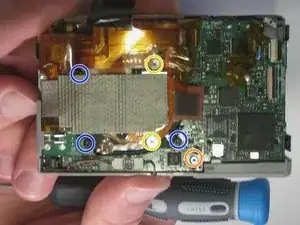
Remove screws from motherboard using the Phillips 00 screwdriver.
-
Two 2.5 mm widehead Phillips screws
-
One 3.3 mm #00 Phillips screws
-
Three 2.5 mm #00 Phillips screws (black screws)
-
-
-
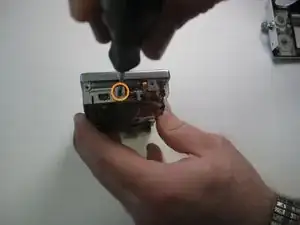
Rotate the front cover clockwise onto its side and remove the single screw on the side using a Phillips 00 screwdriver.
-
Remove 3.3 mm #00 Phillips screw from the side of the front screen.
-
-
-
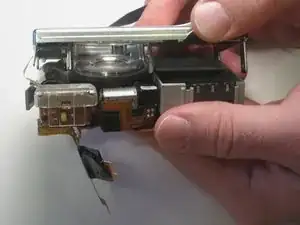
Firmly grasp both the motherboard and front cover. Slowly pull the front cover away from the motherboard.
-
To reassemble your device, follow these instructions in reverse order.
Ein Kommentar
What is the battery number so you can have a replacement ready?
attic77 -
