Einleitung
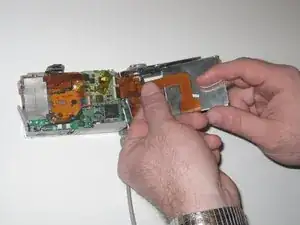
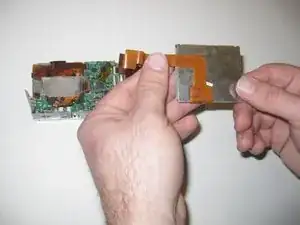
A guide on how to take out the many screws located on the inside, metal cover and how to install an LCD.
Werkzeuge
Ersatzteile
-
-
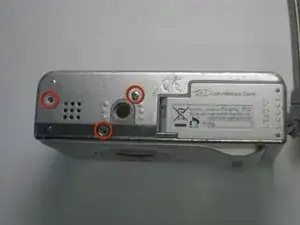
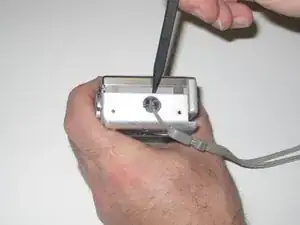
Remove the screws from the bottom of the camera using the tri-wing screwdriver.
-
Three 5.4 mm tri-head screws.
-
-
-
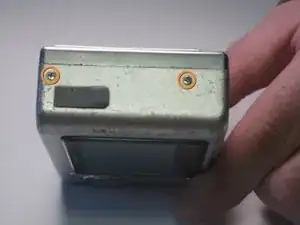
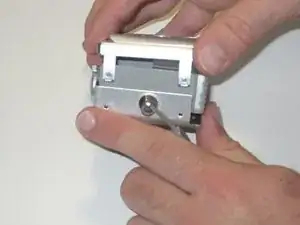
Remove screws from charger side of camera using the Phillips 00 screwdriver.
-
Two 3.3 mm Phillips #00 screws.
-
-
-
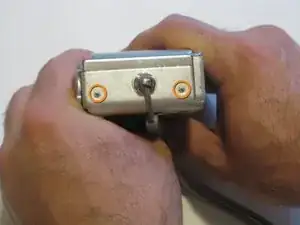
Remove screws from wrist-strap side of camera using the Phillips 00 screwdriver.
-
Two 3.3 mm Phillips #00 screws.
-
-
-
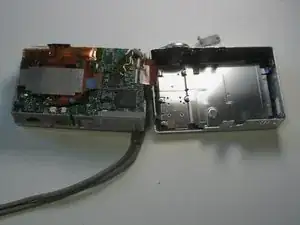
Separate the front and back casing using the spudger.
-
Gently pull apart the two casings.
-
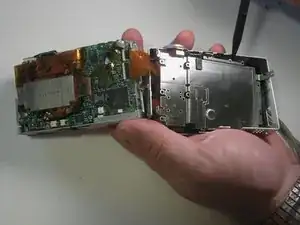
Pull the back casing away from the camera.
-
-
-
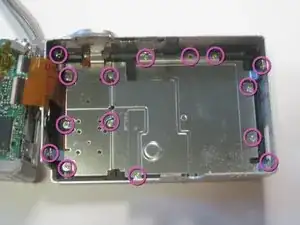
Remove screws from the casing covering the LCD using the Phillips 00 screwdriver.
-
Remove the fifteen 2.9 mm Phillips #00 screws.
-
-
-
Gently remove the LCD display data cable by gripping the end that is connected to the motherboard and pulling out.
-
To reassemble your device, follow these instructions in reverse order.
