Einleitung
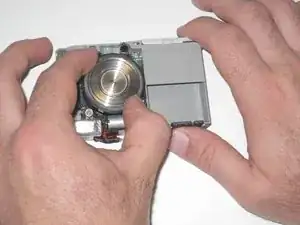
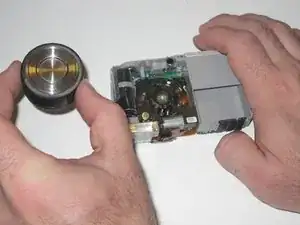
The lens is the part of the camera that allows for picture taking, zoom, and many of the essential features of the camera. The lens or the gears in the lens can become damaged, therefore causing the camera to function improperly. This guide explains how to install a new lens.
Werkzeuge
-
-
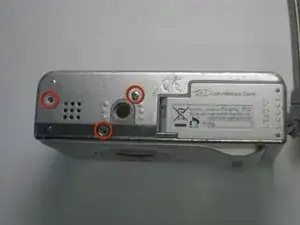
Remove the screws from the bottom of the camera using the tri-wing screwdriver.
-
Three 5.4 mm tri-head screws.
-
-
-
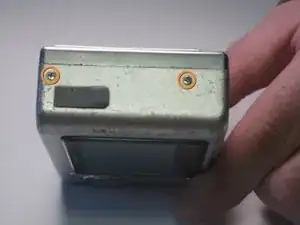
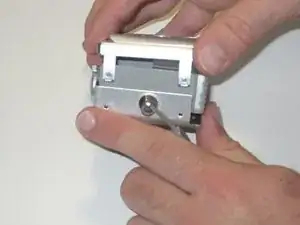
Remove screws from charger side of camera using the Phillips 00 screwdriver.
-
Two 3.3 mm Phillips #00 screws.
-
-
-
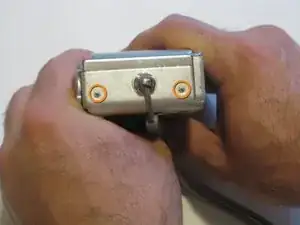
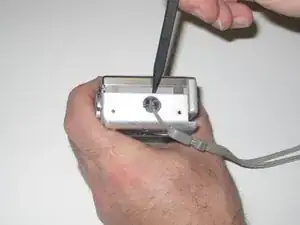
Remove screws from wrist-strap side of camera using the Phillips 00 screwdriver.
-
Two 3.3 mm Phillips #00 screws.
-
-
-
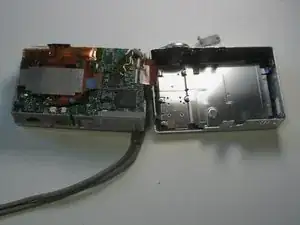
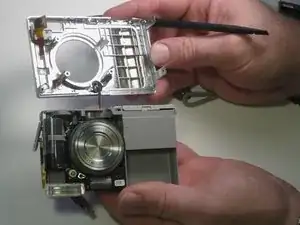
Separate the front and back casing using the spudger.
-
Gently pull apart the two casings.
-
Pull the back casing away from the camera.
-
-
-
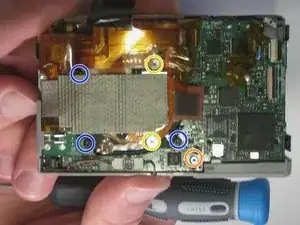
Remove screws from motherboard using the Phillips 00 screwdriver.
-
Two 2.5 mm widehead Phillips screws
-
One 3.3 mm #00 Phillips screws
-
Three 2.5 mm #00 Phillips screws (black screws)
-
-
-
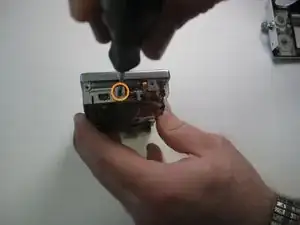
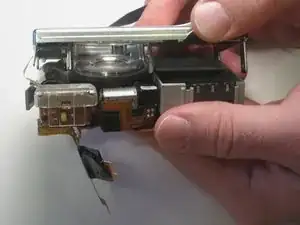
Rotate the front cover clockwise onto its side and remove the single screw on the side using a Phillips 00 screwdriver.
-
Remove 3.3 mm #00 Phillips screw from the side of the front screen.
-
-
-
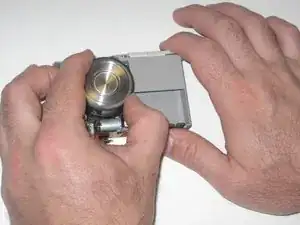
Firmly grasp both the motherboard and front cover. Slowly pull the front cover away from the motherboard.
-
To reassemble your device, follow these instructions in reverse order.
