Einleitung
The shutter button allows for the taking of pictures. This guide will explain how to get to and remove the shutter button and components that are associated with it.
Werkzeuge
-
-
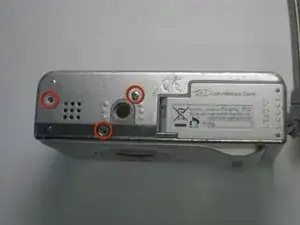
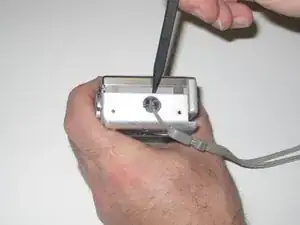
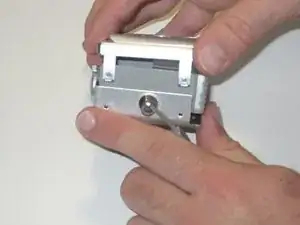
Remove the screws from the bottom of the camera using the tri-wing screwdriver.
-
Three 5.4 mm tri-head screws.
-
-
-
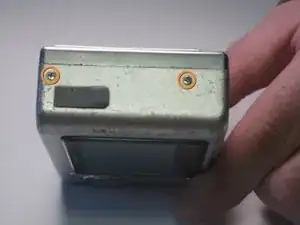
Remove screws from charger side of camera using the Phillips 00 screwdriver.
-
Two 3.3 mm Phillips #00 screws.
-
-
-
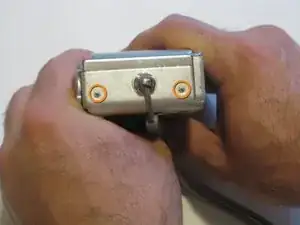
Remove screws from wrist-strap side of camera using the Phillips 00 screwdriver.
-
Two 3.3 mm Phillips #00 screws.
-
-
-
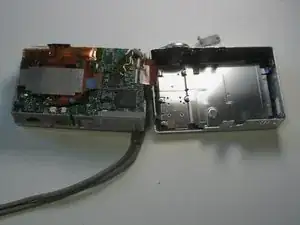
Separate the front and back casing using the spudger.
-
Gently pull apart the two casings.
-
Pull the back casing away from the camera.
-
-
-
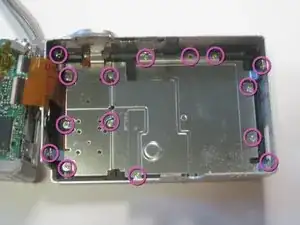
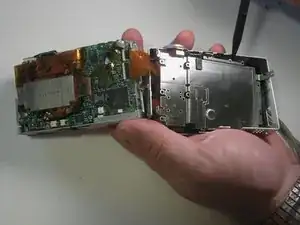
Remove screws from the casing covering the LCD using the Phillips 00 screwdriver.
-
Remove the fifteen 2.9 mm Phillips #00 screws.
-
-
-
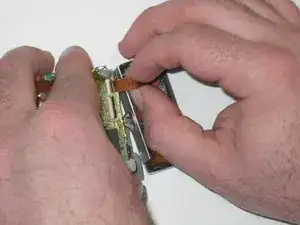
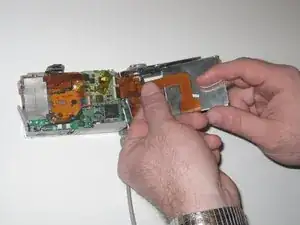
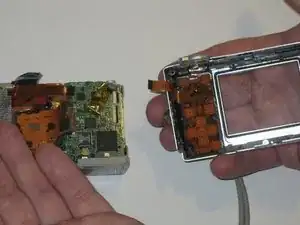
Gently remove the LCD display data cable by gripping the end that is connected to the motherboard and pulling out.
-
-
-
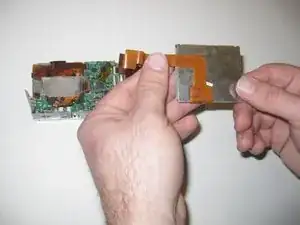
Pull on the shutter button display data cable on the end connected to the motherboard until it slides out.
-
-
-
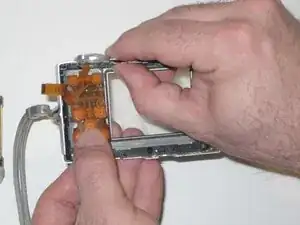
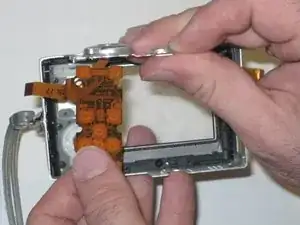
While slightly rotating the shutter button and data cable counter-clockwise, pull out until whole component comes out.
-
To reassemble your device, follow these instructions in reverse order.
