Einleitung
Use caution when going through with the procedure. This procedure involves doing operations near the motherboard of the device, which has many sensitive components.
Werkzeuge
-
-
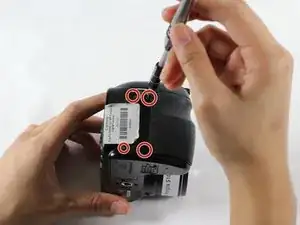
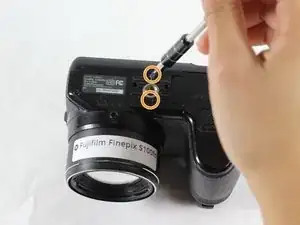
Use the Tri-point Y0 screwdriver to remove the two 0.5mm screws on the horizontal axis.
-
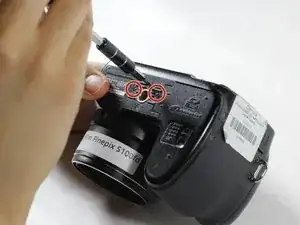
Remove the other two 0.5mm screws on the bottom with the PH00 screwdriver.
-
-
-
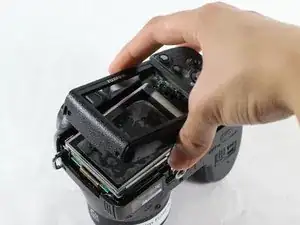
Once you unscrew all of the screws, carefully remove the rear casing.
-
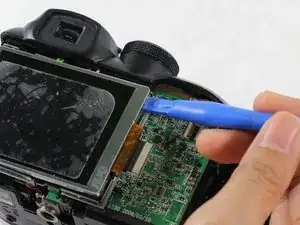
Detach the ribbon cable by lifting the tab on the connector.
-
-
-
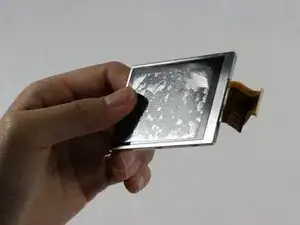
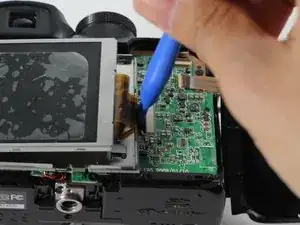
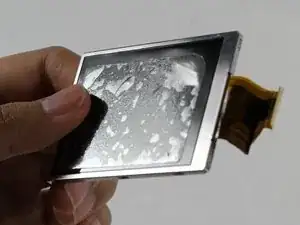
Once the screen is out, you will realize that it is still connected to the ribbon cable. To unplug this ribbon cable, use a plastic opening tool to pull up and to the left on the ribbon cable connector and release the ribbon cable.
-
-
-
Using your PH00 screwdriver, unscrew the 0.5mm screw located on the bottom left hand corner where the display screen used to be.
-
-
-
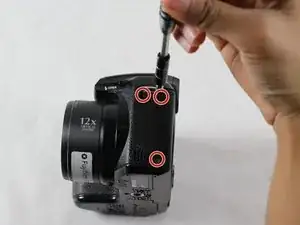
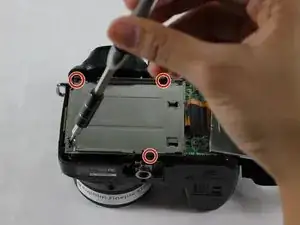
Use the PH00 screwdriver to unscrew the 0.5mm screws located near the top left corner, top right corner, and bottom right corner.
-
To reassemble your device, follow these instructions in reverse order.
Ein Kommentar
Hi, any idea how i can get to the shutter button mechanism, it’s stopped working and I don’t want to break anything in my impatience to fix it :)
