Einleitung
Before you get started with this procedure, have a place to store screws in an organized fashion. There are many screws involved in this procedure that you don't want to get mixed up.
Werkzeuge
-
-
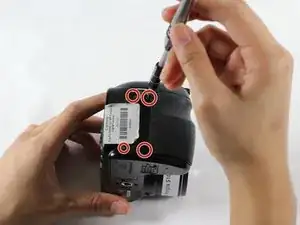
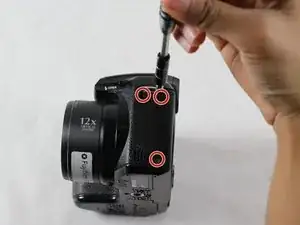
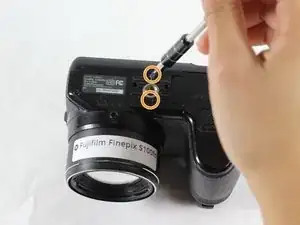
Use the Tri-point Y0 screwdriver to remove the two 0.5mm screws on the horizontal axis.
-
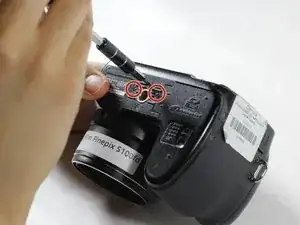
Remove the other two 0.5mm screws on the bottom with the PH00 screwdriver.
-
-
-
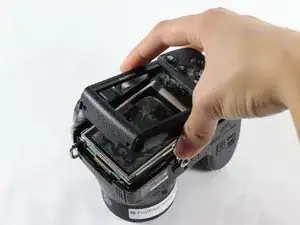
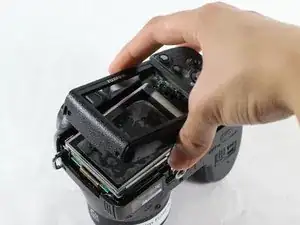
Once you unscrew all of the screws, carefully remove the rear casing.
-
Detach the ribbon cable by lifting the tab on the connector.
-
Abschluss
To reassemble your device, follow these instructions in reverse order.
