Einleitung
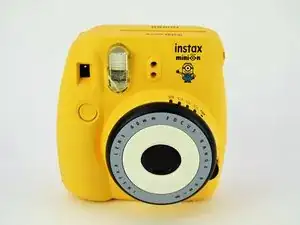
This replacement is fairly straight forward. The only tool you will need is a #00 Phillips screwdriver and/or an extra long #00 Phillips screwdriver. Optionally, you could use a nylon spudger to help pry open the camera shell.
Werkzeuge
-
-
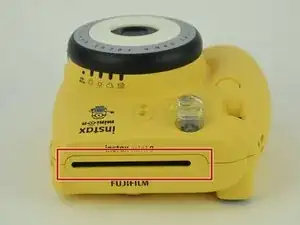
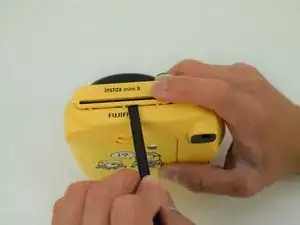
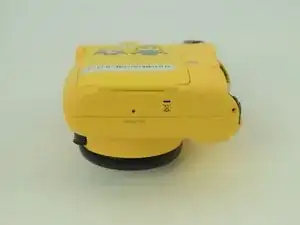
Use a spudger to remove the film slot guard on the top of the camera.
-
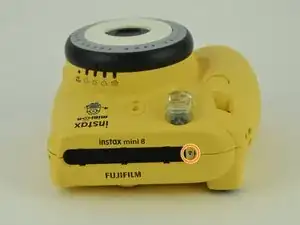
Remove the one 4.5 mm #00 Phillips screw under the slot guard.
-
-
-
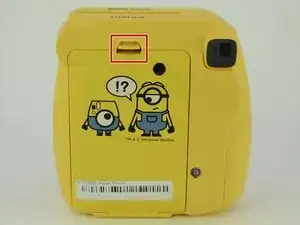
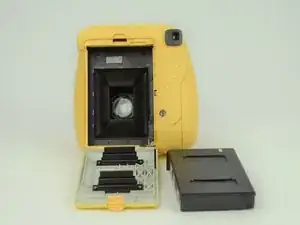
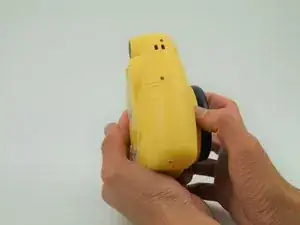
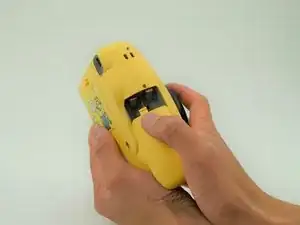
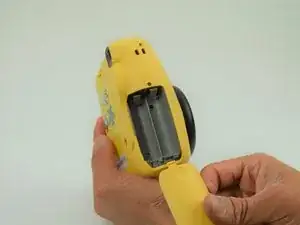
Press the release tab on the back of the camera to open the film compartment.
-
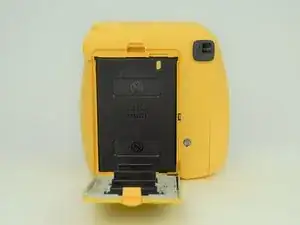
Remove the film cartridge within this compartment.
-
-
-
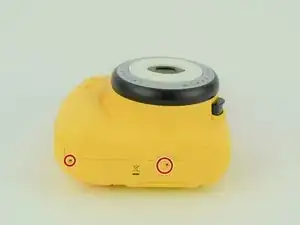
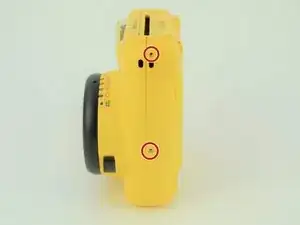
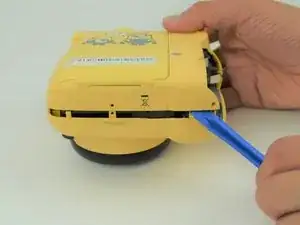
Use a plastic opening tool to help pry the front and back shells apart.
-
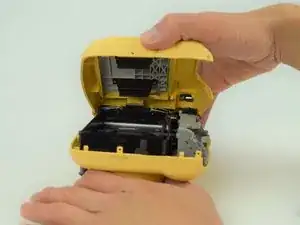
With the camera facing down, remove only the back shell.
-
-
-
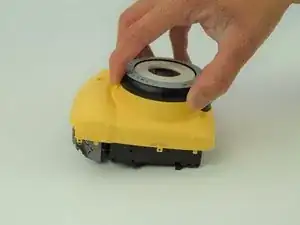
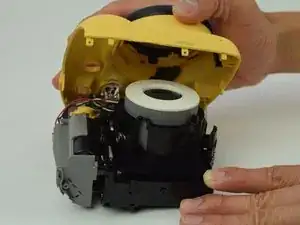
Carefully peel the front side of the shell away.
-
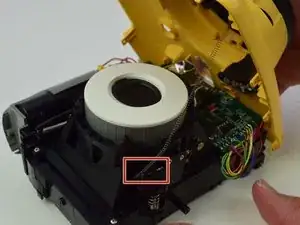
Using a set of tweezers, detach the spring from the body. The spring will retract into the black and gray ring on the front shell.
-
To reassemble your device, follow these instructions in reverse order.
