Einleitung

Take caution as to not touch both ends of the capacitor, or any exposed ends of wire that are connected to such. The capacitor stores a large amount of charge, and could shock you. You will need a soldering station and something to remove old solder, such as a desoldering pump or a solder wick.

  1. eINrWvoG5Ttqj4hy
    eINrWvoG5Ttqj4hy
    KbNBvxOoxY2nLJ2M
    1wsjeYp2XSLjwDPk
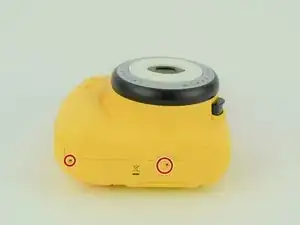
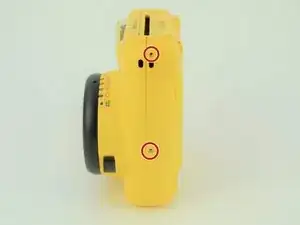
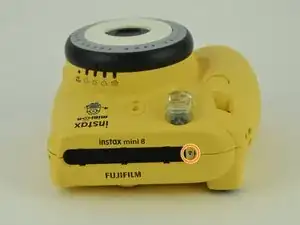
    • Remove the six 4.5 mm #00 Phillips screws from the bottom, left, and right sides.

  2. 4MxDx45HL3irNGw6
    4MxDx45HL3irNGw6
    HDpv3JVYQ1XHowIT
    tjaAZ4TnfV26we2U
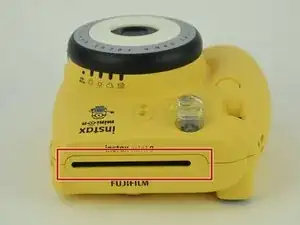
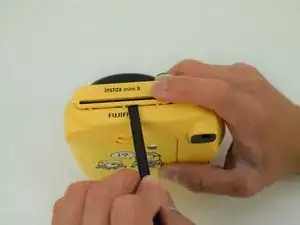
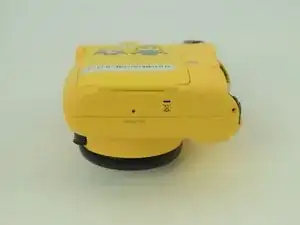
    • Use a spudger to remove the film slot guard on the top of the camera.

    • Remove the one 4.5 mm #00 Phillips screw under the slot guard.

  3. u6jwfcIjGes4rMqZ
    u6jwfcIjGes4rMqZ
    CSGHjBGOFryYb5Bo
    ICNnNTVDXUfhVoPX
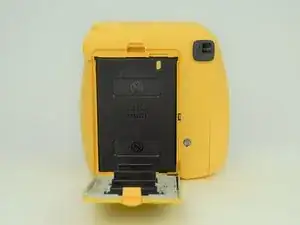
    • Press the release tab on the back of the camera to open the film compartment.

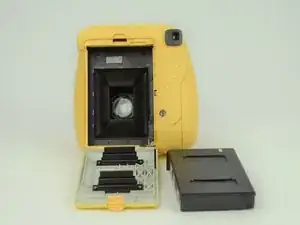
    • Remove the film cartridge within this compartment.

  4. mUTnHmyuEVAqdLxJ
    mUTnHmyuEVAqdLxJ
    BWASOX4BEOY1I5EP
    ObfkhLRIDFSMGcMH
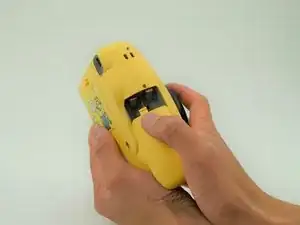
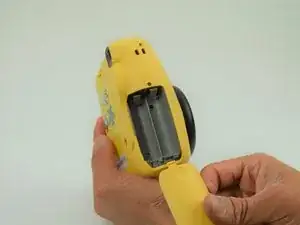
    • Press the battery cover in and down to remove it.

    • Remove any batteries within.

  5. n2EwXdAh1HEVRqTa
    n2EwXdAh1HEVRqTa
    vWo3gBYeAKELvSdW
    jiVtTFRhaSbT6AGZ
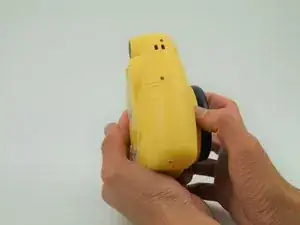
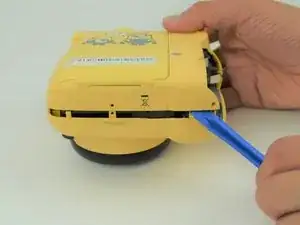
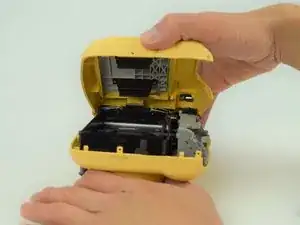
    • Use a plastic opening tool to help pry the front and back shells apart.

    • With the camera facing down, remove only the back shell.

  6. vMRNaBTSUetPj3RT
    vMRNaBTSUetPj3RT
    hPxAwLP1PxjTayF1
    JNKobFa4G2vyq1AF
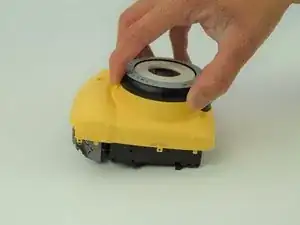
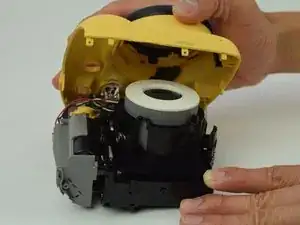
    • Carefully peel the front side of the shell away.

    • As you lift the front shell, be careful to not pull too hard since there is a spring attached to the shell and the camera body.

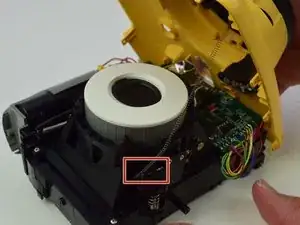
    • Using a set of tweezers, detach the spring from the body. The spring will retract into the black and gray ring on the front shell.

  7. Ymtewen4WMCF1fvM
    Ymtewen4WMCF1fvM
    CRfldgq6pJ3LmQXA
    GWgtRLumqWTZVL3J
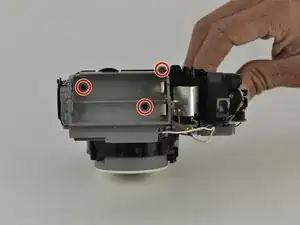
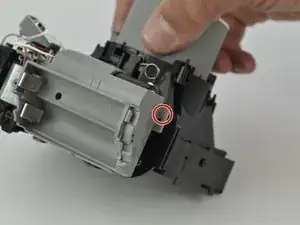
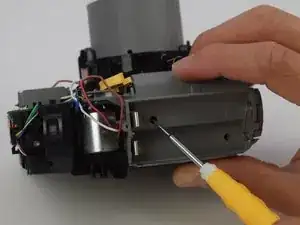
    • Remove the four 4.5 mm screws inside the battery holder with a long #00 Phillips screwdriver.

  8. PAsN3ph6dMhn4sLG
    PAsN3ph6dMhn4sLG
    oPpcTRCX2GGfAG2R
    tNmxg2EdNYtX2UVL
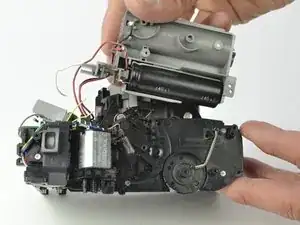
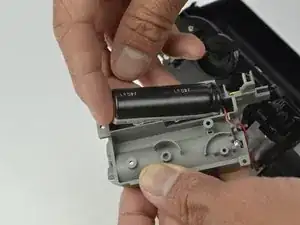
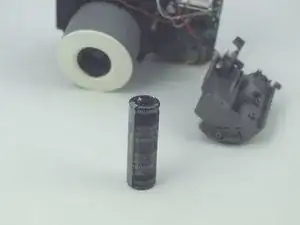
    • Gently pull on the battery holder to remove it from the case, exposing the capacitor.

    • Pull up on the backside of the capacitor to remove it from the battery holder.

    • The capacitor will have a small amount of adhesive holding it onto the battery holder. Keep this intact, but don't worry if it is damaged.

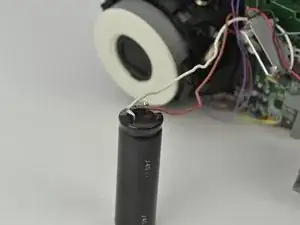
    • Be careful not to touch the wire leads on the front of the capacitor, as you could get shocked.

  9. RROCmKKGikSnSUDK
    RROCmKKGikSnSUDK
    ALnKniXiAmQtxRdU
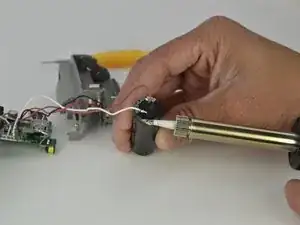
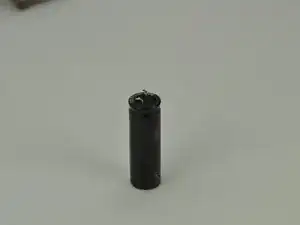
    • Desolder the ends of the wires from the leads of the capacitor to remove it.

    • Take note of the connections between the wires and leads for reassembly. The brown wire connects to side with white line and the white wire connects to the other side.

    • Be careful not to touch both leads of the capacitor with your soldering iron. This will bridge the connection and could create a spark.

Abschluss

To reassemble your device, follow these instructions in reverse order.
Jeffery

Mitglied seit: 28/03/15

220 Reputation

0 Kommentare