Einleitung
In this guide you will need two tools: a Phillips #00 screwdriver and a soldering iron. Take caution when taking out the bulb especially if the capacitor is in tact, you may get shocked if you touch it.
Werkzeuge
-
-
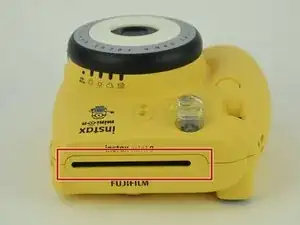
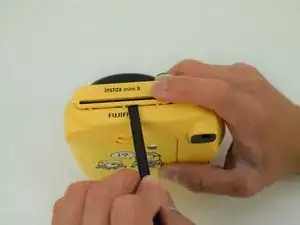
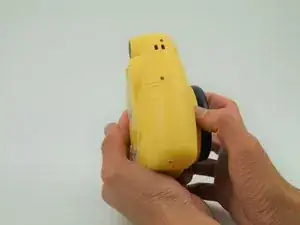
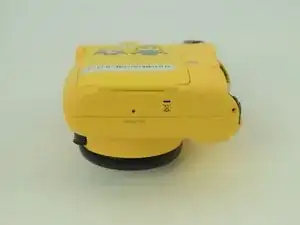
Use a spudger to remove the film slot guard on the top of the camera.
-
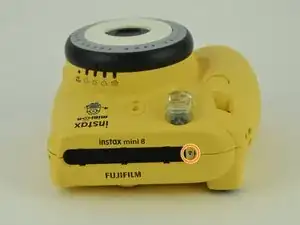
Remove the one 4.5 mm #00 Phillips screw under the slot guard.
-
-
-
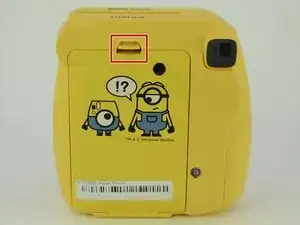
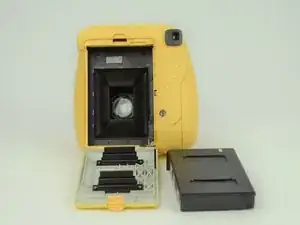
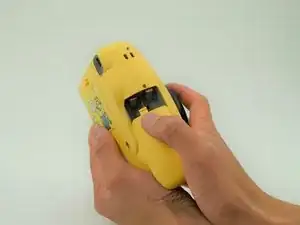
Press the release tab on the back of the camera to open the film compartment.
-
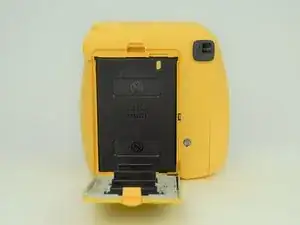
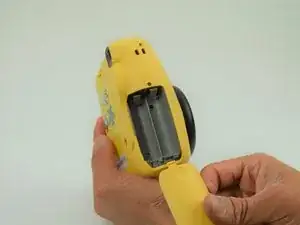
Remove the film cartridge within this compartment.
-
-
-
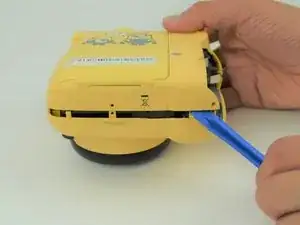
Use a plastic opening tool to help pry the front and back shells apart.
-
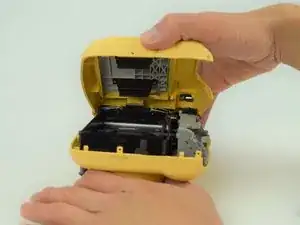
With the camera facing down, remove only the back shell.
-
-
-
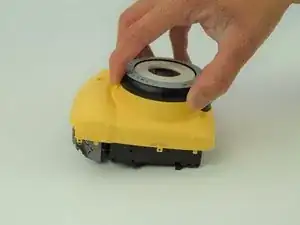
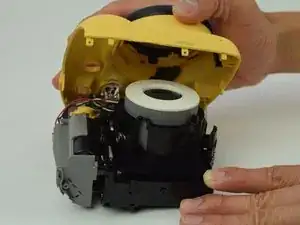
Carefully peel the front side of the shell away.
-
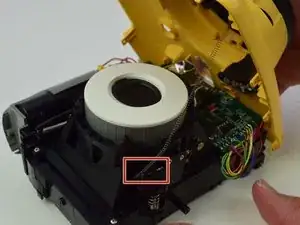
Using a set of tweezers, detach the spring from the body. The spring will retract into the black and gray ring on the front shell.
-
-
-
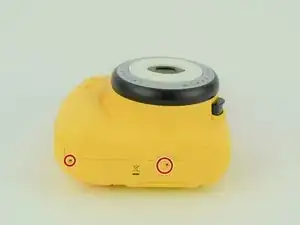
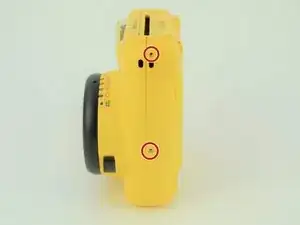
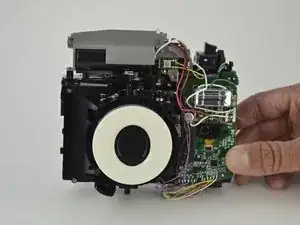
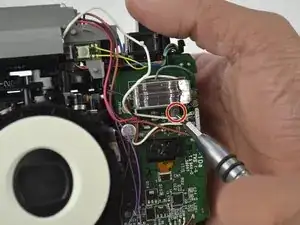
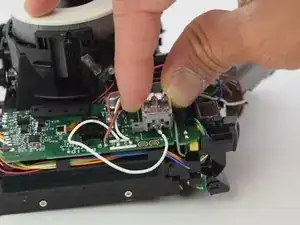
Once the shell is off, remove the one 6.5 mm screw that is attached to the flash bulb using a Phillips #00 screwdriver.
-
-
-
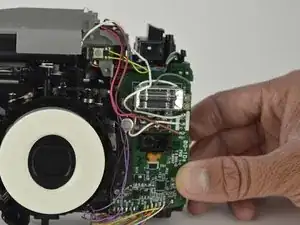
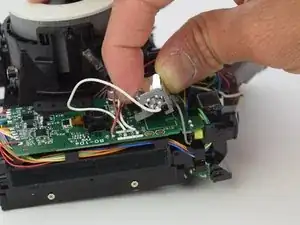
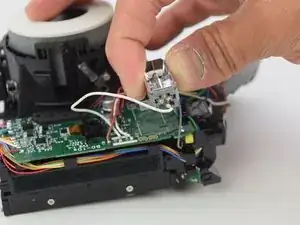
Remove the flash bulb from the circuit board by shifting it towards the side with the motor and lifting.
-
-
-
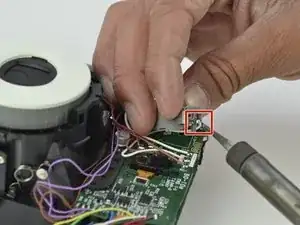
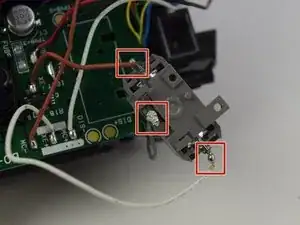
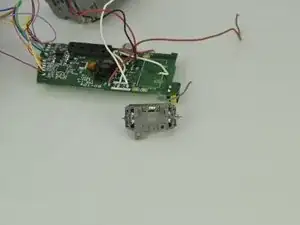
Place the bulb over an open surface and use the soldering gun to melt the three connections off the bulb.
-
To reassemble your device, follow these instructions in reverse order.
3 Kommentare
Hi, does anyone know how to find replacement bulb?
same question here!
Hi, I did bulb replacement on Mini 40 with the help of this guide. I found similar looking bulb on Aliexpress. I suggest you to look online for a replacement xenon tube lamp that is similar in look and length. I found lamp for Nikon models ******D40 D40X D60 D60X D3000 fitting and working fine with Instax Mini 40
