Einleitung

This guide instructs you on how to replace the motor that ejects the film. You will need a Phillips screwdriver and a soldering iron.

  1. eINrWvoG5Ttqj4hy
    eINrWvoG5Ttqj4hy
    KbNBvxOoxY2nLJ2M
    1wsjeYp2XSLjwDPk
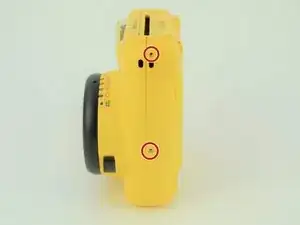
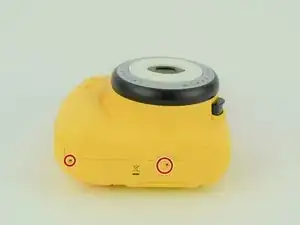
    • Remove the six 4.5 mm #00 Phillips screws from the bottom, left, and right sides.

  2. 4MxDx45HL3irNGw6
    4MxDx45HL3irNGw6
    HDpv3JVYQ1XHowIT
    tjaAZ4TnfV26we2U
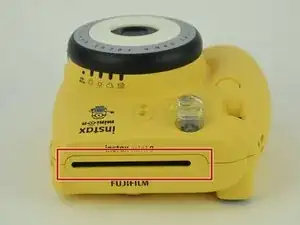
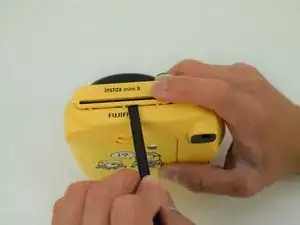
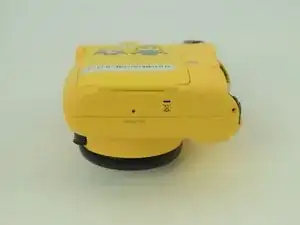
    • Use a spudger to remove the film slot guard on the top of the camera.

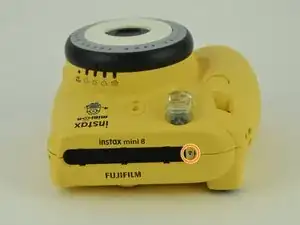
    • Remove the one 4.5 mm #00 Phillips screw under the slot guard.

  3. u6jwfcIjGes4rMqZ
    u6jwfcIjGes4rMqZ
    CSGHjBGOFryYb5Bo
    ICNnNTVDXUfhVoPX
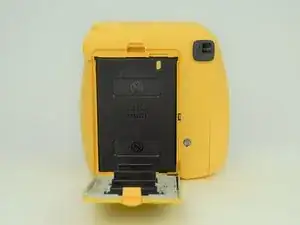
    • Press the release tab on the back of the camera to open the film compartment.

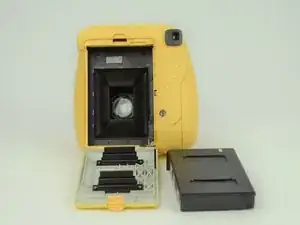
    • Remove the film cartridge within this compartment.

  4. mUTnHmyuEVAqdLxJ
    mUTnHmyuEVAqdLxJ
    BWASOX4BEOY1I5EP
    ObfkhLRIDFSMGcMH
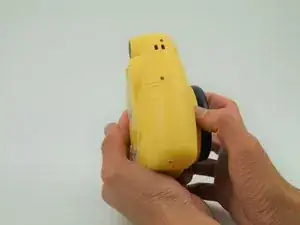
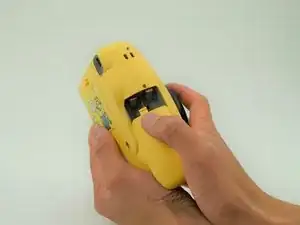
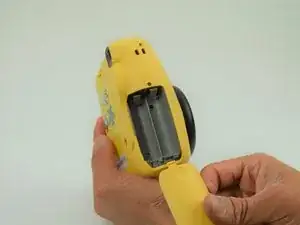
    • Press the battery cover in and down to remove it.

    • Remove any batteries within.

  5. n2EwXdAh1HEVRqTa
    n2EwXdAh1HEVRqTa
    vWo3gBYeAKELvSdW
    jiVtTFRhaSbT6AGZ
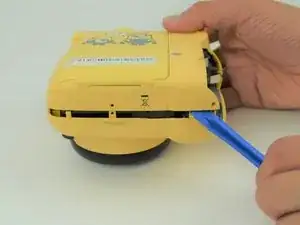
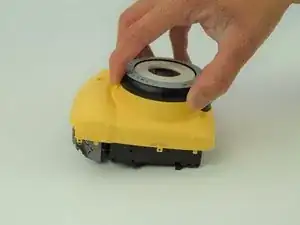
    • Use a plastic opening tool to help pry the front and back shells apart.

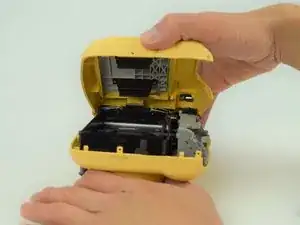
    • With the camera facing down, remove only the back shell.

  6. vMRNaBTSUetPj3RT
    vMRNaBTSUetPj3RT
    hPxAwLP1PxjTayF1
    JNKobFa4G2vyq1AF
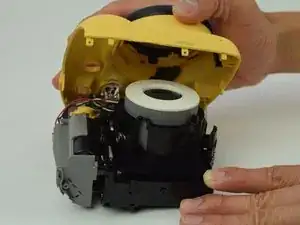
    • Carefully peel the front side of the shell away.

    • As you lift the front shell, be careful to not pull too hard since there is a spring attached to the shell and the camera body.

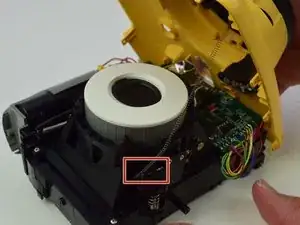
    • Using a set of tweezers, detach the spring from the body. The spring will retract into the black and gray ring on the front shell.

  7. wDOU3pBVAHIWymff
    wDOU3pBVAHIWymff
    kiCcsN2tTjQprruN
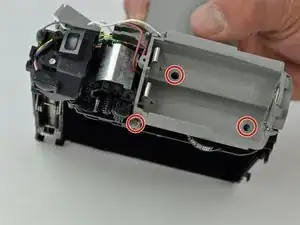
    • Remove the four 4.5 mm #00 Phillips screws on the battery compartment.

  8. krsvhM42FX6dZgTP
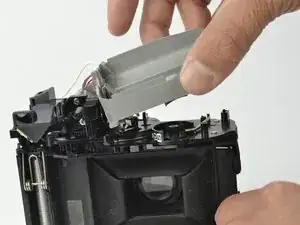
    • Lift up the battery compartment to free up the motor.

  9. NgLdq3BEVsaUJ6Ga
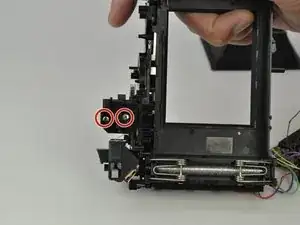
    • Unscrew the two 2.9mm Phillips #00 screws holding the motor to the frame.

  10. MAcZ6atIjN1JKRYF
    MAcZ6atIjN1JKRYF
    Bj5U3NwyYDXELMQp
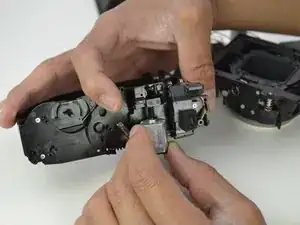
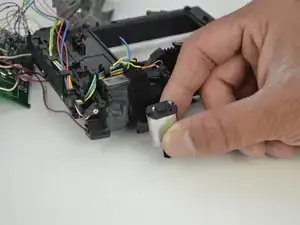
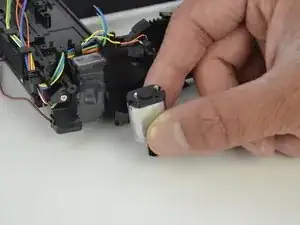
    • Remove the motor from the frame.

  11. mHcLtrDnmVA6tP1V
    mHcLtrDnmVA6tP1V
    hDbL2NmooUdjtZY5
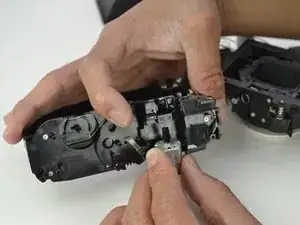
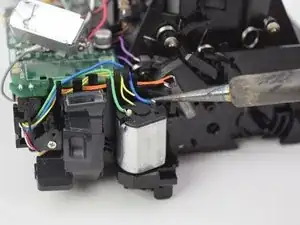
    • Desolder the wires from the leads of the capacitor.

    • Take note of the connections between the wires and leads for reassembly.

Abschluss

To reassemble your device, follow these instructions in reverse order.

Jeffery

Mitglied seit: 28/03/15

220 Reputation

Ein Kommentar

Can anyone help finding a motor for the instax 8 or 9? I can't find one to fit any help appreciated
Jordan Kelly -