Einleitung

If you need to replace the camera this guide will provide step-by-step instructions on how to disassemble and replace your camera.

  1. 2gN3ZT1LcTcDtYKb
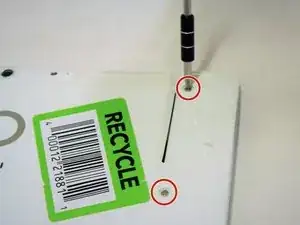
    • Remove the white sticker covering the screws (if applicable).

    • Use the PH1 screwdriver to remove the four 2 mm screws from the the backside of the device.

  2. XqGwyZCPSvPIuTdS
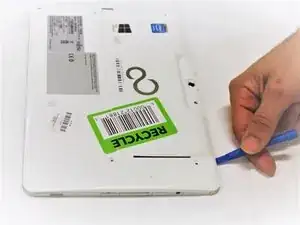
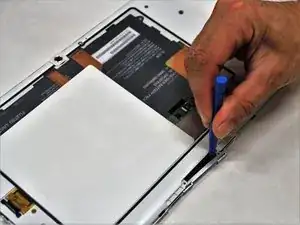
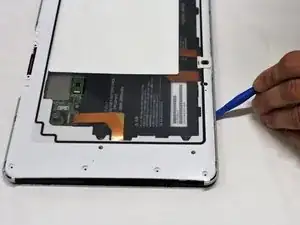
    • Insert the plastic opening tool along the seam of the back case.

    • Gently slide the plastic opening tool along the entire seam popping the clips free.

  3. qfg4IOgJlri6pRnq
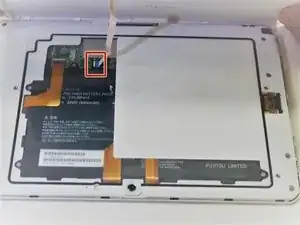
    • Carefully lift the back case and remove the smartcard ribbon from the motherboard.

  4. YbmKFvFqTfCMniNw
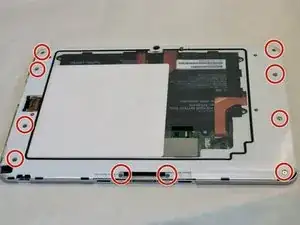
    • Remove the ten 3mm screws with a PH00 screwdriver from the shield.

  5. 1qTxHcIZc5FZ5gRh
    • Remove the grey docking station port cover.

  6. FsCMAvueYsT1yIPB
    • Gently slide the plastic opening tool along the entire seam popping the clips free.

  7. VakGTMiHnkGUFgXF
    • Lift the shield away from the device and remove the fingerprint scanner's ribbon from the motherboard.

  8. Iuigh26wAOpTQcTv
    Iuigh26wAOpTQcTv
    LAIXBa2FWpxaJxK4
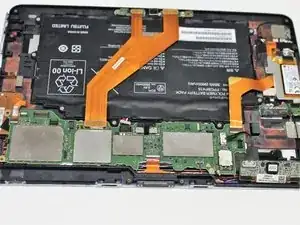
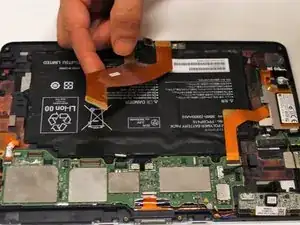
    • Pull up the cord that connects the battery to the motherboard

  9. pGxoutM1gK42SYyT
    pGxoutM1gK42SYyT
    VHRpnDVFdkTWjAxv
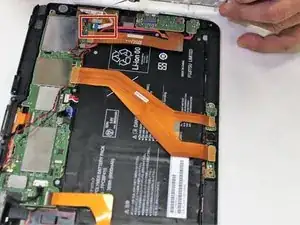
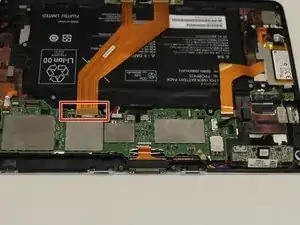
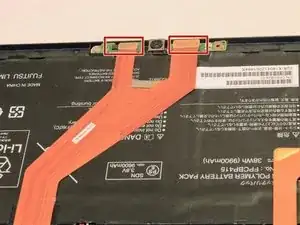
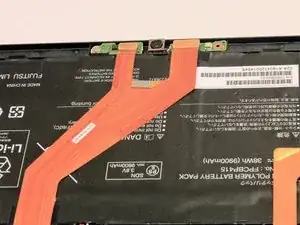
    • Pull the ribbon straight up from the back of the camera board

  10. iNnkLYAfJBJZP25J
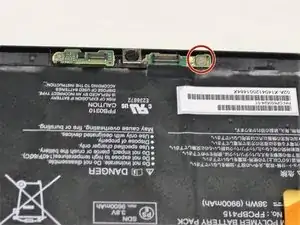
    • Remove the single 2mm screw using a PH000 screwdriver from the camera board.

Abschluss

To reassemble your device, follow these instructions in reverse order.
Connor Stanton

Mitglied seit: 21/09/17

601 Reputation

0 Kommentare