Einleitung
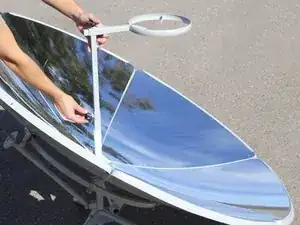
The solar cooker assembly should be performed in an large open area with nothing that obstructs the sunlight. We recommend at least two people for the quickest and easiest assembly.
Werkzeuge
-
-
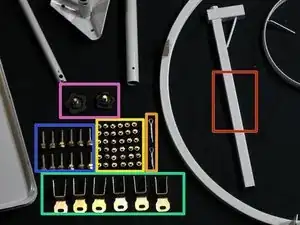
An inventory for all parabolic solar cooker parts follows below.
-
6 Reflective Dish Sections
-
1 Expansion Pipe
-
1 Tripod Center Plate
-
1 T-Bar
-
3 Tripod Base Legs
-
1 Cooker Flat
-
1 Pipe Ring
-
-
-
The solar cooker part inventory continues below.
-
1 Cooker Flat Stand
-
2 Cotter Pins
-
36 x 10mm Nut/Bolt Pairs
-
6 Pipe Ring Brackets
-
12 x 14mm Nut/Bolt Pairs
-
2 Cooker Assembly Adjustment Star Knobs
-
-
-
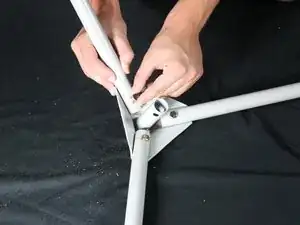
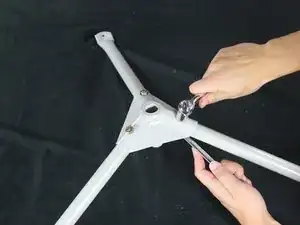
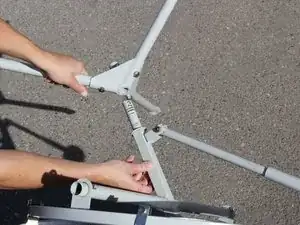
Insert a 14mm bolt through each tripod leg and through the center plate. Secure each bolt by hand threading a nut on the other side.
-
-
-
Tighten each nut using two 14mm wrenches until each leg is stable and the tripod will stand on its own.
-
-
-
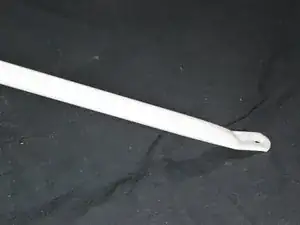
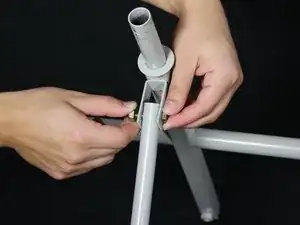
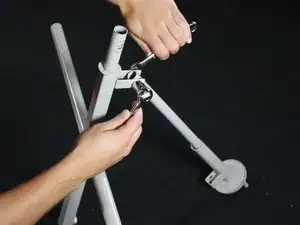
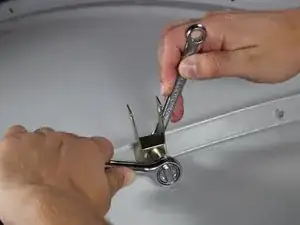
Center the bottom of the expansion pipe between the tabs of the t-bar bracket. Insert a 14mm bolt through the bracket and expansion pipe and hand thread a nut. Use 14mm wrenches to secure the assembly.
-
-
-
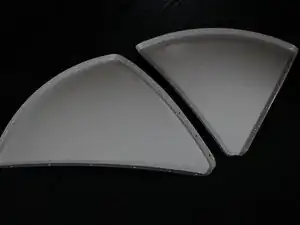
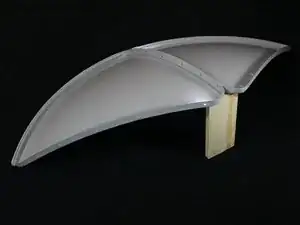
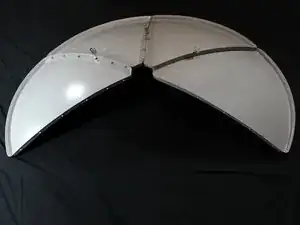
Lay two triangular sections side-by-side with pointed edges and bases adjacent to each other.
-
-
-
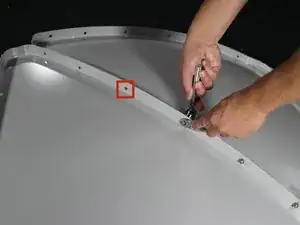
Use the 10 mm nuts and bolts to attach the two plates together. First, hand thread each bolt/nut pair, then use two 10 mm wrenches secure them.
-
DO NOT install a nut and bolt in the THIRD hole from the center (pointed end of the section). This is where the Pipe Ring Bracket is attached later on.
-
-
-
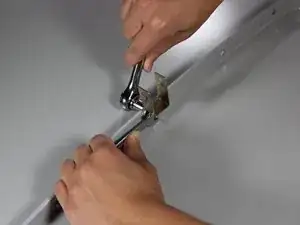
Install the 10mm nut/bolt again but with the bolt passing through the single holed side of the bracket. Hand thread and use 10mm wrenches to tighten.
-
-
-
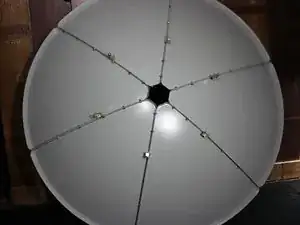
Repeat steps 2-3 until you have assembled the entire reflective dish, complete with all six sections.
-
-
-
Place the assembled solar panel dish face down with the metal brackets on the top and facing up.
-
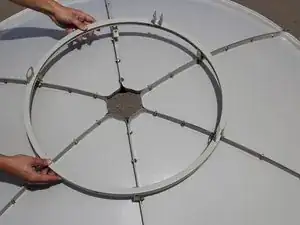
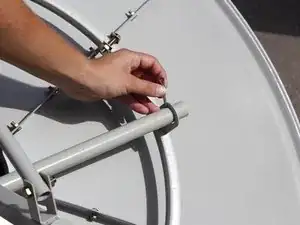
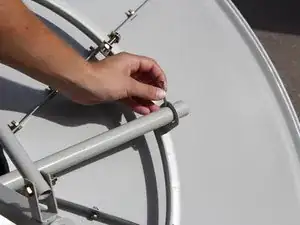
Set the pipe ring in the metal brackets circling the center of the dish.
-
-
-
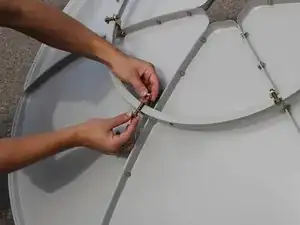
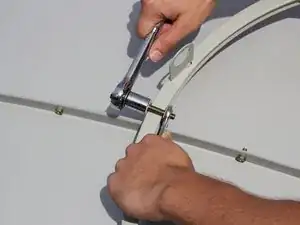
Insert a 14mm bolt through each six metal brackets and secure with a nut.
-
Tighten using two 14mm wrenches until secure.
-
-
-
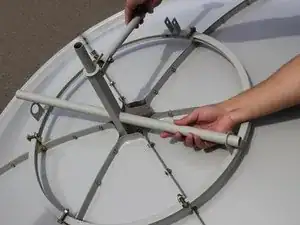
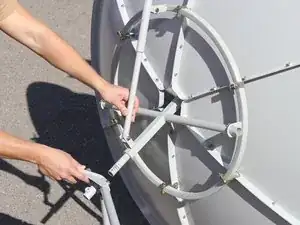
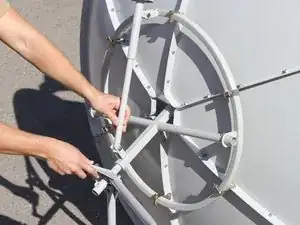
Slide the cross bearer into the two holes in the support ring making sure the top of the cross sticks through the center of the solar panel dish.
-
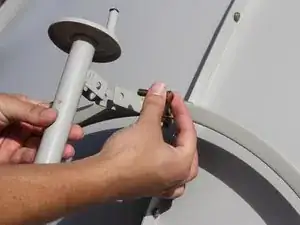
Insert a 14mm bolt into the metal bracket on the support ring through the adjustable arm and secure with a nut.
-
Tighten with your hands.
-
-
-
Attach the top of the center plate of the tripod base stand to the cross bearer bar making sure the flat side of the tripod legs points away from the solar panel dish.
-
-
-
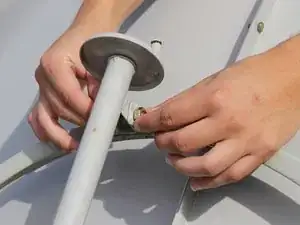
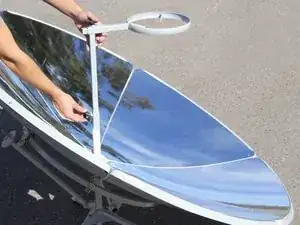
Stand the solar cooker upright on the tripod stand and attach the cooker ring stand to the cross bar coming through the center of the solar panel dish.
-
Screw a star knob screw into the hole in the top of the cross bar and tighten with your hand.
-
To disassemble your device, follow these instructions in reverse order.
2 Kommentare
Thank you for these instructions. If it wasn't for these instructions, I would not have been able to put the solar cooker (as seen in the photograghs) together. The seller's manual fail to use photographs as this illustration clarifies.
Chris -
Thank you very much ,mine came without the instructions so this has been so helpful


What do I do if my expansion pipe is broken it will not move my dish up or down?
Susan Smith -