Einleitung
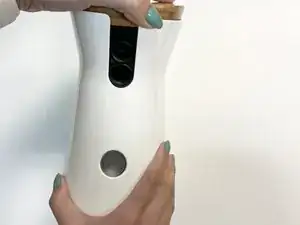
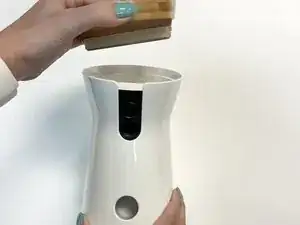
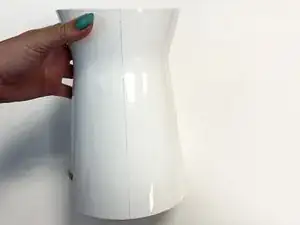
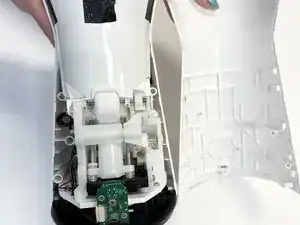
This guide will show you how to remove the rear housing and begin disassembly of your Furbo Dog Camera (Model:Furbo2). Removing the outer housing allows you to access the inside of your Furbo and fix and replace any parts if necessary. Sometimes separation of the plastic components may be difficult, so be careful not to break your Furbo.
Werkzeuge
-
-
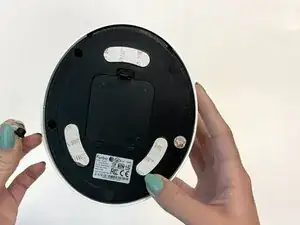
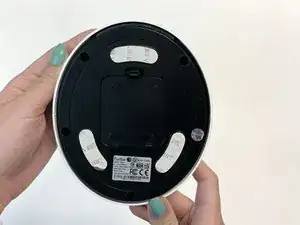
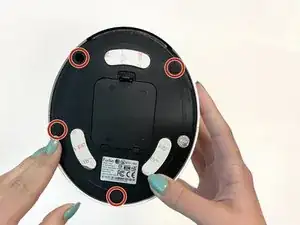
Rotate your Furbo so that the bottom faces you.
-
Remove the rubber caps to reveal the four screws on the bottom of the Furbo.
-
-
-
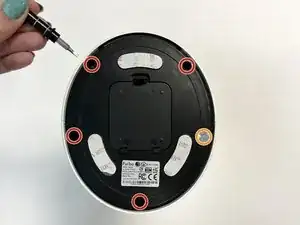
Use a 2.5 mm Flathead screwdriver to remove the four 5 mm screws from the bottom of the Furbo.
-
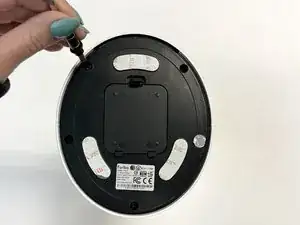
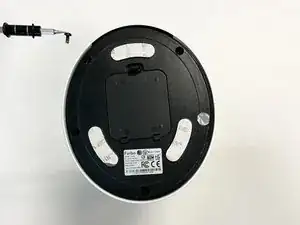
Use a 2.5 mm Flathead screwdriver to remove the single 5 mm screw under the silver sticker.
-
-
-
Rotate your Furbo so that the side is facing towards you.
-
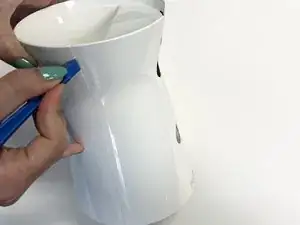
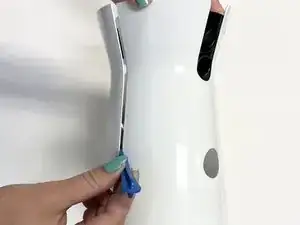
Use an opening tool to separate the two plastic coverings.
-
-
-
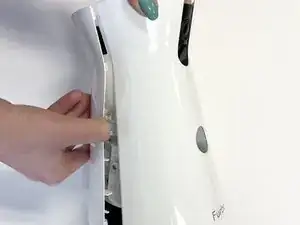
Once you have separated the two plastic coverings, remove one side by pulling on it and carefully separating it from the adhesive.
-
To reassemble your device, follow these instructions in reverse order.
