Einleitung
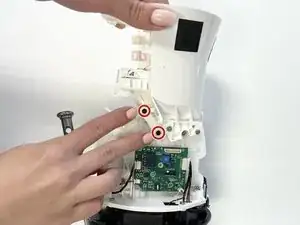
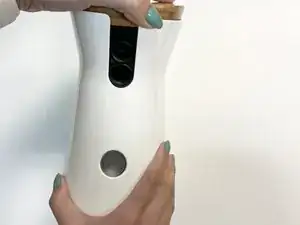
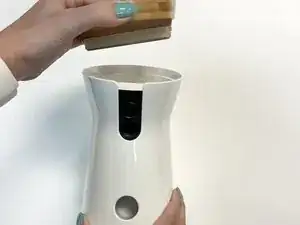
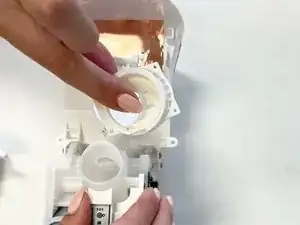
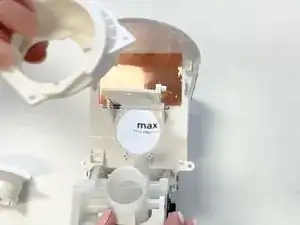
This guide will show Furbo Dog Camera users how to effectively remove the various components of the treat tossing chamber. By removing the chamber, you will be able to remove any dislodged treats or replace the treat chamber components altogether. Be sure to carefully keep track of all screws and pieces along the way!
Werkzeuge
-
-
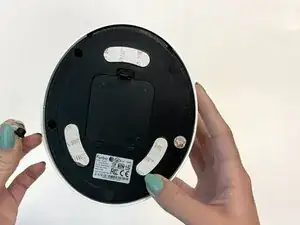
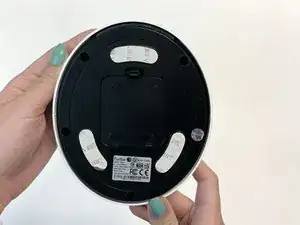
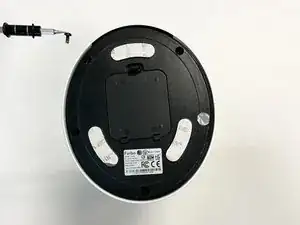
Rotate your Furbo so that the bottom faces you.
-
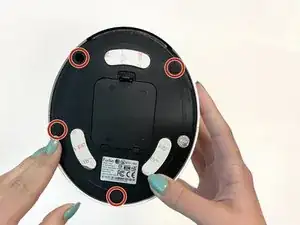
Remove the rubber caps to reveal the four screws on the bottom of the Furbo.
-
-
-
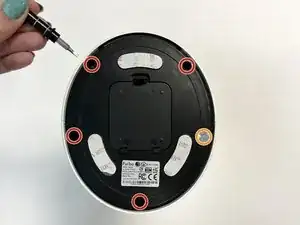
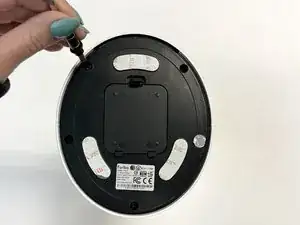
Use a 2.5 mm Flathead screwdriver to remove the four 5 mm screws from the bottom of the Furbo.
-
Use a 2.5 mm Flathead screwdriver to remove the single 5 mm screw under the silver sticker.
-
-
-
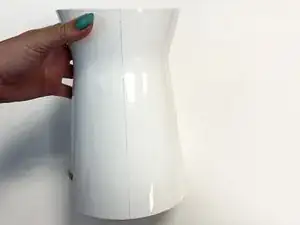
Rotate your Furbo so that the side is facing towards you.
-
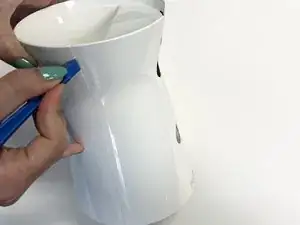
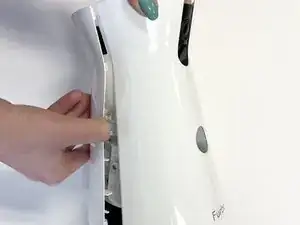
Use an opening tool to separate the two plastic coverings.
-
-
-
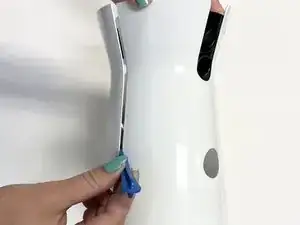
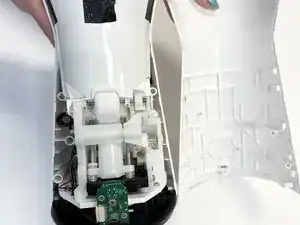
Once you have separated the two plastic coverings, remove one side by pulling on it and carefully separating it from the adhesive.
-
-
-
Use a Phillips #000 screwdriver to remove the two small 3 mm black screws on either side of the plastic hinge.
-
After removing the two screws, carefully pull off the plastic hinge.
-
-
-
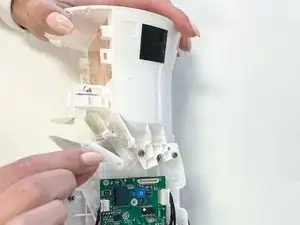
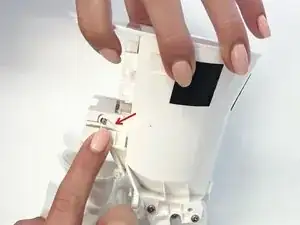
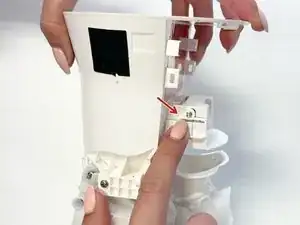
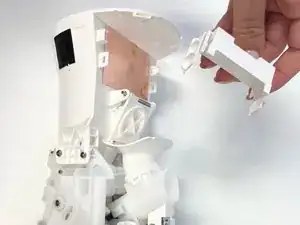
Locate each end of the treat chamber door where the white plastic hook is latched behind the metal rod, and carefully unlatch the entire white plastic piece from the metal rod on both sides.
-
-
-
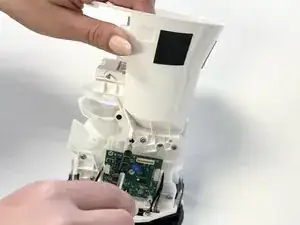
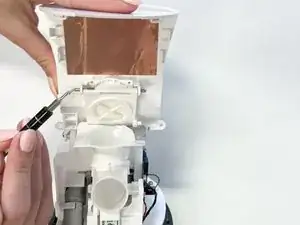
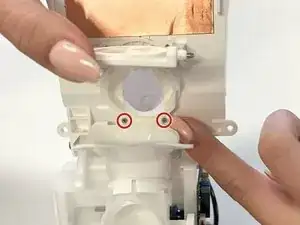
Use a Phillips #000 screwdriver to remove the two 5 mm screws above the treat dispensing door.
-
-
-
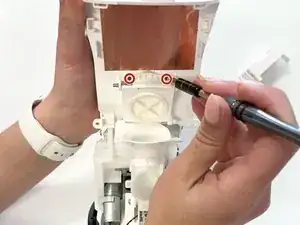
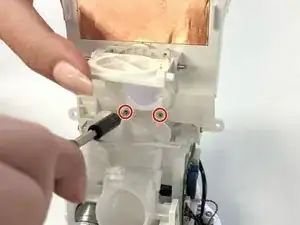
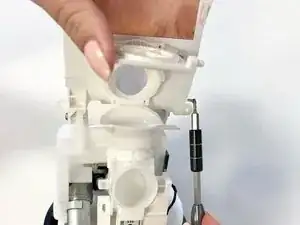
Lift up the treat dispensing door, and use a Phillips #000 screwdriver to remove the two 5 mm screws at the bottom of the dispensing hole.
-
-
-
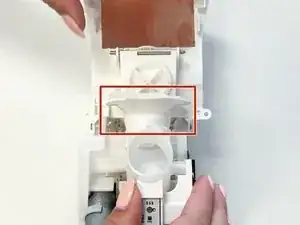
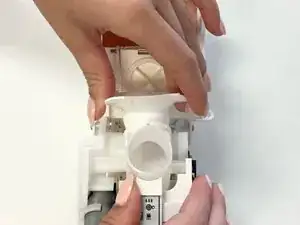
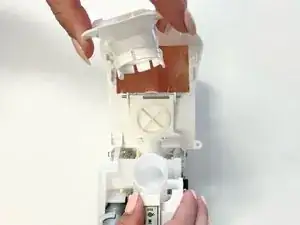
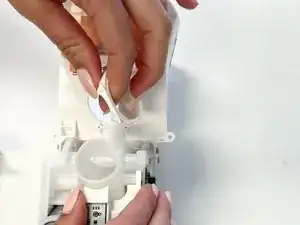
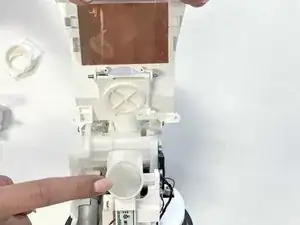
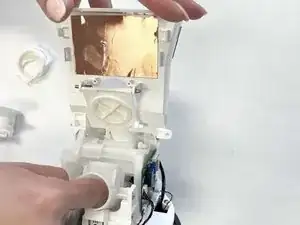
Now that both your treat guide chamber and treat dispensing chamber have been removed, you can stick your finger into the launching mechanism to dislodge any jammed treats.
-
To reassemble your device, follow these instructions in reverse order.
