Einleitung
If you need to replace the camera components, use this guide to help you through it.
If the front or rear camera on the Fusion5 5.5 Gen II is not working, refer to this troubleshooting page first to diagnose your device before you may want to take anything apart.
This guide will require delicate handling in the process of accessing the cameras.
Before you take anything apart, make sure to power off your device and ground yourself.
After you finish with your component replacement, please refer to this EPA website to properly dispose of any electronic waste.
Werkzeuge
-
-
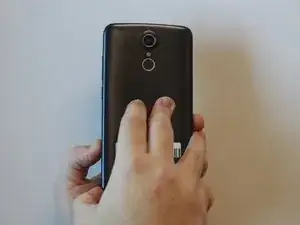
Hold the device with the screen facing away from you and the back of the device facing you.
-
Locate the groove at the bottom corner of the device.
-
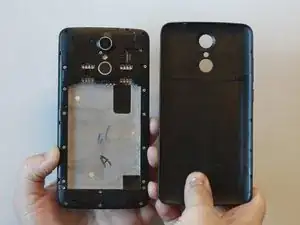
Begin prying the back cover of the device off from the groove and working your way around the outside edges of the device.
-
-
-
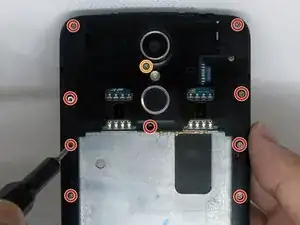
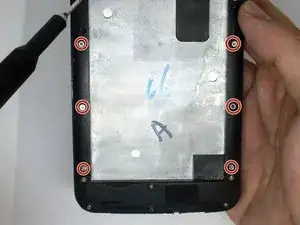
Remove thirteen 3mm Phillips #00 screws from the midframe.
-
Remove the single 5mm Phillips #0 screw below the camera.
-
-
-
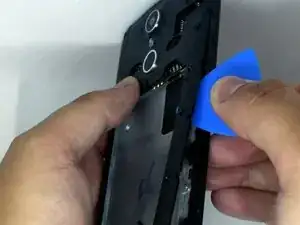
Using an opening pick, begin prying one of the top corners to remove the midframe from the device.
-
-
-
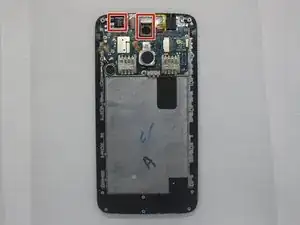
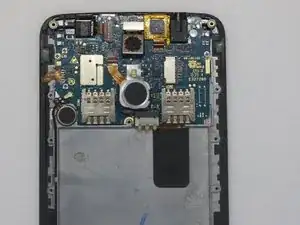
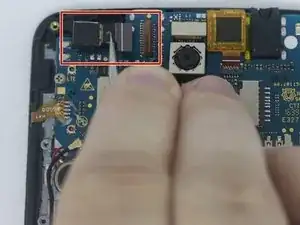
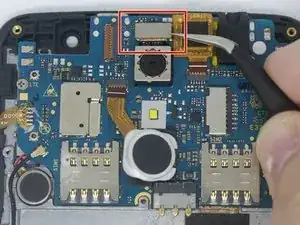
Using the tweezers, grab the ribbon cable and pull it out from its connector.
-
Then pull the front camera component out of its socket on the motherboard.
-
-
-
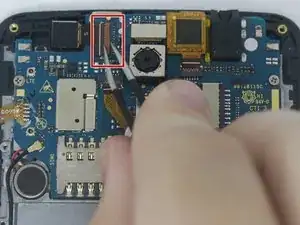
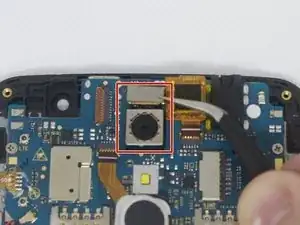
Using tweezers, grasp the ribbon cable's metal tab and gently lift it to disconnect it from its connector on the motherboard.
-
To reassemble your device, follow these instructions in reverse order.
