Einleitung
Werkzeuge
-
-
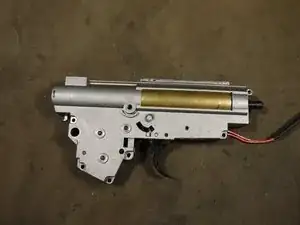
The first step is get the gears back into the gearbox.
-
Start with the spur gear (looks like a spur) place it in the area shown.
-
Then place your sector gear (the gear with the half set of teeth)
-
Before you add the bevel gear make sure to get the anti-reversal latch and it's spring into place as shown.
-
Keep the anti-reversal latch pulled and then place the bevel gear into place.
-
-
-
If you removed your trigger this step will cover how to get it back in place.
-
Make sure the trigger and its attached parts are set properly as shown.
-
Now wile hold all the parts together place the trigger axles in the corresponding holes. The important thing is to get the leg of spring into the small hole shown.
-
-
-
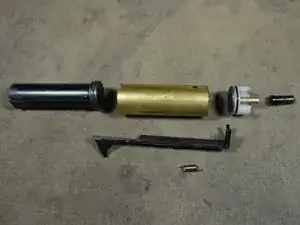
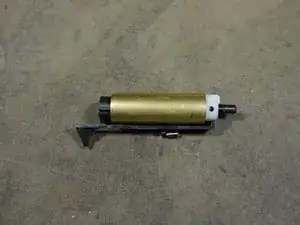
Take all of the gearbox parts shown in the first picture And re-attach them as shown in the second.
-
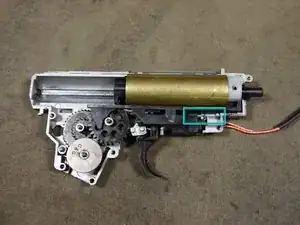
Place them into the gearbox.
-
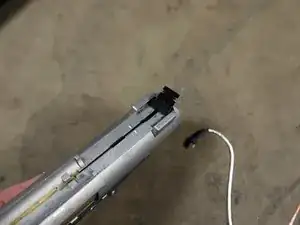
Make sure the piston slots on the side line up with the track of the gearbox.
-
Now reattach the tappetplate spring with the gearbox post.
-
-
-
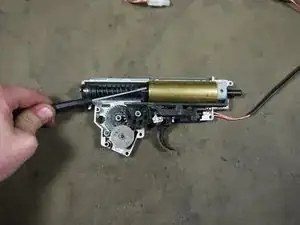
Add the main spring and spring guide. The spring guide tabs slide into a hole in the gearbox. Once this has been done you will most likely need to hold down the parts wile going further.
-
Now take the other half of the gearbox and set it into place. Start at the front and work your way back. You may need push the spring guide down to get it into place.
-
If any of the axles to the gears or anti-reversal latch are out of place try using a small tool to push them into place.
-
If everything is looking right but the gearbox is still not coming together right try putting a tool down the air-nozzle and push the piston back to set it on it's track properly.
-
Now crack the back of the gearbox slightly so you can add the dust cover button.
-
-
-
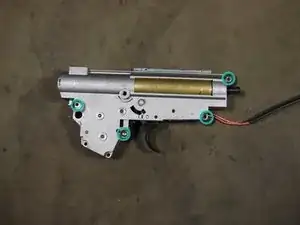
Begin placing the screws into the gearbox in the area shown. Make sure you have the right sized screw for each hole.
-
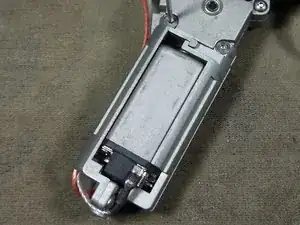
Now take the motor with motor-cage attached and place it onto the gearbox and screw it down with the longest silver screws.
-
-
-
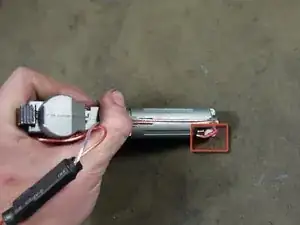
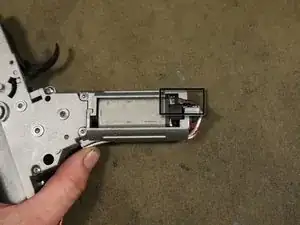
Press wiring into the back of the motor cage as shown and re-attach motor connectors. Make sure to have the red and black connectors in the right position as shown.
-
-
-
Take the blue rubber seal and place it in the area shown. Make sure the flatter side is facing down and the curvy side facing up.
-
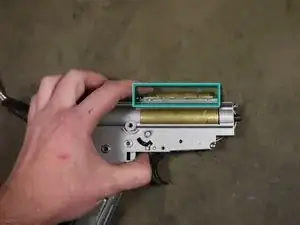
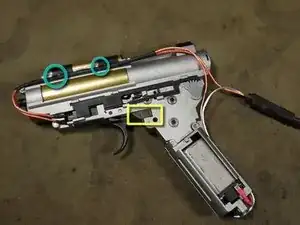
Now add the Blow-Back cylinder and place it on the top of the gearbox shell. The cylinder has cut that match up with the top of the gearbox.
-
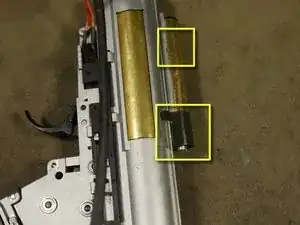
Add the two retention pieces to hold down the cylinder.
-
-
-
Take the wiring and press it into the area shown.
-
Grab the plastic cover piece and set it in place behind the trigger.
-
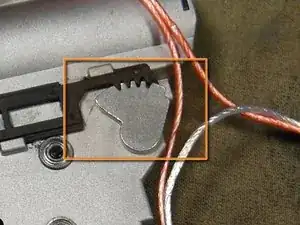
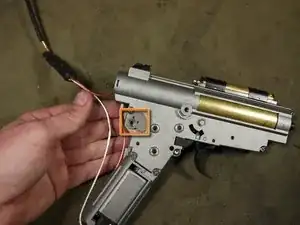
Now take the selector piece and place it so the teeth match up with the selector plate as shown.
-
Keeping that last piece in place wile flip the gearbox over.
-
-
-
Now take the the selector gear and attach it to the piece covered in the last step.
-
Now add a short 2mm hex screw to hold the two pieces together.
-
Now please the take other 2 selector pieces and set them into the position shown. This is the position for safe.
-
-
-
Place rear wiring into stock and slide the gearbox into the receiver. Do not let the selector pieces get out of place.
-
A good way to know if the selector parts are aligned correctly is by keeping them in the safe position. If the trigger is able to move after the gearbox is in position, something got out of place.
-
When gearbox is in position the hole of the largest selector piece and the hole of the receiver should line up.
-
Now place the circular piece into the hole. If the selector lever is still attached to the other piece then just add them both. There is a small slot on the round piece that correlates with a notch of the selector make sure they fit together.
-
-
-
Now attach the lever to the round piece if you haven't already.
-
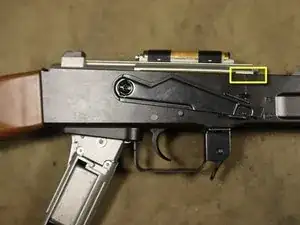
The lever should be set for the position you had the other parts set to so in the case of safe as recommend the end of the lever should be in the area marked.
-
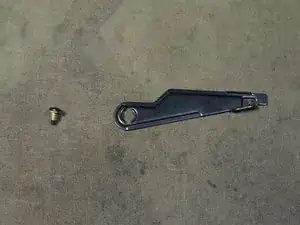
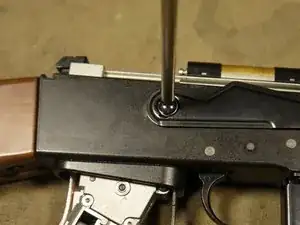
Once the lever is in place screw it down with the parts shown on the left in the first picture.
-
Now plug in a battery and test the selector to make sure safe, full-auto and semi all work properly.
-
-
-
If you removed the outer barrel and hop-up now is a good time slide it back into place and then add the two 2mm hex screws.
-
If need help with re-assemble of your hop-up go to step 9 of the G&G CM RK47 Airsoft Reassembly guide
-
Now slide the front of the AEG back on to the rest of the receiver.
-
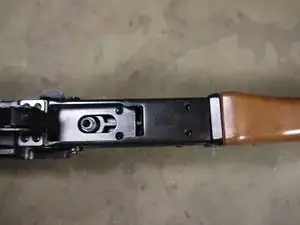
Check the holes on the bottom of the gun. Make sure everything is lined up. Once they are aligned take the black 2mm hex screws with the funnel shaped heads and screw them down.
-
-
-
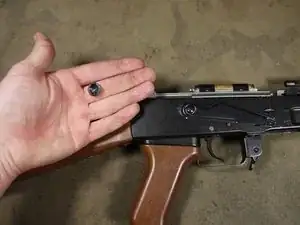
Take the cap and place it over the screw that holds the lever. Then use a soft mallet to snap it into place.
-
Now take the spring that goes behind the dust cover button and snap it into place.
-
-
-
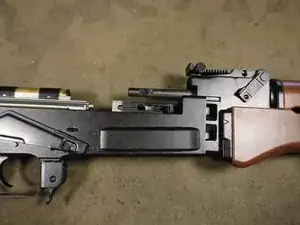
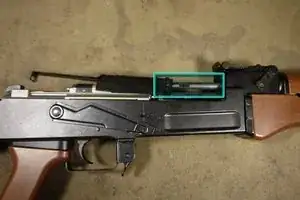
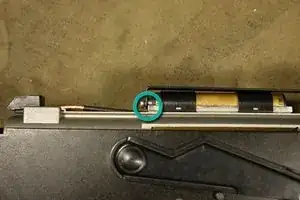
Take the fake bolt and slide it on the rod piece just above the hop-up. At the same time have the hole at the back of the bolt attach to the silver part that sticks out of the blow-back cylinder.
-
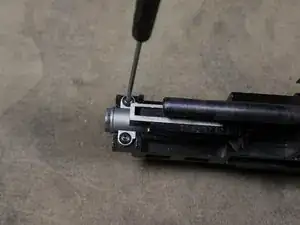
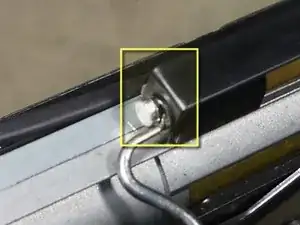
Once the bolt is in place add the C-clip to the area shown.
-
-
-
Now the dust cover can be added and you can now test your fully assembled AEG.
-
If are having trouble with the dust cover make sure the front end is set into the slot shown.
-
To reassemble your device, follow these instructions in reverse order.
